Creating an Either/Or question
An Either/Or question offers candidates two possible answers to a problem: one of these is the correct answer and the other is a plausible but incorrect answer (also known as a distractor). Candidates can select one answer option as their response.
This article explains how to create a basic Either/Or question in Surpass and includes details on how to randomise answer options and lay out answers in multiple columns.
In This Article
1. Choose your item type
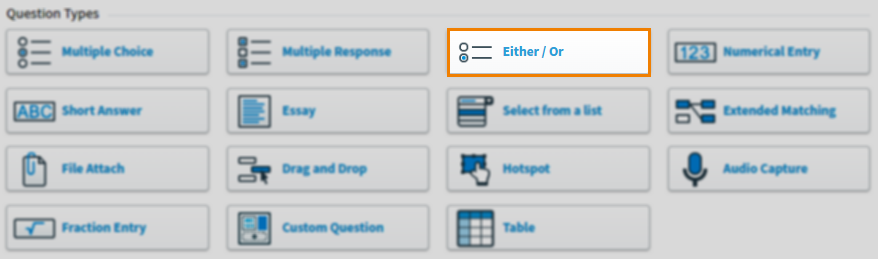
In your subject, select Create New Item to open the Question Types menu. Choose Either/Or to create a blank Either/Or item and go to the Edit screen.
2. Name your item
Enter the item’s name in the Name field.

3. Enter your question text
Enter your question text in the question stem. Select Add Text Area to add an additional question stem. You can have a maximum of five question stems per item.

Open Additional Options to add source material or assistive media to your question stem. In mixed subjects, you can also add a table to your question stem (in HTML subjects, tables can be added using the formatting toolbar).
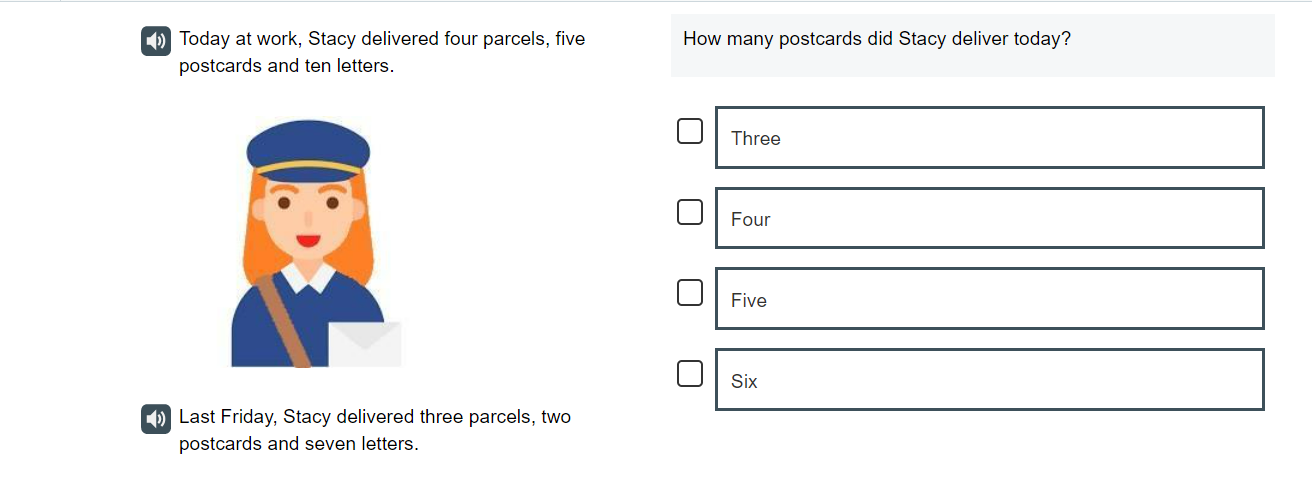
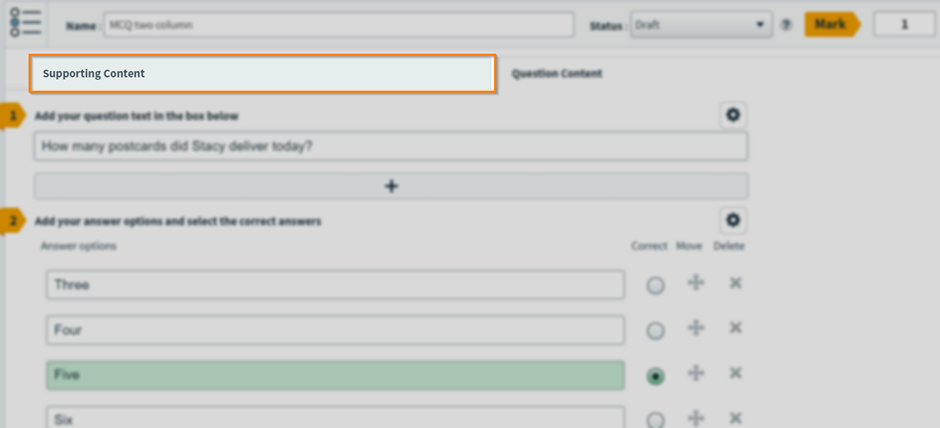
Two-column item layout
A two-column layout displays Supporting Content alongside the Question Content allowing the candidate to see all information provided without the need for scrolling.
Open the Item Settings panel.

Select Two Columns from the Layout Option.
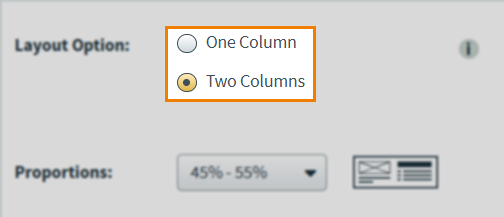
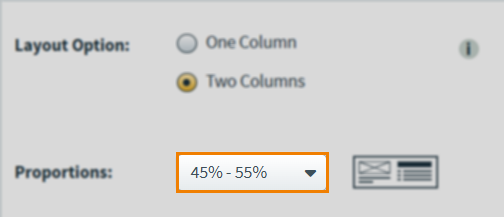
You can change the columns’ Proportions using the drop-down menu.
Select the Supporting Content tab to edit the second column. You can add up to 5 different supporting content stems, with a maximum of 1 piece of assistive media per stem.
4. Add your answer options
Either/Or items default to True and False answer values, but you can change these if necessary.
Randomising answer options
By default, Surpass presents Either/Or answer options to candidates in the same order as the Edit screen. However, you can randomise the order of your answer options in delivery.
Select Randomise Order under the answer options to randomise their order in delivery.

Using answer layout options
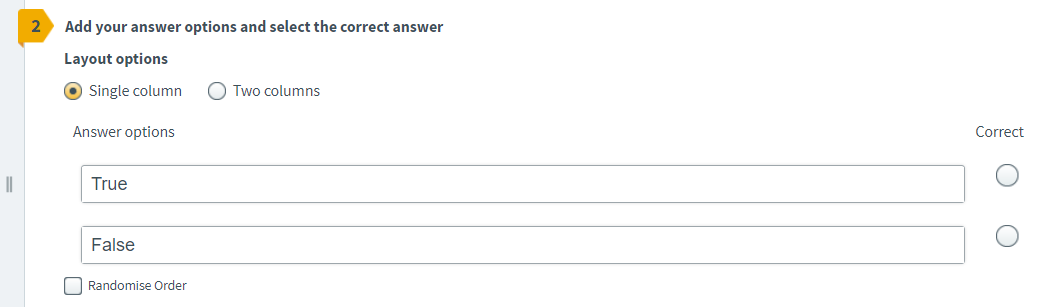
Either/Or answer options can be presented in either one or two columns. In a two column layout, you can combine text, image, and/or equation content in a single answer option.

Select Single Column under Layout Options to enable a single column layout.
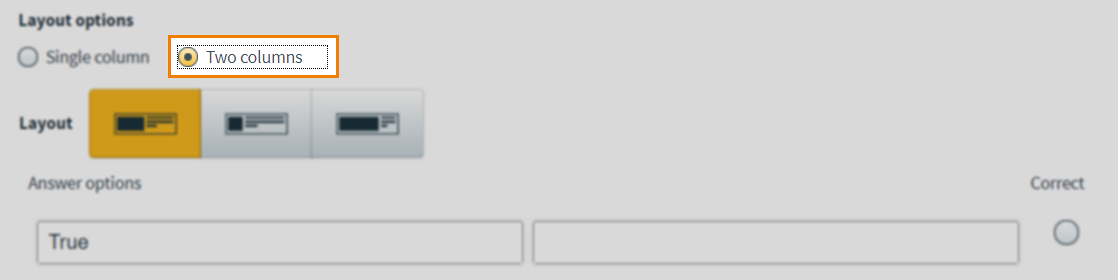
Select Two Columns under Layout Options to enable a two column layout and choose an appropriate Layout from the following options:
| Icon | Setting | Description |
|---|---|---|
| Equal column widths | Both columns have the same width. | |
| Left Column 20% Right Column 80% | The right column is wider than the left column. | |
| Left Column 80% Right Column 20% | The left column is wider than the right column. |
Each answer option now has two columns, with any prior content in the left column. You can use the formatting toolbar to change either column’s content type (for example, to add images).

5. Set the correct answer
Select the relevant Correct Option radio button to set an answer option as the correct answer.

6. Set the question’s marks
Set the item’s total marks in the Mark field.

7. Select a workflow status
Set the item’s workflow status in the Status drop-down menu. Only items set to Live can be used in a test.

8. Preview your question
To see your item from a candidate’s perspective, select Preview .

In Mixed subjects, you can preview your item in the HTML test driver. Use the Preview arrow to open the Preview Options menu and select Preview in HTML . Any custom CSS is applied in the Preview screen. For more information on custom CSS, read ‘About Subject settings’ in About Site Settings options.

You can check your item’s marking behaviour in the Preview screen. Select answer options to update the Mark field.
If you need to continue working on the item, select Edit to return to the Edit screen.

9. Saving and closing your item
Select Save to save your item to your subject.

To see additional saving options, use the Save arrow to open the Save Options menu. Select Save & Close to save the item and return to the Subjects screen. Select Save & New to save the item and create another Either/Or item.

Select Close to leave the Edit screen. If you have unsaved changes, you are prompted to either save or discard them.

Further reading
You can do much more with Either/Or items in Surpass. For more information, read the following articles: