Marking a script in the Mark screen
In the Mark screen, you can assign marks to and interact with candidate responses. This includes adding comments, viewing mark schemes, and escalating scripts for further attention.
This article explains how to mark a script in the Mark screen, including how to assign marks to items.
In this article
1. Go to the Mark screen
To mark a script, go to the Mark screen in Test Administration.

2. Choose a script
Select the relevant script in the Mark grid.
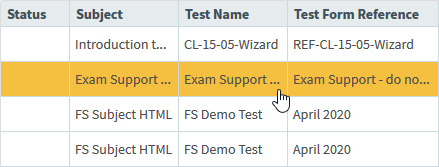
Select Mark Script to open the marking dialog.

3. Find an item to mark
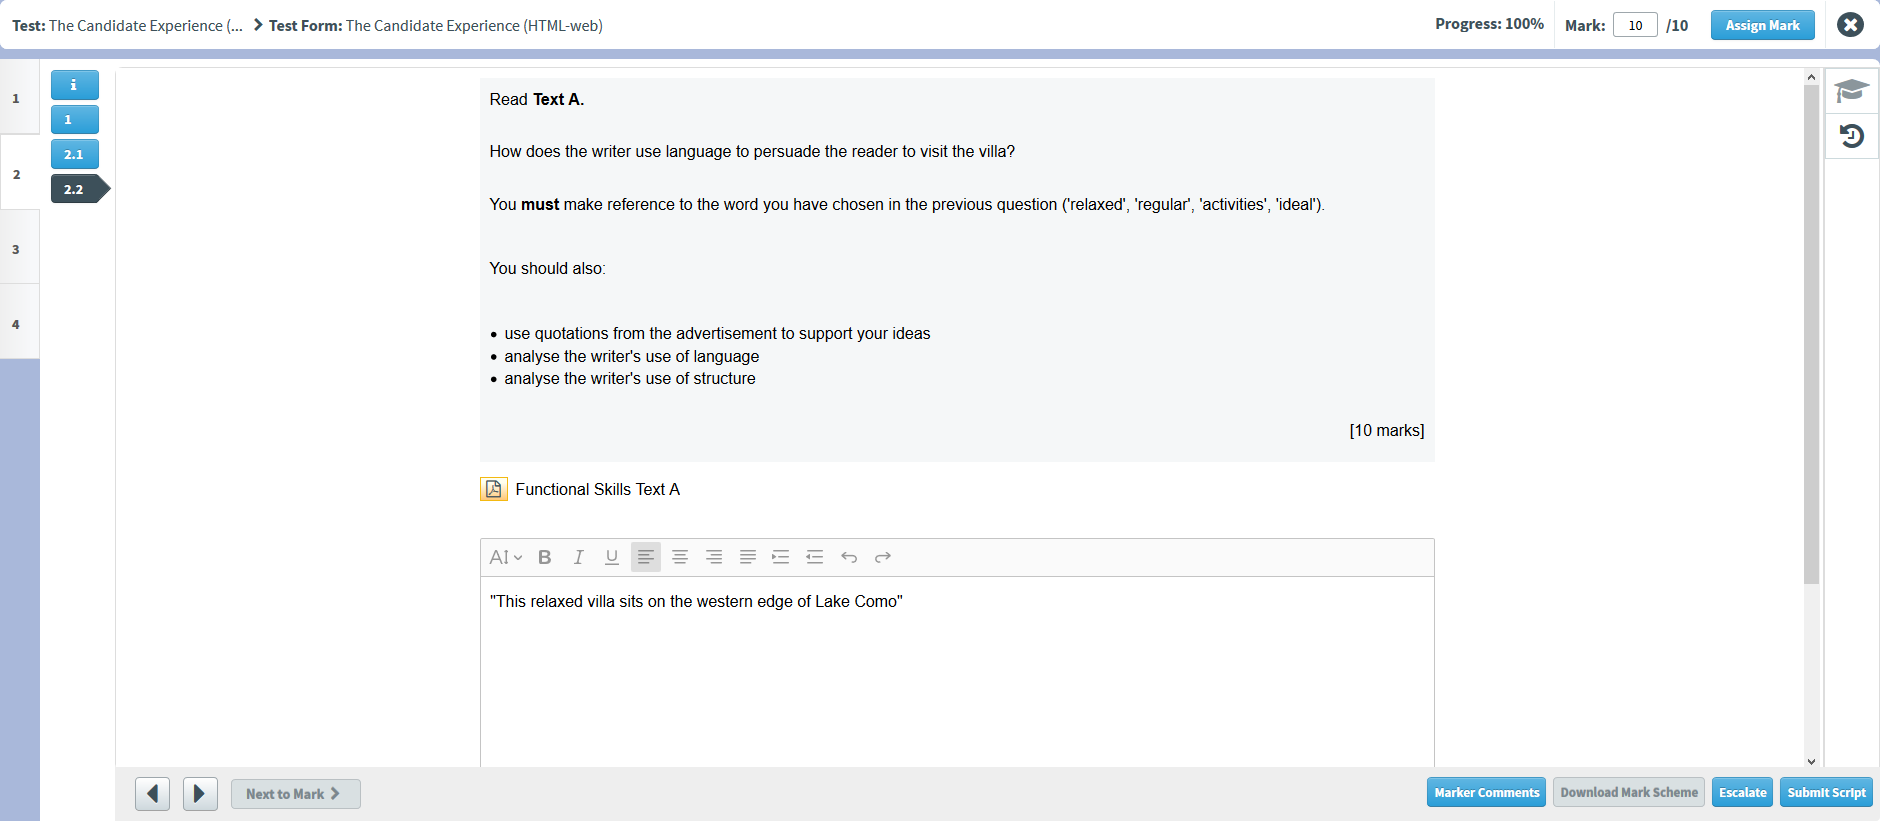
In the marking dialog, you can view candidate responses, assign marks to item, and view mark schemes.
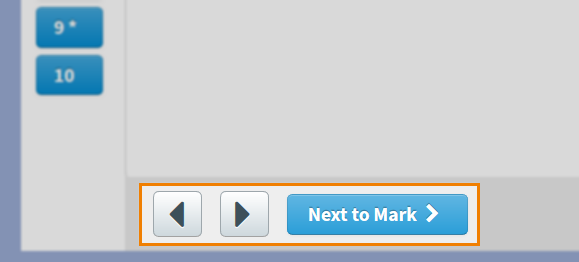
If the test has multiple sections, use the section tabs to change the currently selected section. Use the item breadcrumbs to change the currently displayed item.
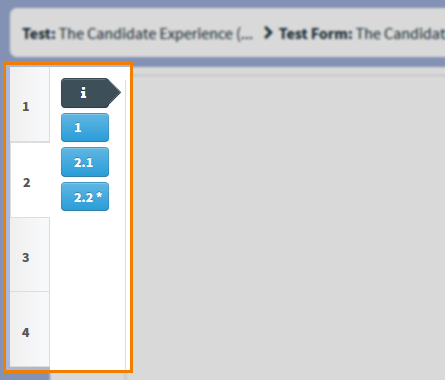
If an item requires attention, it is marked with an asterisk (*).

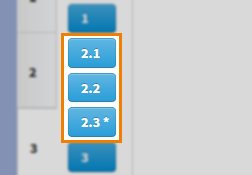
Grouped items are separated in the item breadcrumb. You can identify grouped items through their number format. For example, items 2.1, 2.2, and 2.3 were grouped in delivery.
Select Previous to view the previous item in the script. Select Next to view the next item in the script. Select Next to Mark to immediately jump to the next item requiring attention.
4. Mark the item
To assign a mark to an item, enter a value in the Mark field and select Assign Mark. The Progress percentage updates to reflect how much of the script has been marked.

Marking items with Marked Learning Outcomes
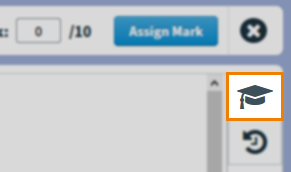
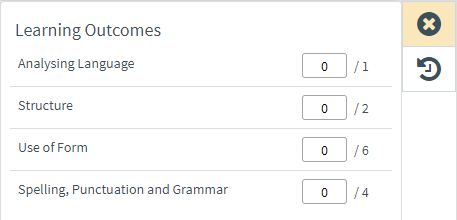
If an item has Marked Learning Outcomes, you must add a score for each Learning Outcome.
Select Learning Outcomes to view Marked Learning Outcomes.
Each Learning Outcome’s maximum mark is displayed next to the entry field. The item’s mark is automatically calculated from the sum of all Learning Outcome scoring values.
For more information about Marked Learning Outcomes, read ‘Setting up Marked Learning Outcomes’ in Using tags in items.
Viewing marking history
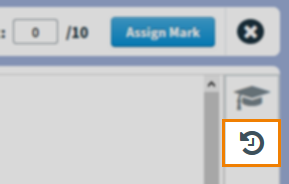
Marking history can be used to view the date, name, mark and markers comments from previous marking.
Select Marking History to view a log of previous markers’ interactions with the item.
Annotating items
If annotation tools are set up on the parent test form, you can mark up candidates’ scripts. For more information, read ‘Annotation Settings‘ in About test form settings.
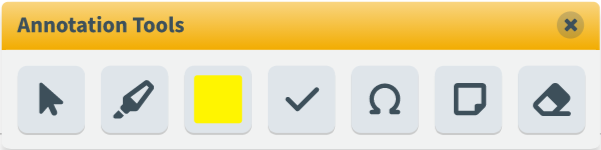
Select Annotations to bring up the Annotation Tools.

The toolbar contains the following tools:
| Button | Description |
|---|---|
| Cursor | Allows you to select item content. Also allows you to move annotation components. |
| Highlight Line | Allows you to draw a semi-transparent horizontal line across response content. |
| Highlight Colour |
Allows you to change the colour of the highlight. |
| Tick |
Allows you to leave a stamped tick mark on the item content. |
| Symbols |
Allows you to place a stamped symbol on the item content. |
| Comments |
Allows you to add a text box overlaying the item. |
| Eraser | Allows you to erase annotations. |
The toolbar can be dragged around the screen.
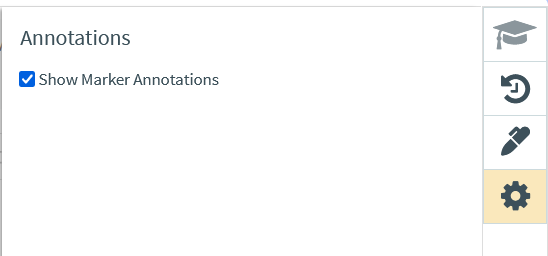
You can toggle the visibility of annotations by selecting the Annotation Options icon to open the Annotation Options panel, then selecting the Show Marker Annotations checkbox.
Downloading mark schemes
Mark schemes can be attached to items, these can assist when marking such item types like Essay items.
If the item has a mark scheme attached, select Download Mark Scheme.

Leaving marker comments
Comments can be added to items when marking, these comments can then be reviewed during auditing and re-marking.
Select Marker Comments to add comments to the item.

5. Submit the script
Select Submit Script to transfer the script to the Results screen.

Select Close to exit the marking dialog and return to the Mark screen.
Further reading
Now you know how to mark a script in the Mark screen, read the following articles to learn more:
- About the Mark screen
- Adding additional files to File Attach items in the Mark screen
- Escalating a script in the Mark screen
- Exporting scripts from the Mark screen
- Re-assigning user associations in the Mark screen
- Changing associated centre of a computer-based project in the Mark screen
- About the Paper Mark screen