Creating a computer-based project in Test Creation
A computer-based project is a long-term assessment measured in days or weeks. Candidates can log into their test at any time between the start and end dates.
This article explains how to create a computer-based project.
In this article
1. Go to the Tests screen
To view the Tests screen, go to Test Creation > Tests. For more information about the Tests screen, read About the Tests screen.

2. Select Create Test
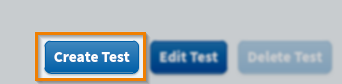
Select Create Test on the Tests screen.
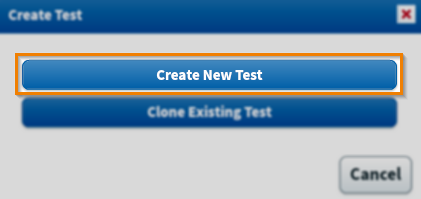
In the Create Test dialog, select Create New Test. For more information about creating tests, read Creating tests.
3. Enter test information
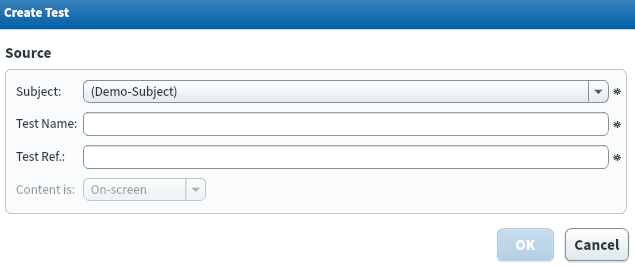
Fill out your new computer-based project’s information in the Create Test dialog. Refer to the following table for information on each field.
| Field | Description |
|---|---|
| Subject | Choose the subject that contains the items you want to use in a test. |
| Test Name | Enter a name for your test. This is visible to both Surpass users and candidates. |
| Test Ref. | Enter an alphanumeric reference code for your test. This is visible to Surpass users, but not candidates. This must be unique. |
| Content is |
Choose the test’s content type, either On-screen for computer tests or Paper for paper-based tests.
IMPORTANT: Content is only applies to subjects containing ContentProducer items.
|
4. Configure test settings
You can configure the settings of your computer-based project in the Edit Test dialog. For more information about the available test settings, read About test settings.
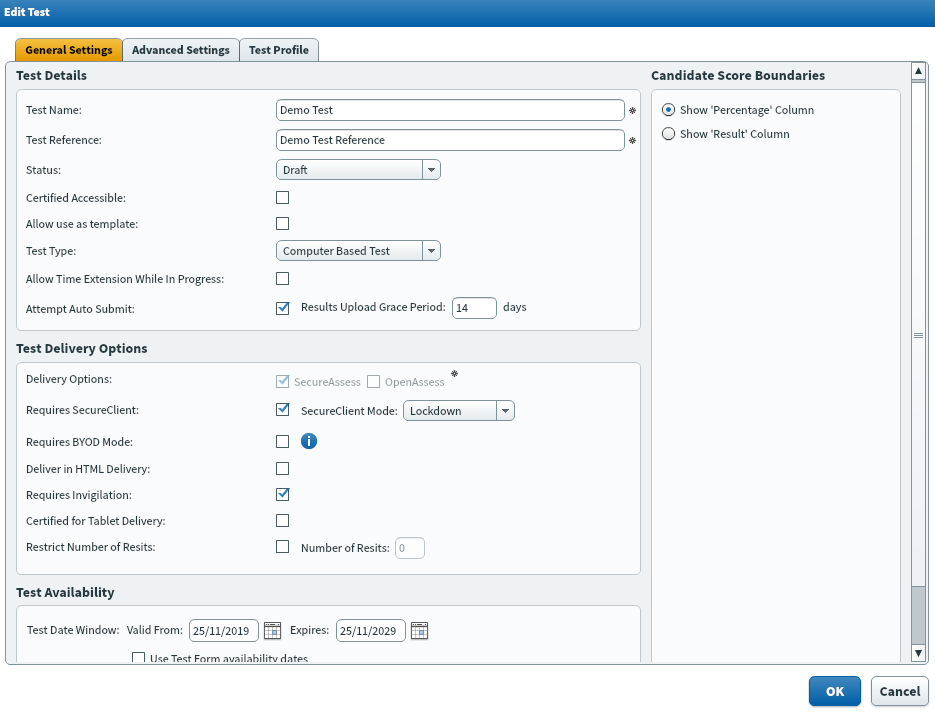
In the General Settings tab, open the Test Type menu and select Computer Based Project.
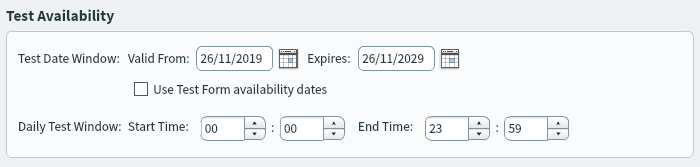
In the Test Availability panel, you can configure the availability of the computer-based project. During this time, candidates can enter the project at any point.
| Setting | Description |
|---|---|
| Test Date Window | Sets the date range in which the computer-based project can be available for candidates. Use the Valid From and Expires date pickers to choose your start and end dates, respectively.
TIP: You can also enter your dates in DD/MM/YYYY format.
|
| Use Test Form availability dates | Gives each test form its own validity window. If cleared, all associated test forms share the computer-based project’s Test Date Window. For more information on test availability see About test form settings. |
| Daily Test Window |
IMPORTANT: The Start Time and End Time should not be amended from 00:00 – 23:59 for computer-based projects. This setting is for computer-based tests.
|
You can create a test form for your computer-based project in the Test Forms screen. For full instructions, see Creating test forms and About test form settings.
Further reading
Now you know how to create a computer-based project, read the following articles to learn more: