Editing scoring data in Rescoring
In Surpass, the Rescoring screen is where you can reduce the impact of correct and invalid items. In a rescoring session, you can award full marks to items, add and remove scores, and change the correct answer options.
You can upload and edit scale score mapping, change grade boundaries, and edit Learning Outcome boundaries in a rescoring session.
This article explains how to edit scoring data in a rescoring session.
In This Article
1. Go to the Rescoring screen
To view the Rescoring screen, go to Reporting > Rescoring.

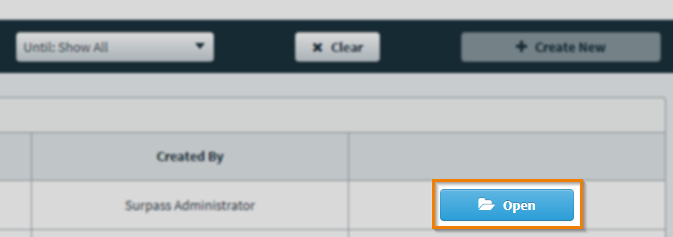
2. Open your rescoring session
Select Open to enter your rescoring session.
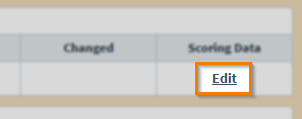
3. Select Edit in Scoring Data
Select Edit in the Scoring Data column to open the Scoring Data panel.
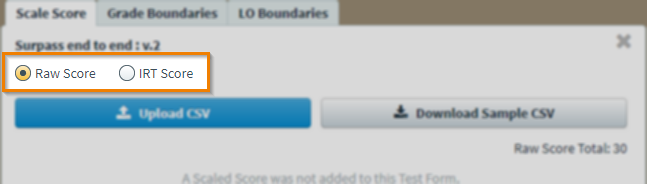
Scale Score
Select Scale Score to apply scale score mapping or edit existing scale score mapping on your chosen test form.

You can choose whether you want to upload a scale score mapping file in Rescoring based on a raw score (Raw Score) or an IRT score (IRT Score).
Select Download Sample CSV to download a template spreadsheet.
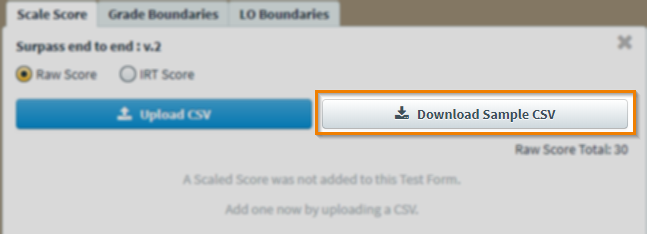
The spreadsheet contains the necessary columns, with rows populated with sample data.
The spreadsheet contains the necessary columns, with rows populated with sample data. Enter the relevant cell values for your test form.
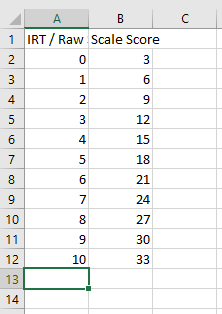
You must give an equivalent scale score for all possible raw/IRT scores candidates can achieve including 0. Refer to the Raw Score Total in the Scale Score Uploader dialog to see the test form’s total possible marks.
Each scale score must be greater than or equal to the previous scale score value. Scale score values can contain up to 13 characters in total, with a maximum of four characters following a decimal point.
If a candidate achieves a decimal mark that is not accounted for on the spreadsheet, the lower scale score will always be applied regardless of the decimal’s value. For example, if a raw score of 1 maps to a scale score of 2 and a raw score of 2 maps to a scale score of 4, all raw scores between 1.1111 and 1.9999 will receive the scale score of 2.
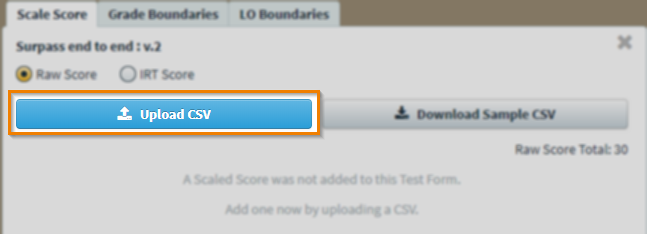
Select Upload CSV to open your device’s file explorer. Choose the scale score spreadsheet to upload it to Surpass.
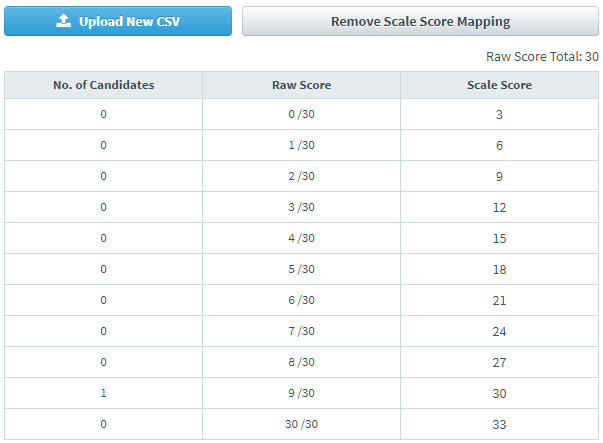
The Scale Score table updates to display the new scale score mappings and the number of candidates affected. Select Remove Scale Score Mapping to delete the scale score from your chosen test form.
Grade Boundaries
Select Grade Boundaries to edit existing grade boundaries on your chosen test form. For more information about setting up grade boundaries read Setting up grade boundaries in the Test Wizard.
Choose a test form version in the Test Form Version list.
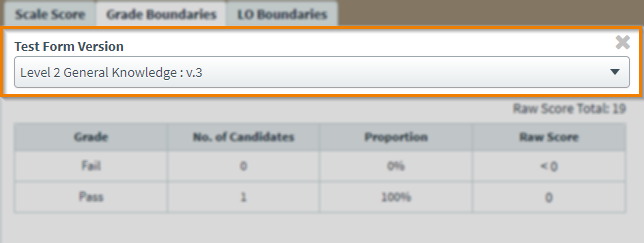
Refer to the following grid for information on each column in the table.
| Column | Description |
|---|---|
| Grade | Displays the name of the grade boundary as defined in Test Creation. |
| No. of Candidates | Displays the number of candidates affected by the grade boundary. |
| Proportion | Displays the proportion of candidates affected by the grade boundary. |
| Raw Score | Displays the raw score set up in Test Creation. |
Select a cell in the Raw Score column to edit the pass mark.
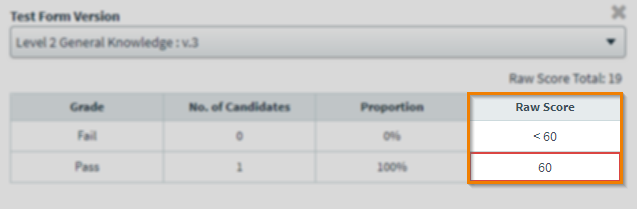
Select Export as CSV to download the data in a CSV file.
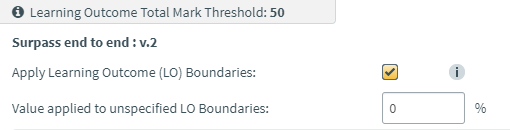
Learning Outcome Boundaries
Select LO Boundaries to add new Learning Outcome boundaries or edit existing Learning Outcome boundaries on the chosen test form.

You can view the Learning Outcome Total Mark Threshold for the chosen test form as defined in Site Settings. For more information about Learning Outcome mark thresholds, read About Site Settings options.

Select Apply Learning Outcome (LO) Boundaries to add Learning Outcome boundaries to the chosen test form. Clear Apply Learning Outcome (LO) Boundaries to remove any existing Learning Outcome boundaries set up on this test form. Enter a value in the Value applied to unspecified LO Boundaries entry field to set a base pass level for all Learning Outcomes not otherwise specified in Test Creation.
If you have chosen to create a new Learning Outcome boundary, choose an unspecified Learning Outcome boundary from the New Learning Outcome Boundary list and enter a pass mark in the Percentage (%) field. Select Add to apply the pass percentage to that Learning Outcome boundary.

You can see the pass percentage for the Learning Outcome boundary in the Percentage (%) column. You can see if the Learning Outcome boundary meets the threshold in the Plus/Minus (+/-) column.

Select Delete to remove the Learning Outcome boundary.
4. Save your changes
Select Confirm in Scale Score and Grade Boundaries to apply your changes to the chosen test form. Select Confirm Changes in LO Boundaries to apply your changes to the chosen test form’s Learning Outcome boundaries.
Further reading
To learn more about the Rescoring screen, read the following articles to learn more: