Grouping items in a test form
You can group items together so they appear on one page when delivered to candidates. You can create groups manually or set up automatic grouping of item sets.

This article explains how to group items in a test form in Test Creation.
In this article
1. Create a group in a section
Select a fixed section you want to add a group to.

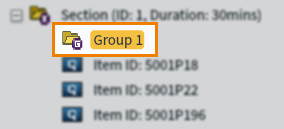
Select Create Group to create a folder for the item group.

2. Name the group
Choose the group folder.

Select Edit to open the Group Properties dialog and change the group name.

3. Add items to the group
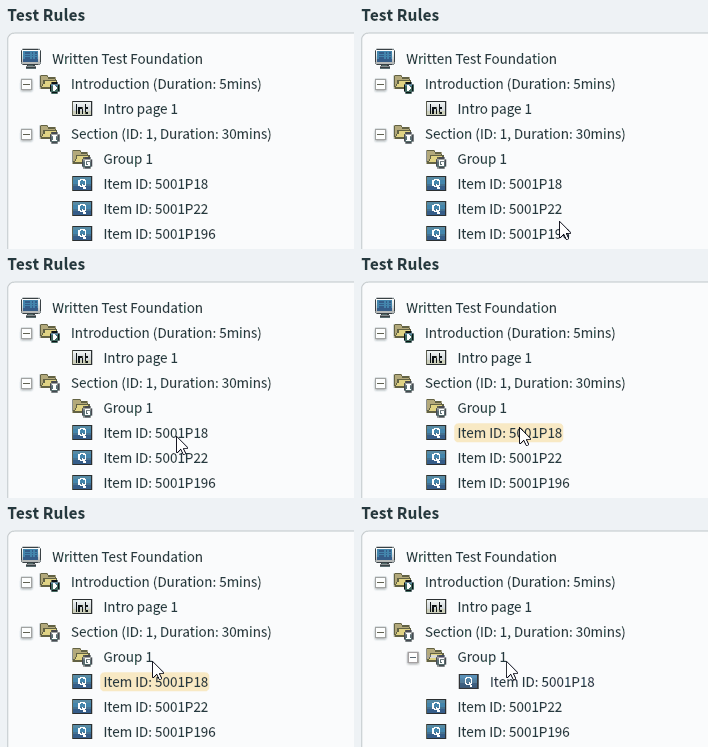
Drag an item from your test structure into the group folder. You can drag the items to reorder them when they are in the group. This order will persist even if Randomise Items is enabled in the section’s Section Properties.

You can also select the group folder and use Add to add items to the group in the Section (Fixed) dialog.

Further reading
For more information about adding content to a test form, read the following articles:
