Setting item content delays
When creating items for delivery in HTML tests, you can use an item content delay to hide the question stem, answer options, and source material from candidates until after the item’s audio or video media has finished or a specified time has elapsed.
This article explains how to use item content delays in HTML subject items.
In This Article
1. Add media to your item (optional)
If you want to delay item content until a video or audio file has finished playing, you must first add the media to the item.
Use Select Media to open the Media Library and add a video or audio file to your item. For more information, read Adding video to an item and Adding audio to an item.

2. Open the content delay settings
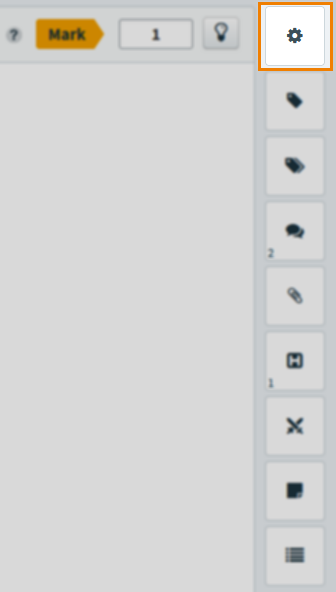
To set up the delay of your item content, select the Settings icon to open the Item Settings panel.
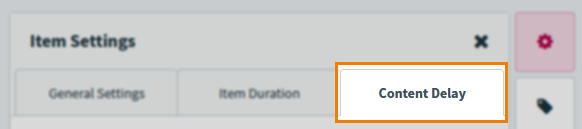
Next, select the Content Delay tab.
3. Set up item content delay
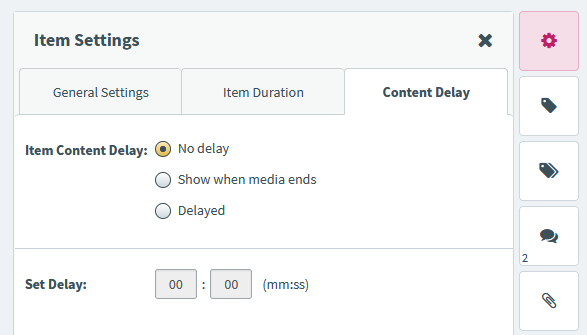
You can choose between three Item Content Delay options. Read the following table for more information on each setting.
| Setting | Description |
|---|---|
| No delay | Item content appears as soon as the item loads.
NOTE: This is the default setting for Item Content Delay.
|
| Show when media ends | Item content is delayed until after the attached media has finished playing. Show when media ends only works in items with one video or audio file. |
| Delayed | Item content is delayed until the time specified in Set Delay has elapsed. Enter the Set Delay value in mm:ss format. Set Delay must be between 00:01 and 99:59. |
When you have configured your item content delay, select Save to apply the content delay to your item. Select Discard Changes to cancel any changes made without saving.
Further reading
Now you know how to set up item content delays, read the following articles for more information on setting up items: