Adding rules to a dynamic section
A dynamic section in a test form contains rules that select test items from an item pool. You can use dynamic rules when you want to randomly generate a test form for all candidates or deliver different items to different candidates.
This article explains how to add rules to a dynamic section.
In this article
1. Select Add
Select your section folder in the Test Form Rules screen.
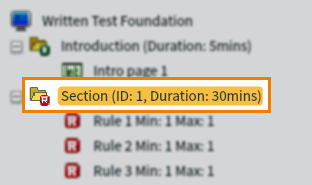
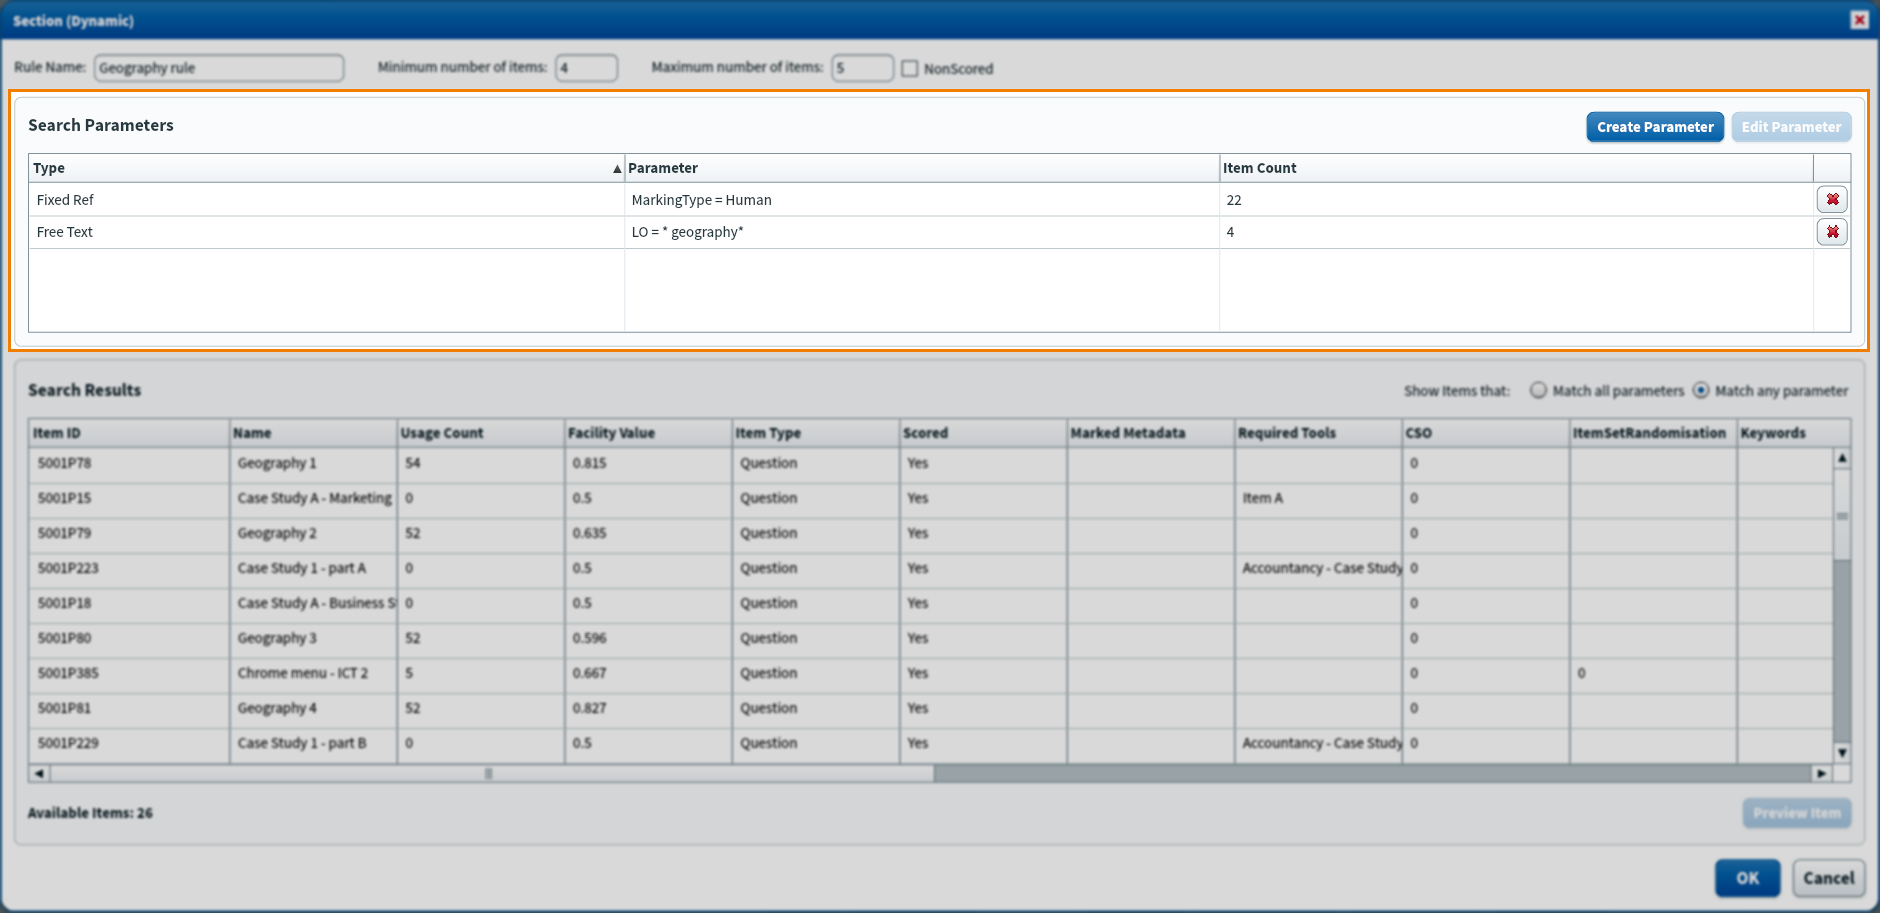
Select Add to open the Section (Dynamic) dialog where you can create rules.

2. Set up the rule
Enter a name for the rule in the Rule Name field.

Enter the minimum and maximum number of items you want the rule to select in the Minimum number of items and Maximum number of items fields. You must ensure the number of items specified by all rules in a dynamic section match the Total items setting in Section Properties. For more information, read ‘Edit Section Properties’ in Adding sections to a test form.

Select Non scored to remove all scores from the items chosen by this rule.

3. Search for items
You must run a search in the Section (Dynamic) dialog to find items for your rule.
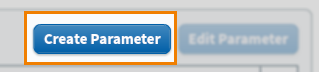
Select Create Parameter to search for items.
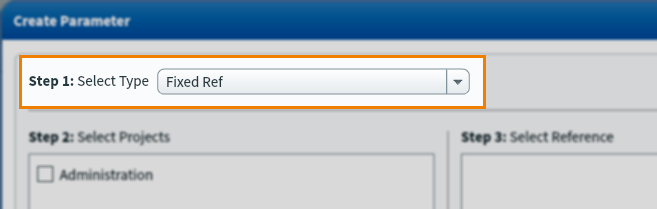
Choose a parameter type in the Select Type menu. For information about all search parameters, read About test form search parameters.
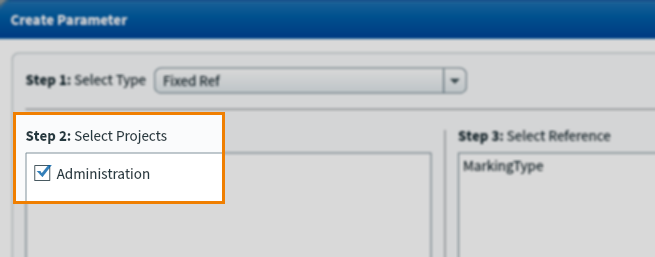
Choose the subjects you want to search in under Select Projects.
Select the relevant setting or enter a value in the following steps. These change based on the parameter type you choose.
The Available Items count shows you how many items are available based on your search parameter.

Select Create to run the search and return the available items.
You can search for more items or select Done to view the items returned from your searches so far.
4. Refine search parameters
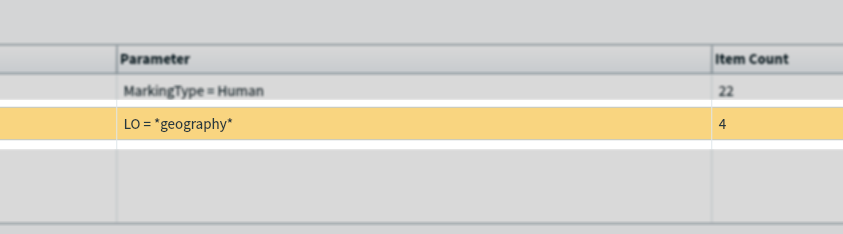
The Search Parameters grid displays all currently active search parameters.
| Column | Description |
|---|---|
| Type | The type of search parameter. For more information about the different types, read About test form search parameters. |
| Parameter | The values used in the search parameter. |
| Item count | The number of available items returned by the search parameter. |
To change the details of a search parameter, select it in the grid.
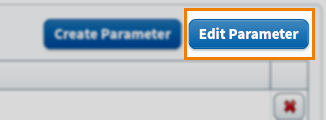
Select Edit Parameter to change the parameter settings in the Edit Parameter dialog.
Select Delete to remove a search parameter.
5. Refine search results
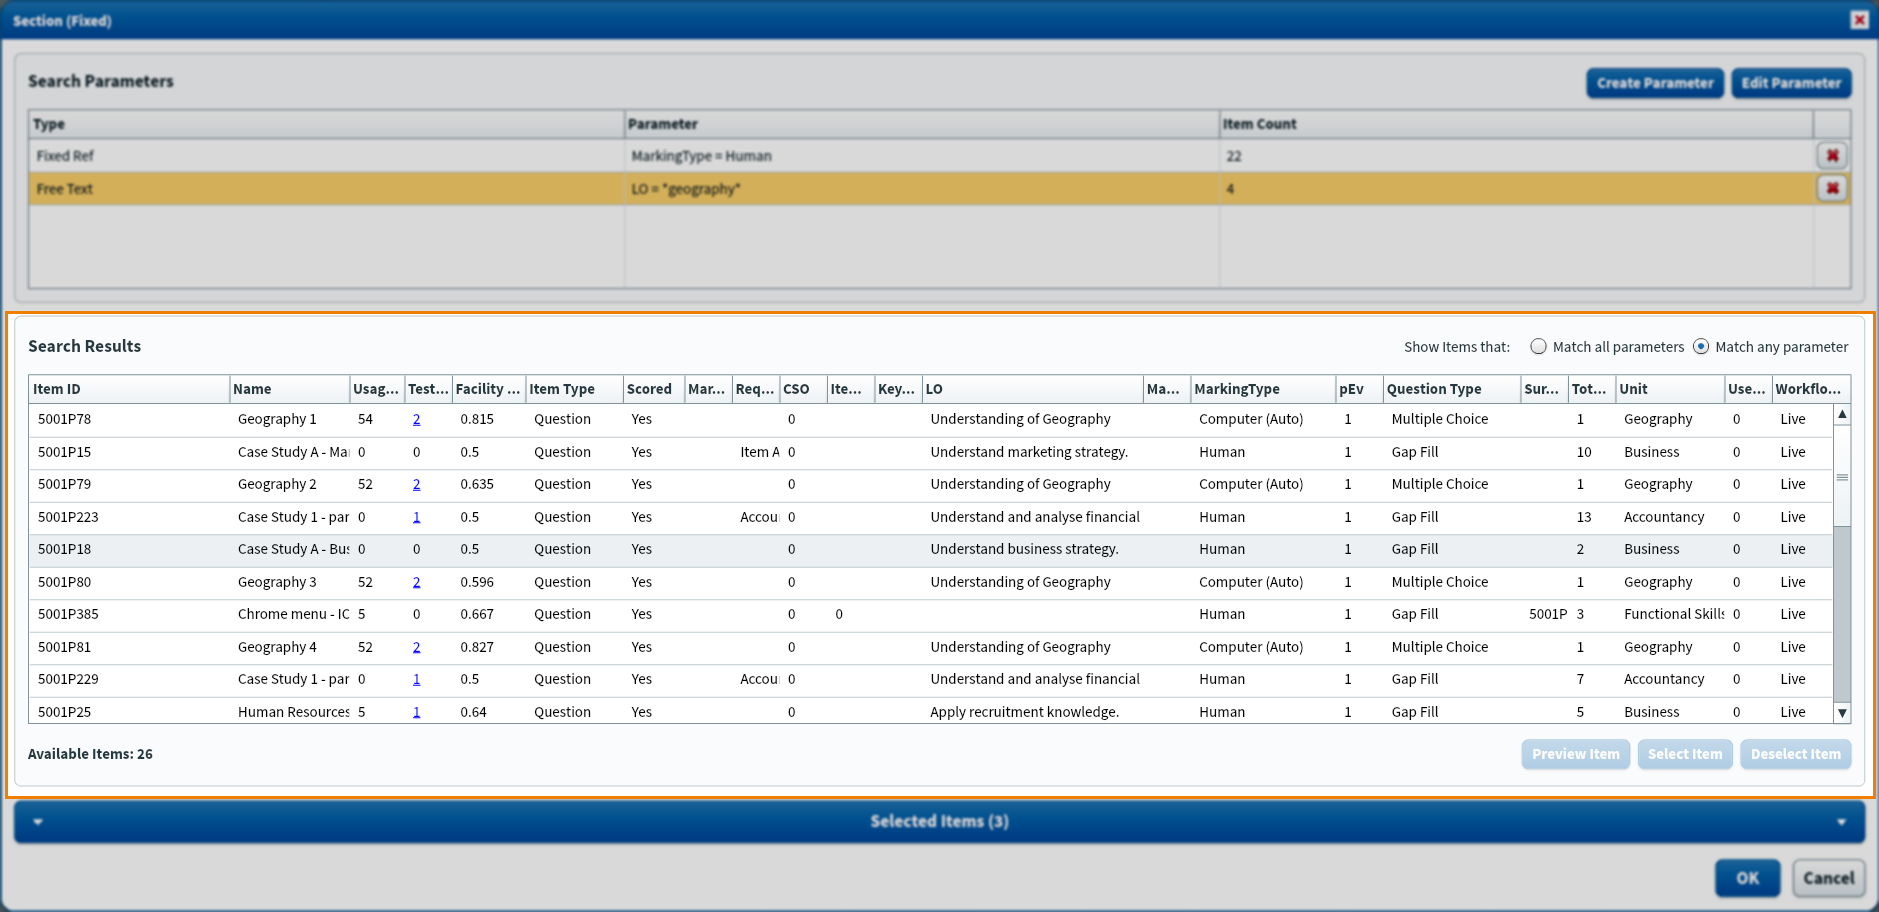
The Search Results grid displays all the items that match your search parameters.
Select Match all parameters to show items that match all search parameters (AND logic). Select Match any parameter to show items that match at least one search parameter (OR logic).

| Column | Description |
|---|---|
| Item ID | The unique ID assigned to the item. |
| Name | The name given to the item in Item Authoring. |
| Usage count | The total number of times the item has been delivered. |
| Test form count | The total number of test forms the item has been added to.
NOTE: This only accounts for items added to fixed sections.
|
| Facility value | The difficulty value between 0 and 1. Also known as the P value. |
| Item type | The type of item. This can be Question, Information, or Survey.
NOTE: Items from ContentProducer can also be Rubric or Source.
|
| Scored | Yes indicates the item is scored. No indicates the item is non-scored. |
| Marked metadata | The marked learning outcomes associated with the item. For more information, read ‘Setting up Marked Learning Outcomes’ in Using tags in items. |
| Required tools | The tools associated with the item. This includes source material and images that open as a pop-up. You must add the listed tools to the test form before it can validate. For more information, read Adding tools to a test form. |
| Keywords | The Keyword tag values associated with the item. |
| LO | The Learning Outcome tag values associated with the item. |
| Marking type | The marking type of the item. This can be Computer (Auto) or Human.
NOTE: Items from ContentProducer can also use Smart Mark.
|
| Question type | The type of question. |
| Total marks | The total number of marks assigned to the item. |
| Unit | The Unit tag values associated with the item. |
6. Preview items
To see a preview of the item in delivery, select it in the grid and use the Preview Item button.

7. Save rule
Select OK to save your rule and return to the Test Form Rules tab.
Further reading
For more information about editing test form content, read the following articles: