Setting up candidate tags
Candidates (also known as “students” or “learners”) are people that take tests using Surpass. Unlike users, candidates do not log into Surpass. Candidates only access their tests in the test driver—either in a web browser or SecureClient.
You can assign tags to candidates that allow you to record and store additional information (for example, languages, qualifications, key skills, and so on). This data can be retrieved in the raw data extract in Reporting.
This article explains how to create and manage candidate tags in Candidates screen.
In this article
Navigating to the Candidates screen
To view the Candidates screen, go to Setup > Candidates.

About the Tags panel
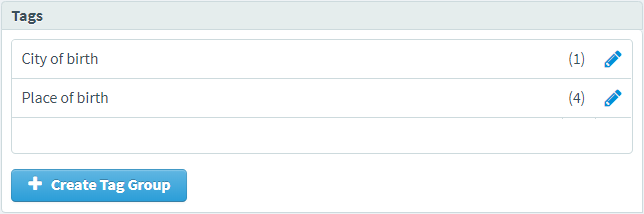
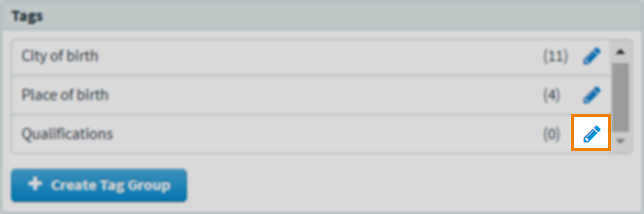
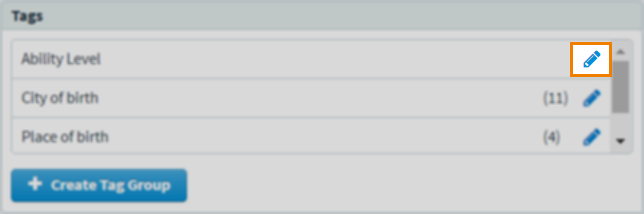
The Tags panel on the Candidates screen displays each tag group currently set up in your Surpass instance, with the number of associated tag values indicated in brackets.
Managing candidate tag groups
The following sections outline how to create, edit, and delete candidate tag groups in the Candidates screen.
Creating candidate tag groups
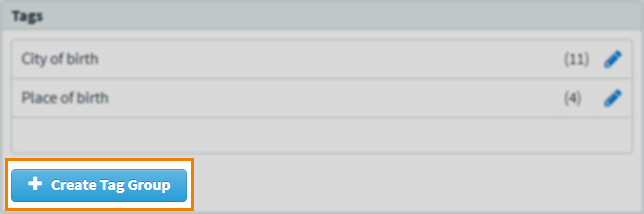
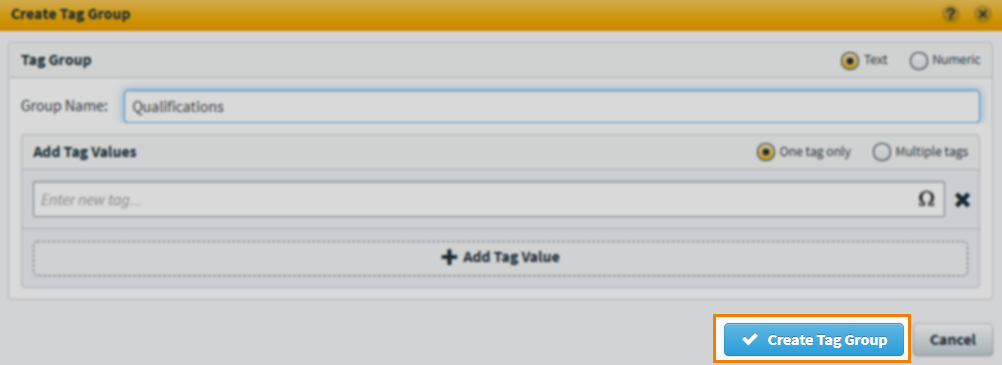
Select Create Tag Group in the Tags panel to open the Create Tag Group dialog.
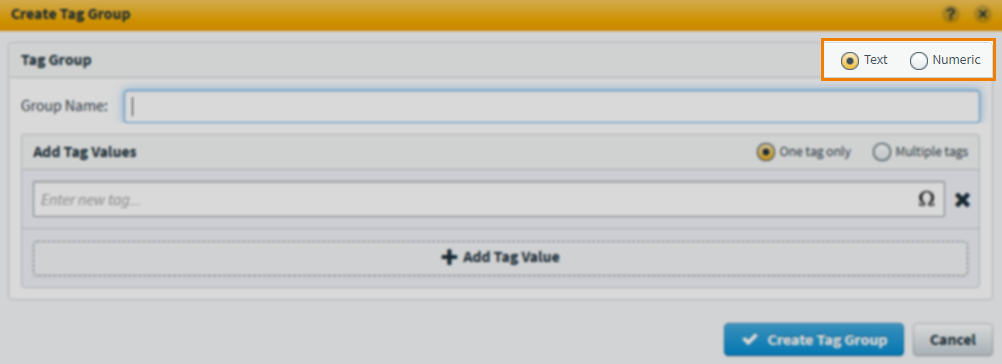
Before naming your tag group, choose whether you want the associated tag values to be Text or Numeric. You cannot change the tag group’s type (Text to Numeric / Numeric to Text) once the tag group has been created.
To learn more about text and numerical tag values, read ‘Setting up text tag values’ and ‘Setting up numeric tag values’ later in this article.
Enter a name for your new tag group in the Group Name field.
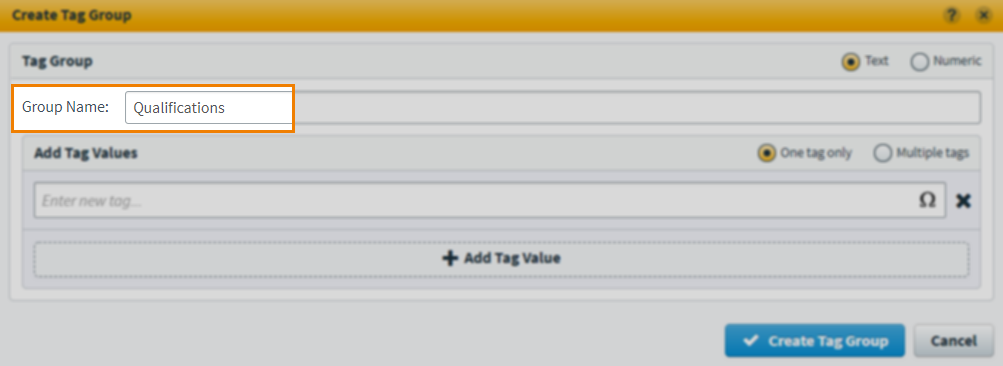
Select Create Tag Group to create the tag group.
Editing candidate tag groups
Select Edit Tag next to a tag group in the Tags panel to edit a tag group.
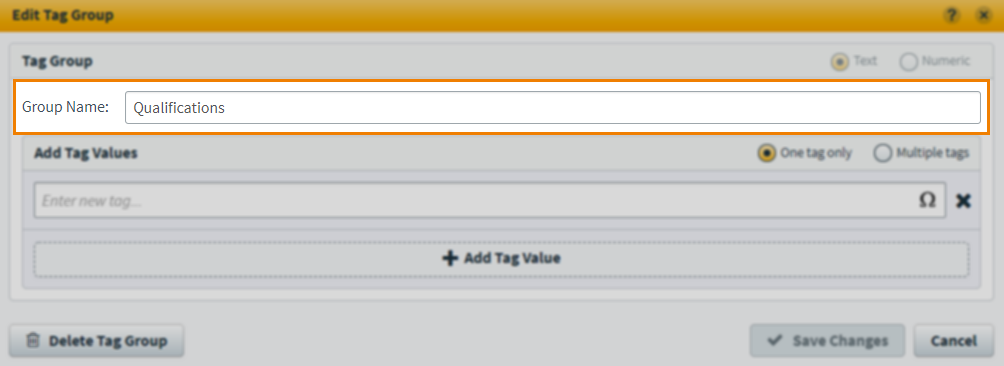
You can change the tag group’s name in the Edit Tag Group dialog’s Group Name field.
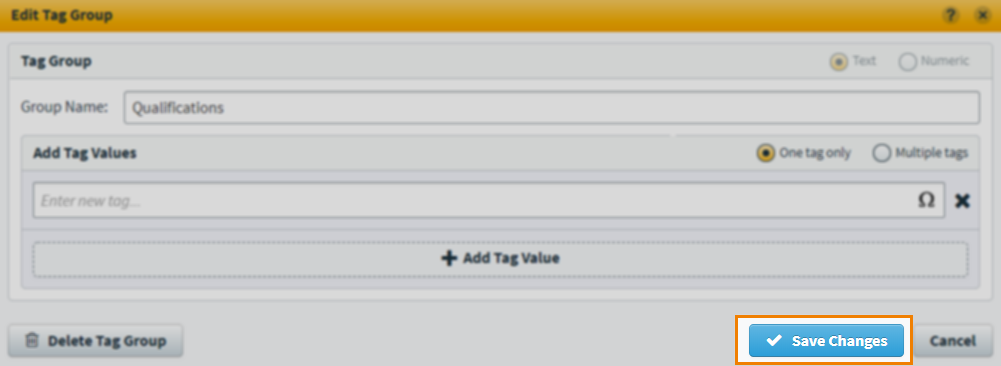
Select Save Changes to update the tag group.
Deleting candidate tag groups
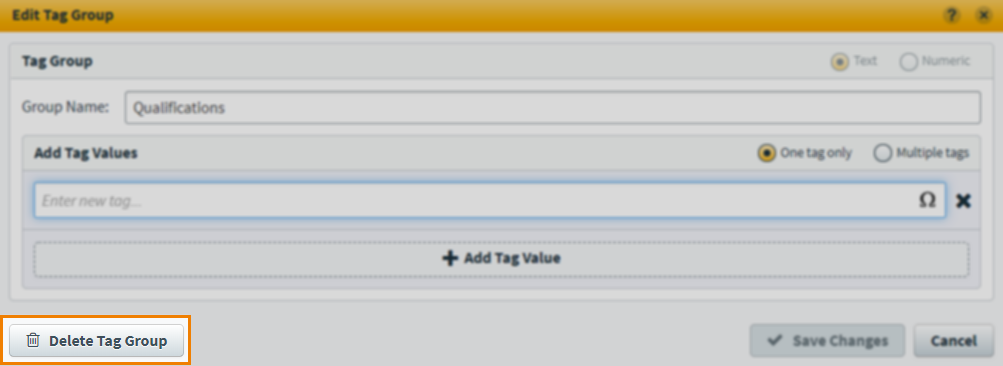
Select Edit Tag next to a tag group in the Tags panel to open the Edit Tag Group dialog.
Select Delete Tag Group to mark the tag group for deletion.
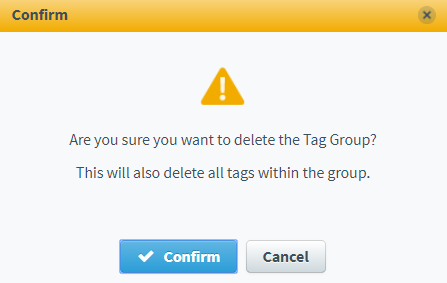
Select Confirm in the Confirm dialog to delete the tag group.
Managing candidate tag values
The following sections outline how to create, edit, and delete candidate tag values in the Candidates screen.
Setting up text tag values
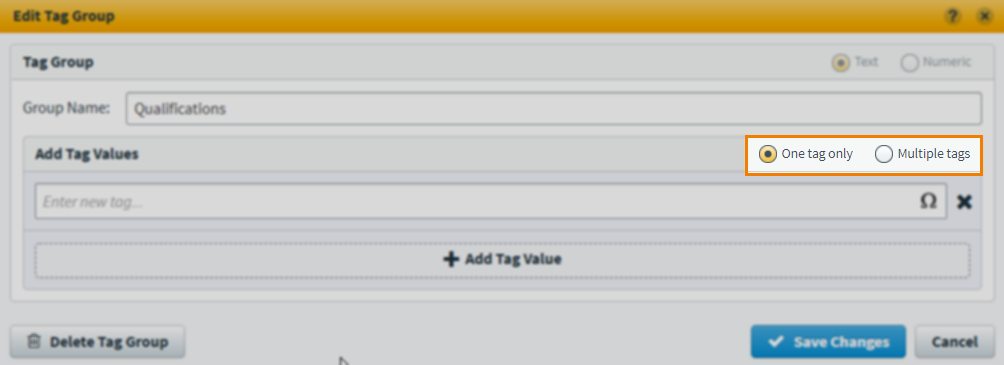
Select Edit Tag next to a tag group in the Tags panel to open the Edit Tag Group dialog.
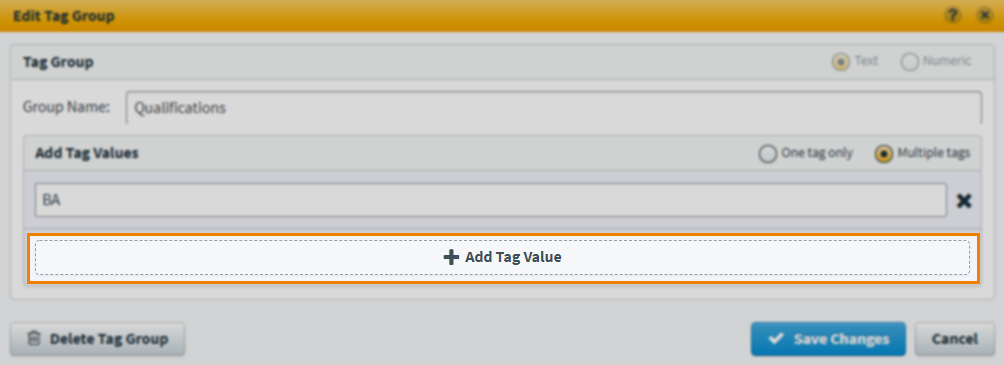
Before creating a tag value, choose whether you want candidates to only be assigned one tag (One tag only) or any number of tags (Multiple tags) from this tag group.
Enter a tag value in the Enter new tag field. For performance reasons, do not exceed 500 characters per tag value.
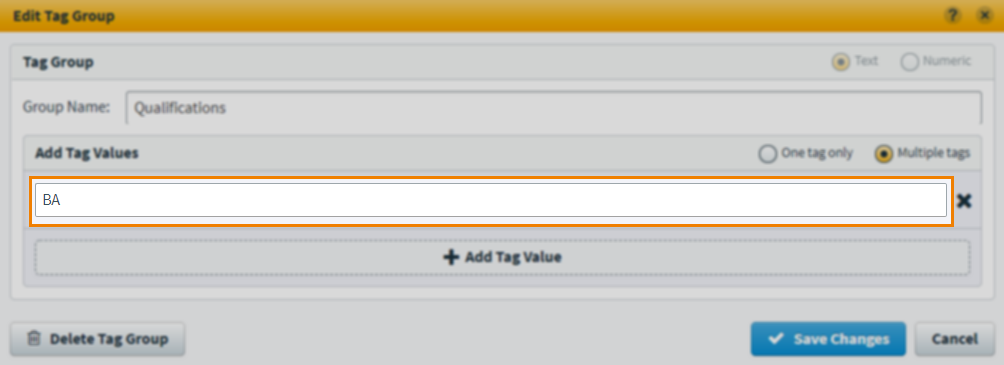
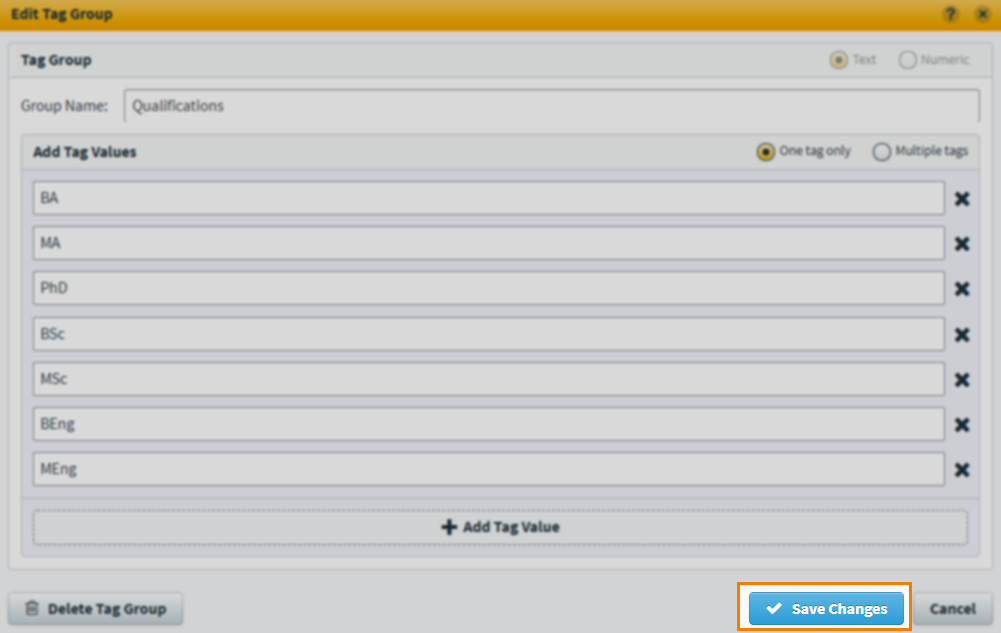
To add another tag value, select Add Tag Value . You can add up to 100 tag values to a tag group.
Select Save Changes to update the tag group.
Setting up numeric tag values
Select Edit Tag next to a tag group in the Tags panel to open the Edit Tag Group dialog.
The Value menu in the Edit Tag Group dialog determines the range of values available in the tag group. Numeric tag values are defined on a candidate-by-candidate basis in the Candidate Details dialog.
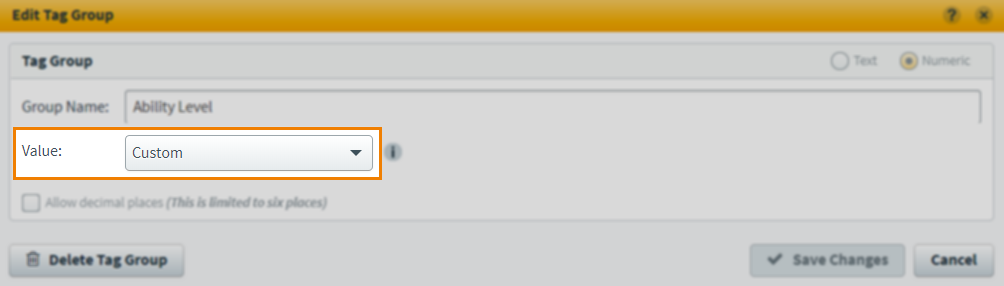
Choose one of the following options in the Value menu.
| Option | Description |
|---|---|
| Range/between two values | Numeric tag values must be between two predetermined values (From and To). |
| Less than | Numeric tag values must be less than or equal to a predetermined value. |
| Greater than | Numeric tag values must be greater than or equal to a predetermined value. |
| Custom | Numeric tag values can be any value. |
Select Save Changes to save the tag group.
Deleting candidate tag values
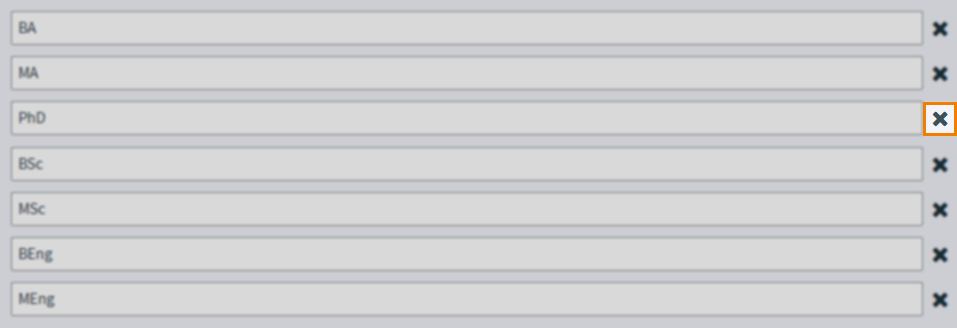
Select Delete next to a text tag value in the Edit Tag Group dialog to delete it.
Adding tags to a candidate
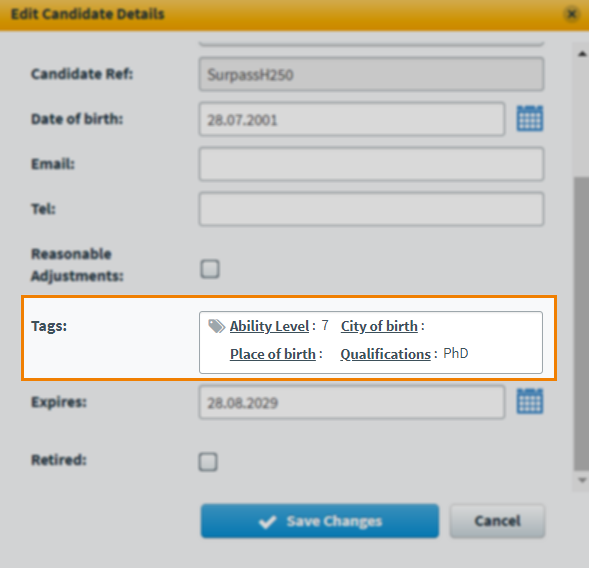
To add tag values to a candidate, either create or edit a candidate to view the Candidate Details dialog. The Tags field contains all available tag groups.

The following sections outline how to add both text tag values and numeric tag values to a candidate.
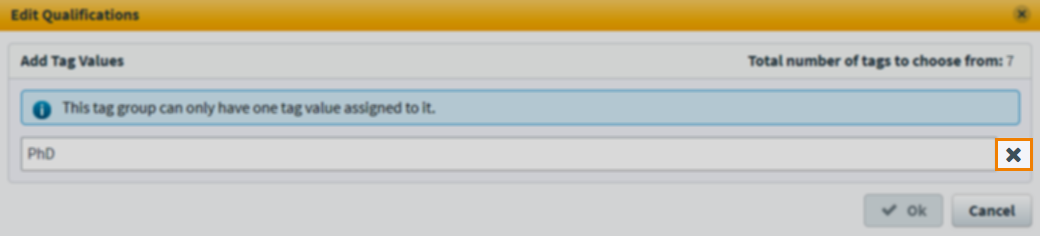
Adding text tags to a candidate
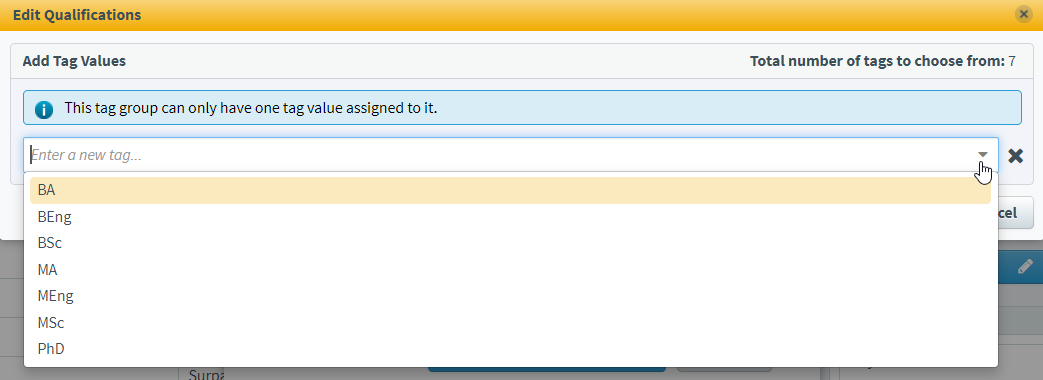
Select a tag group in the Tags field to add its associated tag values to a the candidate.

In the Edit [Tag Group Name] dialog either use the expander () to open the tag value menu and choose a tag value or enter a new tag value in the text field.
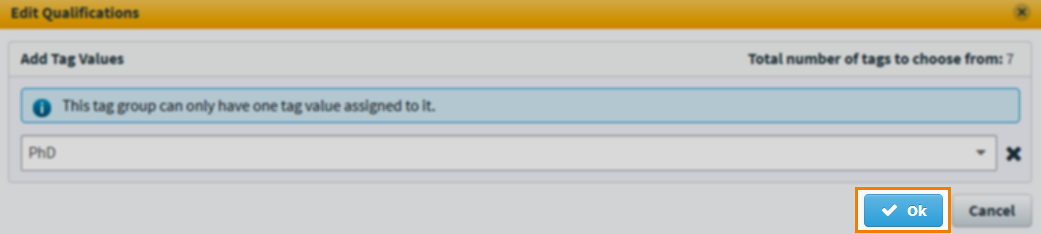
Select OK to update the candidate.
Adding numeric tags to a candidate
Select a tag group in the Tags field to add its associated tag values to the candidate.

Enter the relevant value in the entry field. Depending on the Value setting chosen on the tag group, there might be some restrictions on the values that can be entered.

Select OK to update the candidate.

Removing tags from a candidate
To add remove values from a candidate, edit the candidate to view the Candidate Details dialog. All currently assigned tags are visible in the Tags field.
Select a tag group to edit its tag values.

Select Delete next to a tag value to remove it.
Further reading
To learn more about working in the Candidates screen, read the following articles: