Configuring a test for SecureClient
SecureClient is a desktop delivery app with offline test support and built-in protections against internet and device failure. SecureClient features lockdown capabilities that prevent candidates from leaving the test session.
This article explains how to create and configure a test for SecureClient, including how to set up Bring Your Own Device (BYOD) mode.
In This Article
1. Create a test
To view the Tests screen, go to Test Creation > Tests. For more information about the Tests screen, read About the Tests screen.

2. Select Create Test
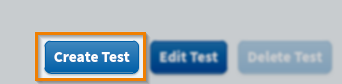
Select Create Test on the Tests screen.
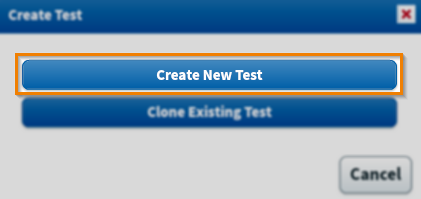
In the Create Test dialog, select Create New Test.
3. Enter test information
Fill out the fields in the Create Test dialog to create a new blank test.
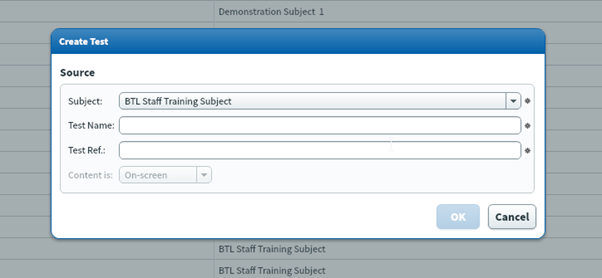
Fill out your new test’s information in the Create Test dialog. Refer to the following table for information on each field.
| Setting | Description |
|---|---|
| Subject | Choose the subject that contains the items you want to include in your test. |
| Test Name | Enter a name for your test. This is visible to Surpass users and candidates. |
| Test Ref | Enter an alphanumeric reference. The reference is visible to Surpass users, but not candidates. The reference must be unique. |
| Content is |
Choose the test delivery type. If your test is delivered on a computer, select On-screen. If your test is delivered on paper, select Paper-based.
NOTE: Paper based tests are a legacy setting and only applicable to ContentProducer content. For most users, this option is greyed out. Only certain item types are compatible with paper tests. For more information, read Printing test forms in Test Creation.
|
4. Configure test for SecureClient delivery
Select the General Settings tab in the Edit Test dialog. For more information about test settings, read About test settings.
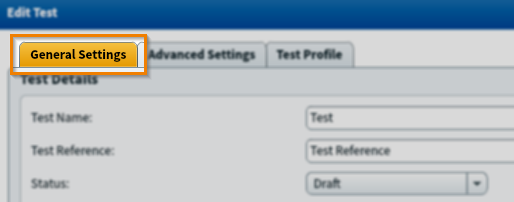
To set up a test for SecureClient delivery, configure the following settings in Edit Test > General Settings > Test Delivery Options:
| Setting | Description |
|---|---|
| Requires SecureClient |
Restricts test delivery to SecureClient. This means that the test cannot be delivered using web delivery.
NOTE: This setting is not available for computer-based projects.
|
| SecureClient Mode |
Determines the delivery mode. Choose from the following two options:
|
Setting up BYOD mode (optional)
A Bring Your Own Device (BYOD) version of SecureClient can be used to deliver tests. Bring Your Own Device (BYOD) refers to when candidates are allowed to take tests at a test centre on their personal machines rather than devices provided by the awarding organisation or test centre.
For more information on BYOD SecureClient, read ‘Delivering tests using BYOD SecureClient’ in About Surpass test delivery options.
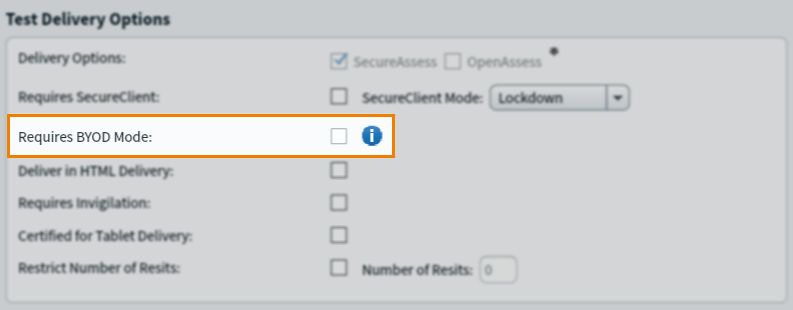
To enable BYOD mode, select Requires BYOD Mode. If enabled, candidates must take their tests using the BYOD version of SecureClient. The test is not available using any other method.
When you have created your test, you can create test forms containing test content in the Test Forms screen. For full instructions, read the Creating test forms and About test form settings articles.
Further reading
For more information on configuring tests, see the following articles: