Setting up tag hierarchies
In Surpass, you can attach metadata (known as ‘tags’) to items and then use these tags to organise items when authoring content, creating tests, and viewing results. Tags are made up of ‘tag groups’ and ‘tag values’. Tag groups are categorised containers for tag values.
Tag groups can be further categorised into tag hierarchies. Item authors can select and assign tag values to items from a pre-defined tag hierarchy. You can create tag hierarchies in the Subjects screen of Setup. Tag hierarchies are subject-specific.
This article explains how to set up tag hierarchies in the Subjects screen of Setup, including how to edit a tag hierarchy.
In this article
1. Go to the Subjects screen in Setup
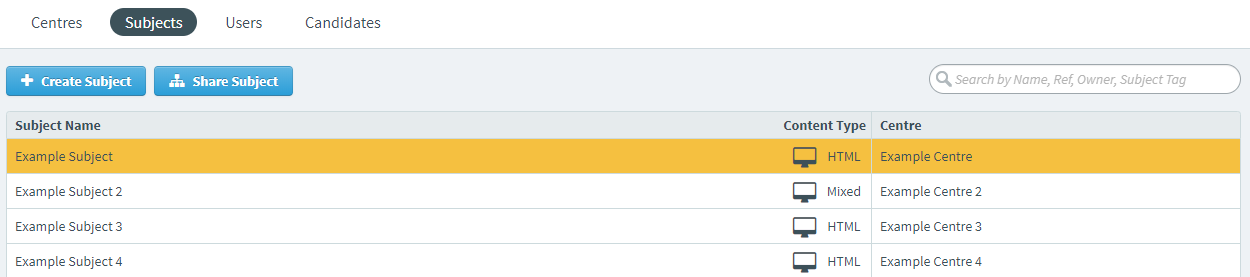
To view the Subjects screen in Setup, go to Setup > Subjects.

2. Choose a subject in the Subjects list
Choose a subject in the Subjects list.
3. Create your tag hierarchy
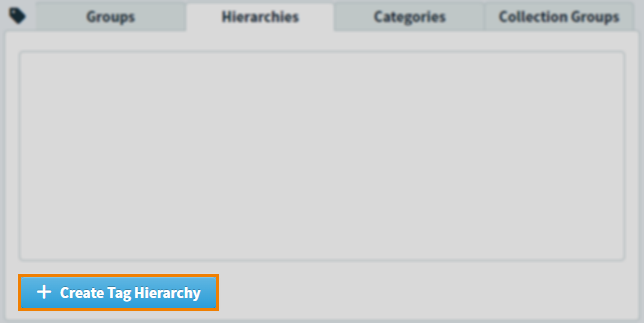
The Tag Hierarchies panel displays the chosen subject’s existing tag hierarchies. Up to three tag hierarchies can be created per subject.
Select Create Tag Hierarchy to create a new tag hierarchy.
Enter a name for the tag hierarchy in the Create Tag Hierarchy screen.

Publishing tags to Test Creation
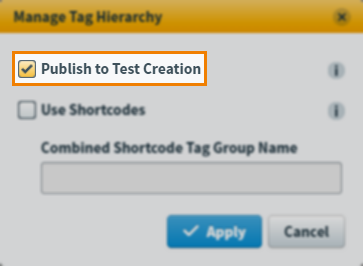
In the Manage Tag Hierarchy dialog, accessed via Tag Hierarchy Settings , you can determine whether tags are published from Item Authoring to Test Creation. If tags are published, items can be filtered by tags and dynamic rules created from tags when creating test forms in Test Creation.
Select Tag Hierarchy Settings .

Select Publish to Test Creation.
Using shortcodes
In the Manage Tag Hierarchy dialog, accessed via Tag Hierarchy Settings , you can enable the use of shortcodes. Shortcodes are prefixed to tag values, for example to abbreviate long-form tag value names.
When a tag value in a tag hierarchy is assigned to an item, the shortcodes of the tag and all its parent tags are combined into a new combined shortcode tag value that is then also assigned to the item.
Select Tag Hierarchy Settings .
Select Use Shortcodes.
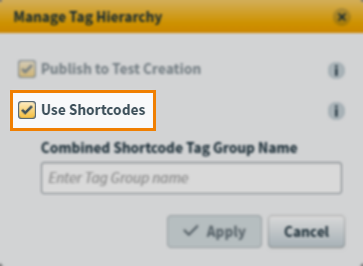
A new combined shortcode tag group must be created to contain the combined shortcode tag values. Enter a name for the combined shortcode tag group.
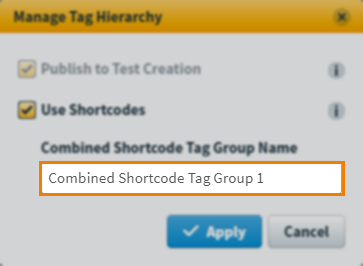
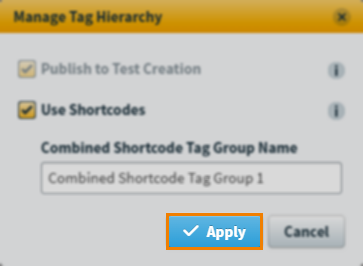
Select Apply to enable shortcodes and create your combined shortcode tag group.
Once enabled, each tag value must have a shortcode. Read section 5. Add your tag values for more information.
4. Create your tag groups
Select Add Tag Group to create a new tag group on the first level your tag hierarchy.

Enter a name for your tag group.

Add more tag groups to your tag hierarchy to create more levels in the hierarchy.
Editing tag groups
Created tag groups can be edited. Expand the following section for more information.
Select Edit next to a tag group to edit it.

Once you have amended your tag group, you can confirm () or discard () your changes.
Deleting tag groups
Created tag groups can be deleted. Expand the following section for more information.
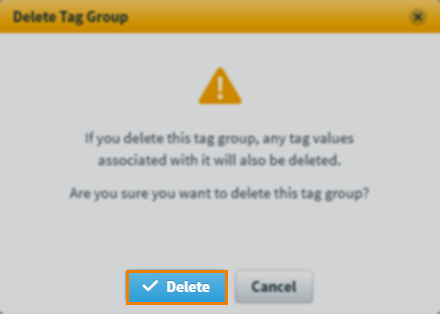
Select Delete next to a tag group to delete it.

Select Delete in the Delete Tag Group dialog to confirm you want to delete the tag group.
5. Add your tag values
Select Add Tag Value to create a new tag value for the tag group in the first level of your tag hierarchy.

If shortcodes have been enabled (read Using shortcodes above), enter a shortcode for the tag value.
Enter a name for the tag value in the Create Tag Value dialog.
Select the special character icon (‘Ω‘) to insert a special character. For more information on special characters, read About special characters.
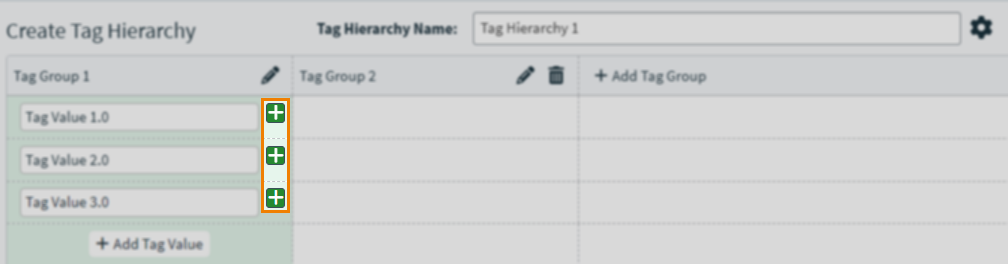
To add tag values to the next level of your tag hierarchy, select the Add button to create a child of the corresponding tag value. The new child tag value is created in the tag group corresponding to the next level of the tag hierarchy.
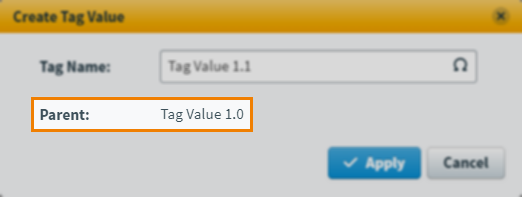
Enter a name for the tag value in the Create Tag Value dialog. The new tag value’s parent tag value is also detailed in the dialog.
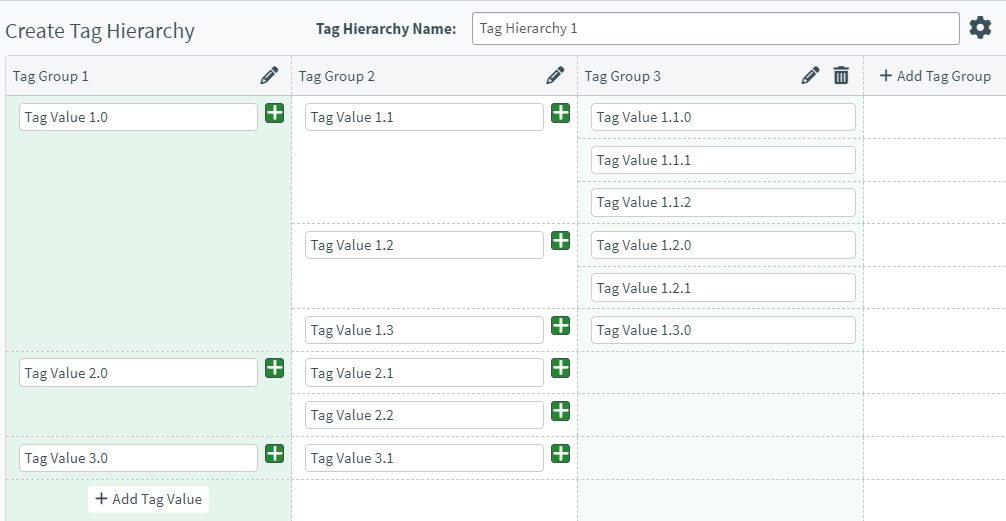
Repeat steps 4 and 5 to continue building your tag hierarchy as required.
Editing tag values
Created tag values can be edited. Expand the following section for more information.
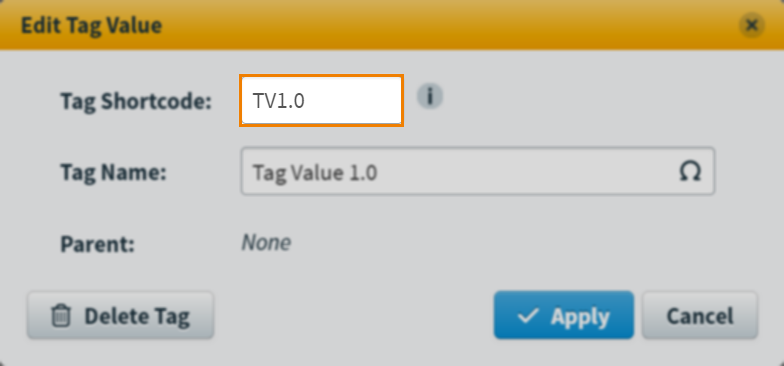
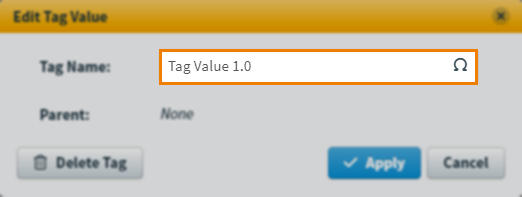
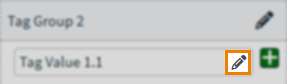
Select Edit next to a tag value to edit it.
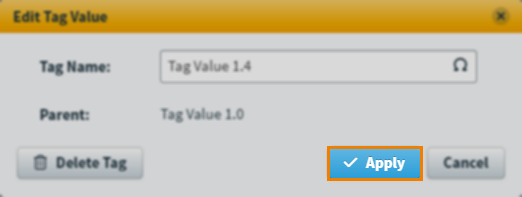
Amend the name of your tag value in the Edit Tag Value dialog. Select Apply to confirm your changes.
Deleting tag values
Created tag values can be deleted. Expand the following section for more information.
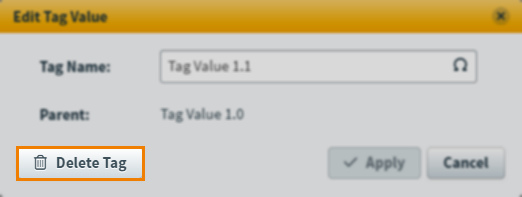
Select Edit next to a tag value to edit it.
Select Delete Tag .
5. Publish your tag hierarchy
Tag hierarchies must be published before they can be used by item authors in Item Authoring.
To publish a tag hierarchy, select Published from the Status drop-down menu.

6. Save your tag hierarchy
Select Save to create your tag hierarchy.

The new tag hierarchy appears in the chosen subject’s Tag Hierarchies panel.
Editing tag hierarchies
Created tag hierarchies can be edited. Expand the following section for more information.
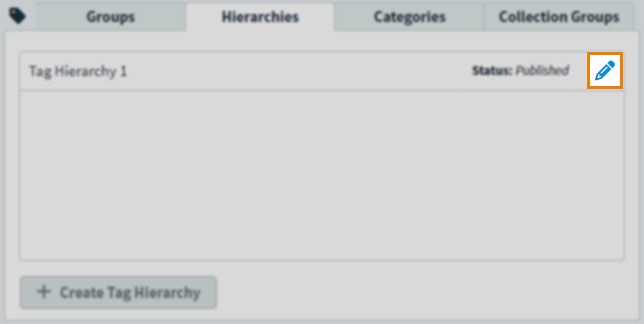
Select Edit next to a tag hierarchy in the Tag Hierarchies panel to edit a tag hierarchy.
In the Edit Tag Hierarchy screen, you can rename the tag hierarchy and amend its settings, status, tag groups, and tag values.
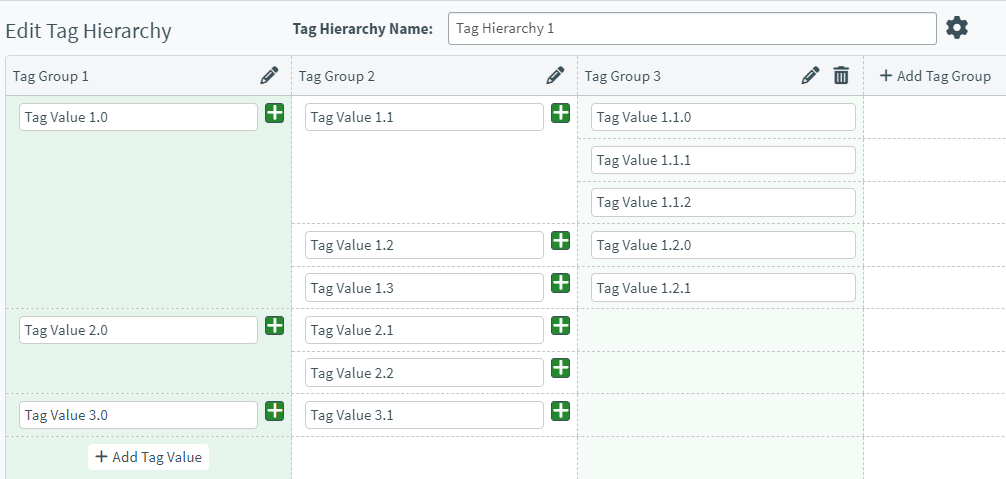
Any amends to existing tag values already added to items are enforced in Item Authoring. Tag values already added to items that are being deleted will remain on the item until permanently removed by an item author.
Select Save to save changes to your tag hierarchy.
Deleting tag hierarchies
Created tag hierarchies can be deleted. Expand the following section for more information.
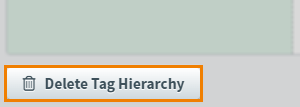
Select Delete Tag Hierarchy to mark the tag hierarchy for deletion.
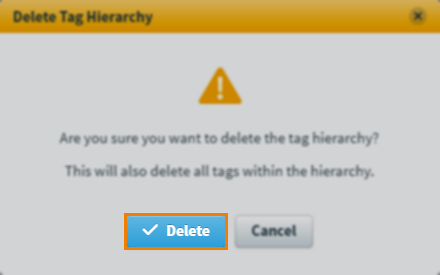
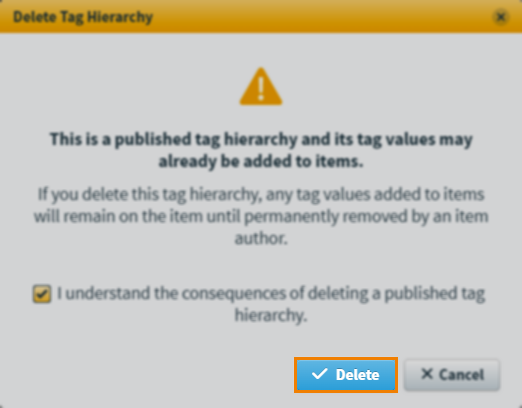
Select Delete in the Delete Tag Hierarchy dialog to confirm you want to delete the tag hierarchy.
If your tag hierarchy has been published, any tag values added to items will remain on the item until permanently removed by an item author. You must also confirm you understand the consequences of deleting a published tag hierarchy.
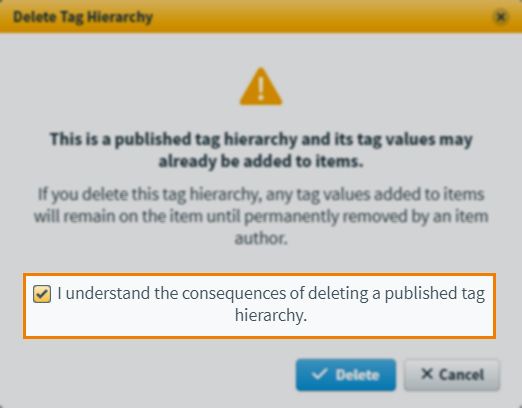
Select Delete in the Delete Tag Hierarchy dialog to confirm you want to delete the tag hierarchy.
Further reading
To learn more about working with tags in the Subjects screen, read the following articles: