Creating URL source material
You can create source material in a subject’s media library that lets candidates to access specific web pages during a test. This allows you to provide controlled access to the internet when candidates sit tests in locked down SecureClient.
In the test driver, candidates can copy text from whitelisted websites in URL source material and use the right mouse button context menu to navigate back and forward.
This article explains how to create URL source material in the media library.
In this article
1. Open the media library
In your subject, select Media Library to open the subject’s media library.

2. Open the source material editor
Use Create Source Material to open the Create Source Material window.

3. Select source material mode
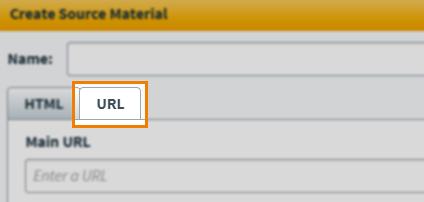
You can create two kinds of source material in the Create Source Material window: HTML source material and URL source material.
Select the URL tab to create URL source material. For more information on HTML source material, read Creating HTML source material.
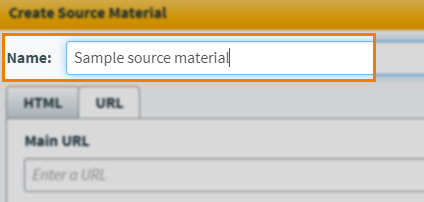
4. Name your source material
Enter the source material’s name in the Name field.
5. Enter your source material content
Enter the site you want candidates to see as they open the URL source material in the Main URL field.
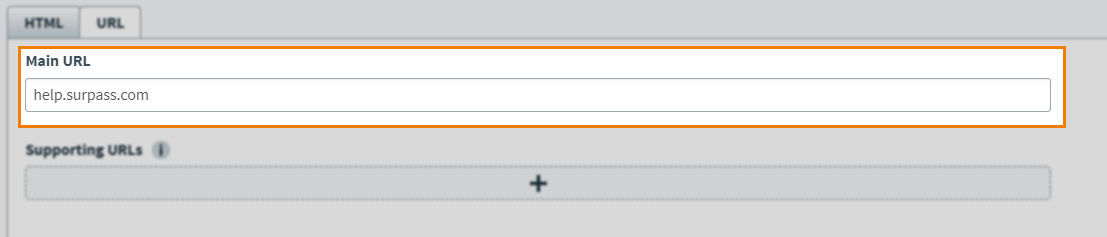
Adding supporting URLs
You can add any other sites you want candidates to be able to access in the Supporting URLs section. This includes any sites linked from the main URL or external image sources.
Select Add new URL to add a new URL entry field.
Enter your supporting URL in the field.

To remove a URL entry field, select Delete .
Adding wildcard URLs
Use wildcards when the main URL contains multiple links to different parts of the same website. Using wildcards means you do not have to add all separate link destinations as supporting URLs.
Importing a URL Whitelist
Importing a CSV file of whitelisted URLs allows you to add the sites you want candidates to be able to access in bulk.
Select Import Whitelist to open the Import Whitelist dialog.
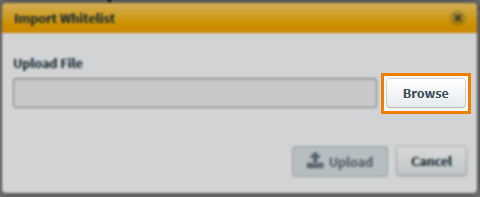
Select Browse to open your device’s file explorer. Find your CSV file and open it to upload it to Surpass.
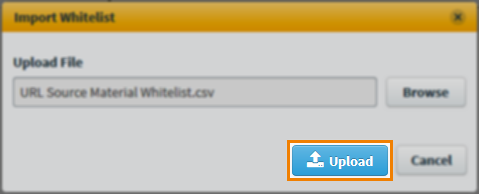
Select Upload to add your CSV whitelist to your source material.
You can download the uploaded whitelist by selecting the Download button. To remove the whitelist, select the Delete icon.
6. Preview your source material
Select Preview to see your source material from a candidate’s perspective.

7. Save your source material
Select Save to save your source material to your subject’s media library.

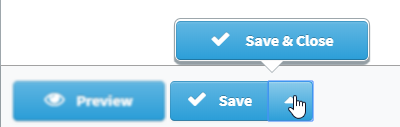
To see additional saving functionality, use the Save arrow to reveal the Save & Close button. Select Save & Close to save your progress and return to the media library.
Further reading
To learn more about source material in Surpass, read the following articles: