Creating a Numerical Entry question
A Numerical Entry question requires candidates to submit a number in response to a prompt.

This article explains how to create a basic Numerical Entry question in Surpass, including details on Advanced Numerical Entry for HTML subject items, how to limit candidates’ responses, and hints.
In This Article
1. Choose your item type
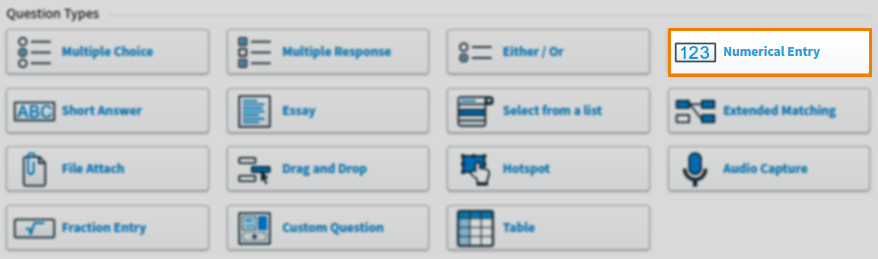
In your subject, select Create New Item to open the Question Types menu. Choose Numerical Entry to create a blank Numerical Entry item and go to the Edit screen.
2. Name your item
Enter the item’s name in the Name field.

3. Enter your question text
Enter your question text in the question stem. Select Add Text Area to add an additional question stem. You can have a maximum of five question stems per item.

Open Additional Options to add source material or assistive media to your question stem. In mixed subjects, you can also add a table to your question stem (in HTML subjects, tables can be added using the formatting toolbar).
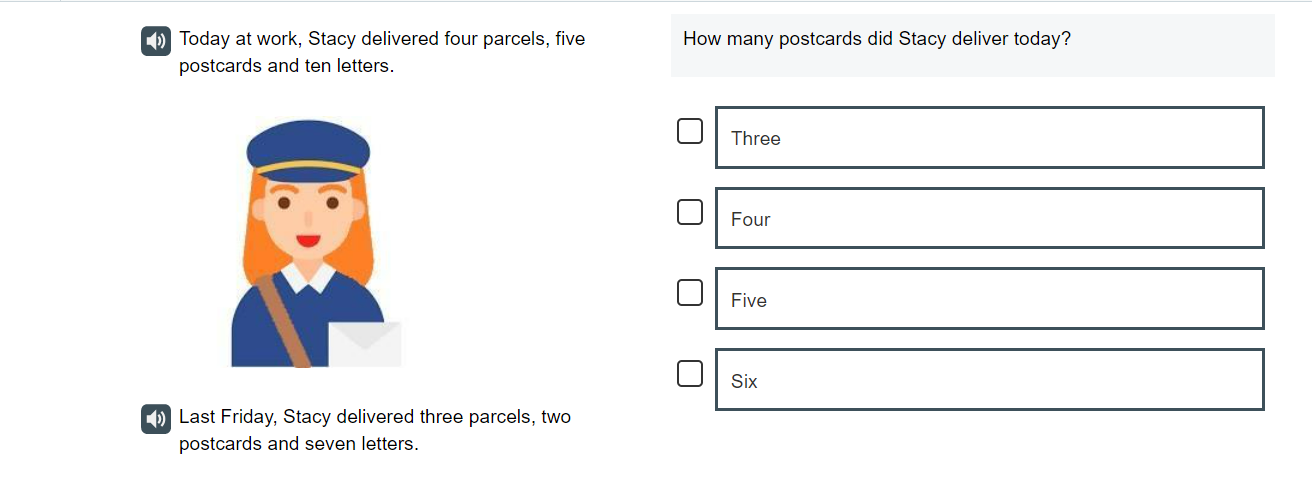
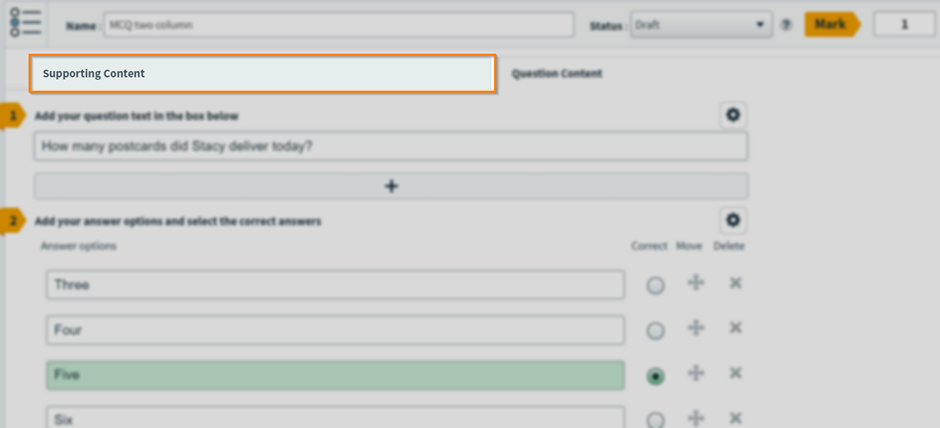
Two-column item layout
A two-column layout displays Supporting Content alongside the Question Content allowing the candidate to see all information provided without the need for scrolling.
Open the Item Settings panel.

Select Two Columns from the Layout Option.
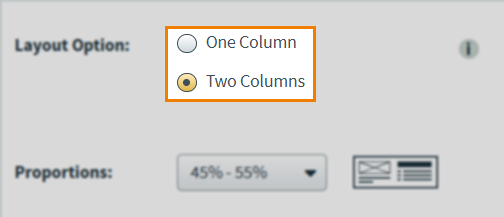
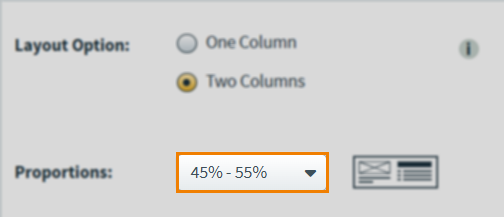
You can change the columns’ Proportions using the drop-down menu.
Select the Supporting Content tab to edit the second column. You can add up to 5 different supporting content stems, with a maximum of 1 piece of assistive media per stem.
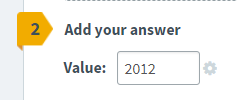
4. Add your answer
Enter the correct answer in the Value field. By default, Numerical Entry questions require a specific value as the correct answer.
You can set a numerical range as the correct answer, with candidates receiving credit for any number that falls between the minimum and maximum values. To do this, open Additional Options and select Range to change the Value field into Min Value and Max Value fields. Enter the minimum and maximum accepted values in the respective fields to set your range.
Limiting candidates’ responses
You can restrict how many characters candidates can enter into the answer field.
Select Limit candidate response and enter a value in the character(s) field. There is a maximum limit of 22 characters.
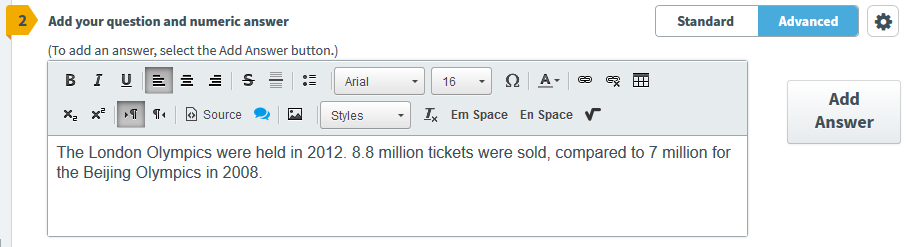
Advanced Numerical Entry (HTML subjects only)

An Advanced Numerical Entry item consists of a text string containing blank spaces where candidates can provide the missing numbers.
Select Advanced mode
Select Advanced on the Standard/Advanced toggle to enable Advanced mode.

Write your question and answer text
Enter the complete text in the answer field.
Add individual answers
Highlight the value you want candidates to provide and select Add Answer. This adds the number to Correct Answer(s), where you can make any necessary edits. To remove an answer, select Delete .
Select Limit candidate response to a set a maximum accepted character value per answer field.
Add shared answers
Shared answers let you create a collection of correct answers that can be entered into specified answer fields. To do this, select Add Answer Collection .
Select Add Input to specify which answer field you are creating a collection of answers for.
Select Add Answer within the answer collection to add a group of shared correct answer options. If candidates provide any answer that is specified in the answer collection, they will be awarded a proportion of the overall mark.

Additional options
Open Additional Options to view extra settings for your Advanced Numerical Entry item.
Select Only award mark if candidate selects all correct options if you only want to award full marks to those candidates that enter all correct values. This is also true for answer collections and answer combinations.
Enable Answer Combinations lets you define a correct combination of answers for an answer collection (see Shared Answers above). To do this, select Add Combination and then select an answer from the collection for each answer field.
Select either Always Use Decimals as Separators or Always Use Commas as Separators under Decimal Settings to override your instance’s separator format for this item
5. Set the question’s marks
Set the item’s total marks in the Mark field.

Adding hints (HTML subjects only)
You can provide candidates with hints if they answer a question incorrectly. Candidates can view the hint and reattempt the question.
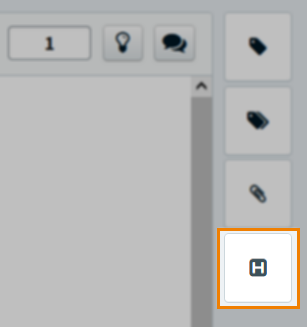
Select Hints to open the Hints panel.
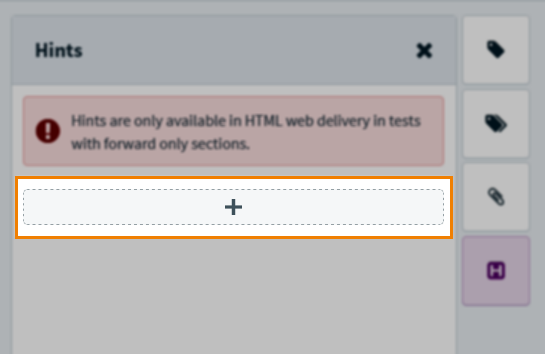
Select Add to create a hint.
Enter your hint text in the entry field. For information on how to use the formatting toolbar, read Using the formatting toolbar.
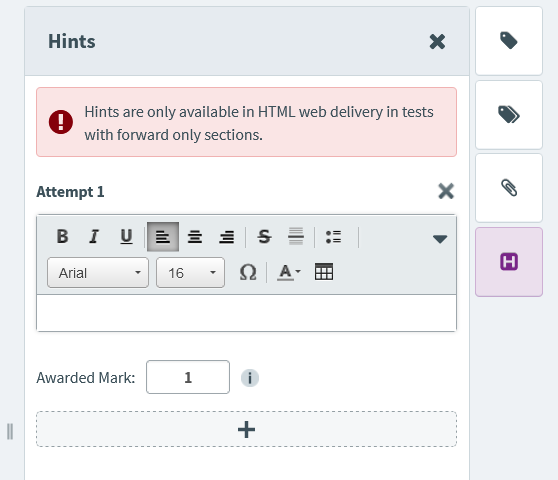
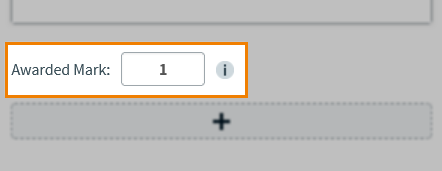
You can define the Awarded Mark if candidates answer the question correctly after viewing a hint. The Awarded Mark value must not exceed the item’s original Mark value.
Select Save and Close to save your hints and return to the Edit screen.
6. Select a workflow status
Set the item’s workflow status in the Status drop-down menu. Only items set to Live can be used in a test.

7. Preview your question
To see your item from a candidate’s perspective, select Preview .

In Mixed subjects, you can preview your item in the HTML test driver. Use the Preview arrow to open the Preview Options menu and select Preview in HTML . Any custom CSS is applied in the Preview screen. For more information on custom CSS, see Creating a subject in Setup.

You can check your item’s marking behaviour in the Preview screen. Enter answers to update the Mark field.
If you need to continue working on the item, select Edit to return to the Edit screen.

8. Saving and closing your item
Select Save to save your item to your subject.

To see additional saving options, use the Save arrow to open the Save Options menu. Select Save & Close to save the item and return to the Subjects screen. Select Save & New to save the item and create another Numerical Entry item.

Select Close to leave the Edit screen. If you have unsaved changes, you are prompted to either save or discard them.

Further reading
You can do much more with Numerical Entry items in Surpass. For more information, read the following articles: