Working in an Authoring (Edit Existing Items) task as an assignee
Authoring (Edit Existing Items) tasks allow you to add content to a predefined collection of blank or partially completed items. As an assignee, you have a set quota of items to edit during the task based on the number of items in your name.
This article explains how to work in an Authoring (Edit Existing Items) task as an assignee, including how to author and flag items, preview your changes, and mark the task as complete/incomplete.
In this article
1. Open the task
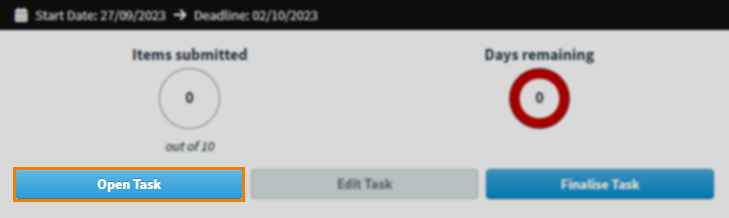
On the Tasks list, select the Authoring task you want to work on. The task details panel displays the task’s description and doughnut charts representing the number of submitted items and days until the deadline. You can also download attachments if the task has any. For more information, read About the Tasks screen.
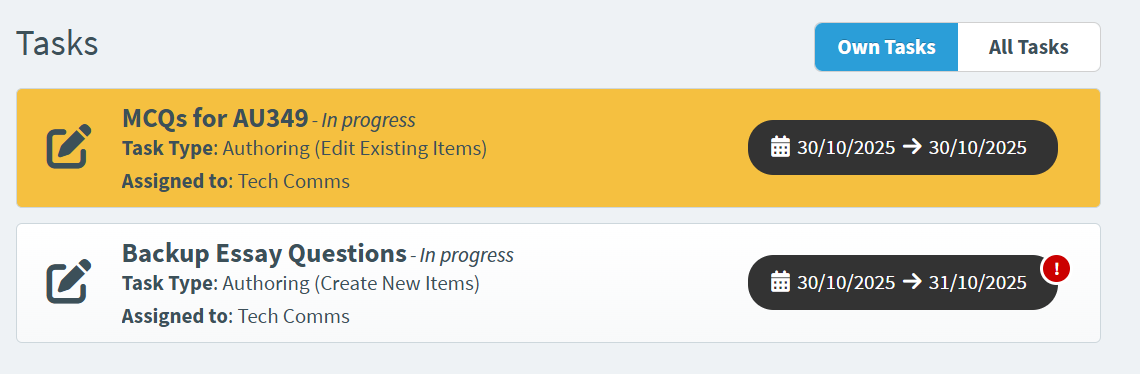
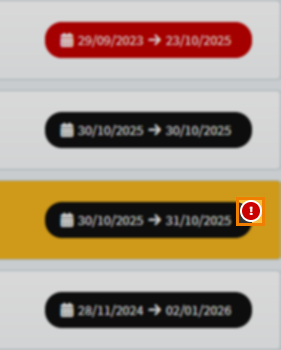
Tasks that have items returned by a lead assignee are marked with an ‘attention’ () icon.
Select Open Task to open the Authoring screen and start working on the Authoring task. This changes the task’s status to In progress.
2. Choose an item to edit
The Authoring screen contains the items you are to edit as part of this task.
Navigating between items
There are multiple ways to navigate between items in the task.
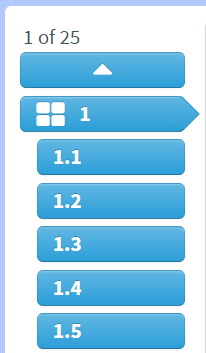
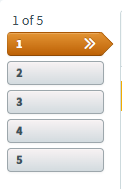
Select an item breadcrumb on the item navigation panel to begin editing that item.

Alternatively, you can enter a specific item number into the Go to item field to navigate directly to that item.
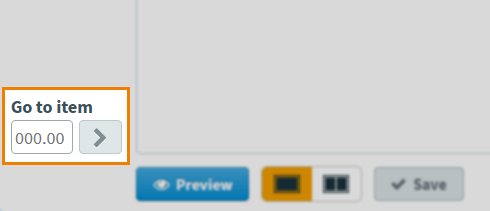
If an item is in an item set, you can enter a decimal (such as 1.3) in the Go to item field to navigate directly to that item.
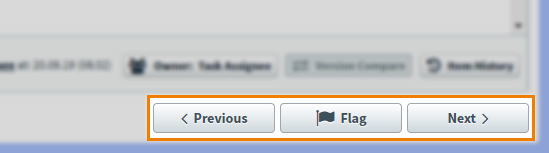
You can also select Previous and Next to move through the task’s items.
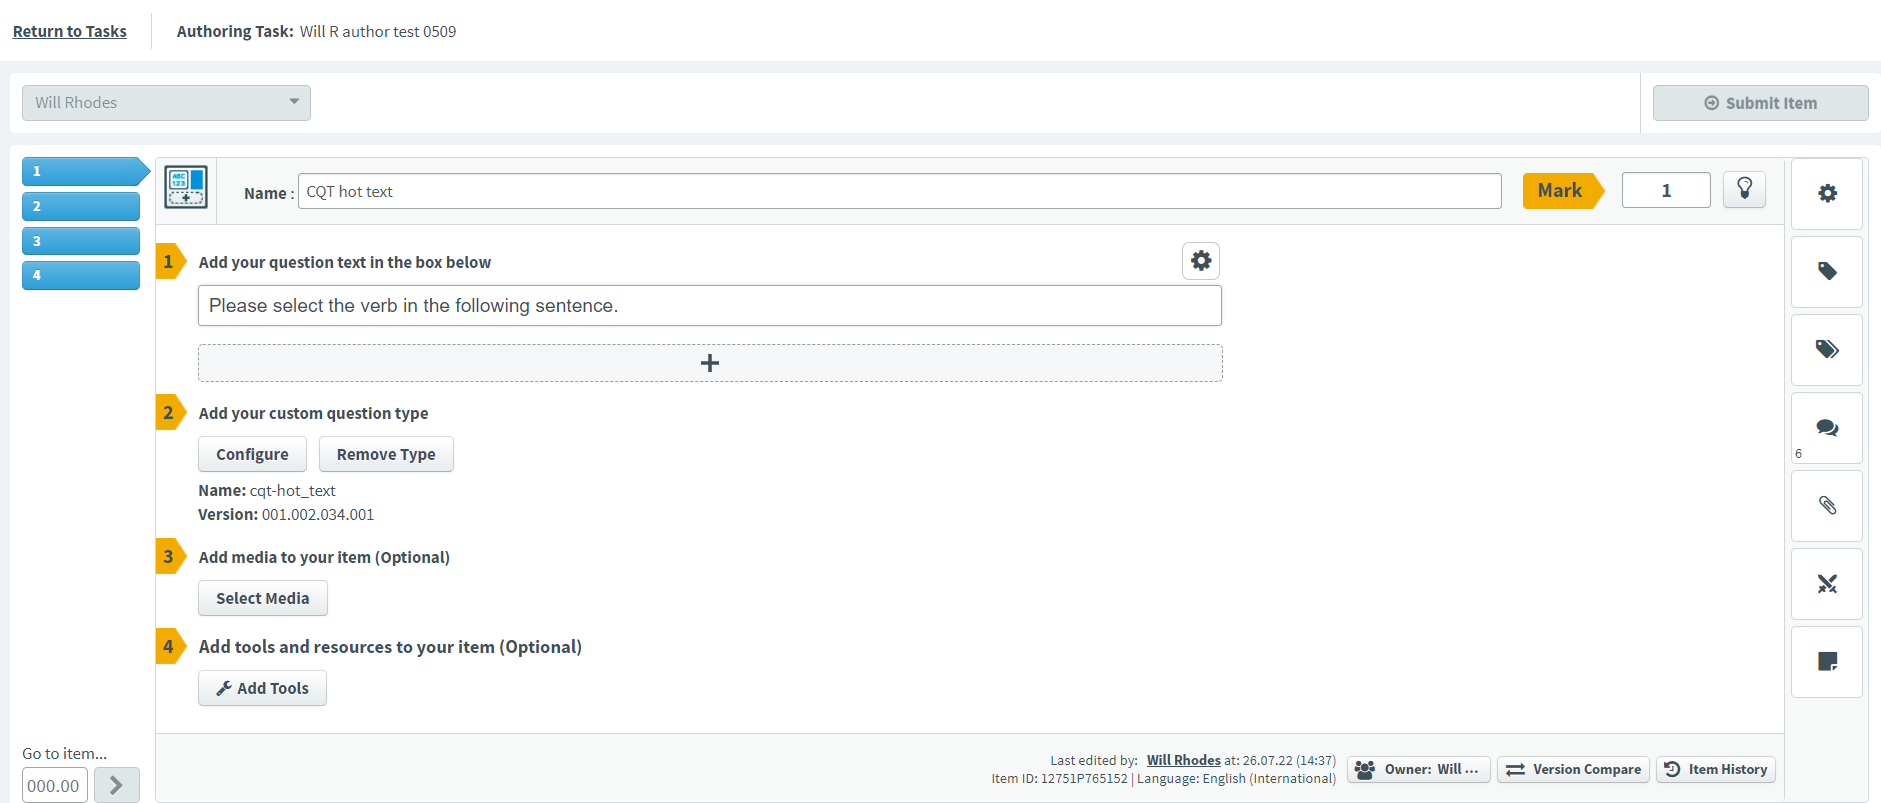
3. Edit your item
Make the required changes to your item. Depending on the item types and task settings, you can edit question stems, answer options, media, tools, and item settings. For more information on editing items, read Creating items.
Previewing items and item settings
You can preview your items to see your item from a candidate’s perspective.
Select Preview to see how your item looks in the test driver.

Use the item information panel to view the item’s settings in the Preview screen.
| Icon | Setting | Description |
|---|---|---|
| Item Settings | View information about Item Version, Item Purpose, Marking Type, Mark, and Correct Answer. | |
| Item Tags | View the item’s assigned tag groups and tag values. For more information, see Using tags in items. | |
| Item Tag Collections | View the item’s assigned tag collections. For more information, read Using tag collections in items. | |
| Item Enemies | View any enemy items associated with the item. For more information, see Setting up enemy items. | |
| Citations | View the item’s citations. For more information, see Adding citations to an item. | |
| Candidate Feedback | View any candidate feedback that has been added to the item. For more information, see Adding candidate feedback to items. |
Use the resizer () to change the panel width.
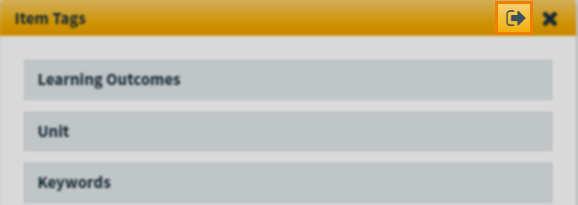
Select Undock to pop out the dialog windows for any information available in the panel. Select and drag the dialog window to move it around the screen.
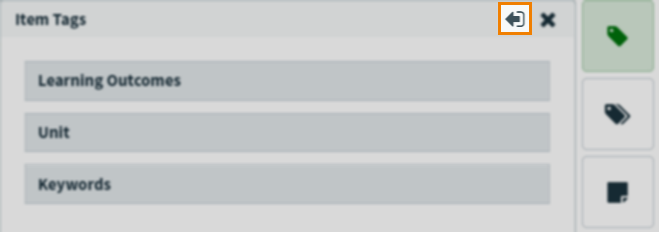
Select Dock to return the dialog window to the right-hand side panel.
Select Edit to close the preview and continue editing your item.

About tracked changes
Task managers can enable tracked changes at the task creation stage to record certain text edits made to items as part of the task. Additions and deletions are colour-coded by user and tracked in question stems, answer options, and the Candidate Feedback field.
If Track Changes is enabled, any changes you make to an item are highlighted.

Changes made by different assignees appear in different colours.

Hover over highlighted text to see who made the change and when their first and last edits were.

You can choose to show or hide tracked changes by selecting Show Tracked Changes / Hide Tracked Changes on the Advanced formatting toolbar.

Using the Comparison View
You can use Comparison View to compare the current version of the item you are editing to previous versions. You can copy over selected information from previous item versions to the current version.
Select Comparison View when editing an item.

The current version of the item is presented in a side-by-side view with previous item versions.

If the item has multiple versions, you can change the version you are viewing in the Version menu.

Select Promote to editable item next to a previous version’s question stem or answer option to copy the information over to the equivalent field on your item.

Select Single Master View to turn off comparison view.

Flagging items
You can flag items to mark them for an action at a later time.
Select Flag when editing or previewing an item to mark it for later action.

Flagged items are indicated by a flag () in the item navigation panel.

To remove a flag, select Unflag .
4. Save your item
If you have made any changes to the item, select Save to save them. You can continue to work on an item after saving it.
After saving the item, your changes are reflected in Item Authoring. However, the item will be locked for editing until the task is finalised by the lead assignee or manager.
5. Submit your item
Select Submit Item to mark the item as finished.

After selecting Submit Item , the Submit Item dialog warns you of the implications of submitting an item.
Submit and Next marks the item as finished and moves you to the next item.
Return to Item cancels the submission and returns you to the item.

Submitting an item updates your progress on the Tasks screen.

Continue editing, saving, and submitting items in the Authoring task until you submit all of your assigned items.
Submitting items for review
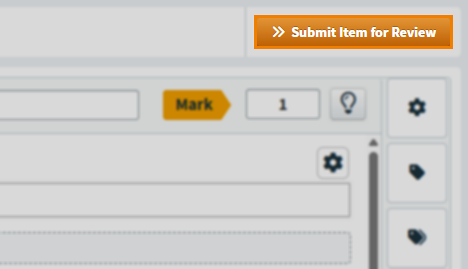
If the task has been set to require lead assignee review (the Lead assignees must review assignee submissions setting is enabled for the task), select Submit Item for Review to submit your item.
A lead assignee must review your item before they finalise the task. The item is marked orange, with the icon in the breadcrumb to indicate it requires review by a lead assignee.
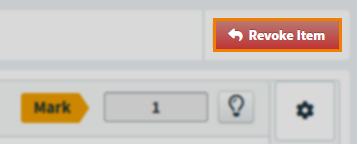
To make changes to your item before it is reviewed by a lead assignee, select Revoke Item. You cannot revoke an item once a lead assignee starts the review.
6. Close the task
After saving and submitting your items, you can safely close an Authoring task.
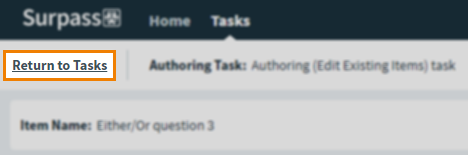
Select Return to Tasks to close the task and return to the Tasks screen.
7. Complete the task
Select Complete Task in the task details panel once you have submitted your items.
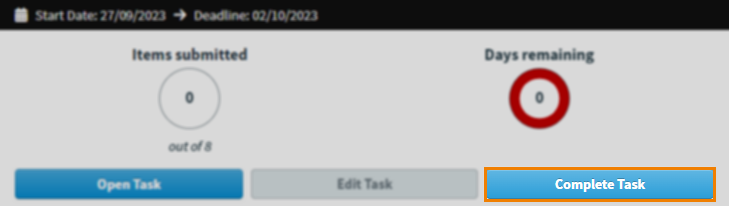
This changes the task’s status to Complete.
Marking a task as incomplete
You can mark a task as incomplete if you incorrectly select Complete Task or the task needs to be worked on again.
By default, completed tasks are not shown in the Tasks list. To display completed tasks on the Tasks list, open Filter and select Show Completed.

Find and select your completed task. Select Mark as incomplete to mark the task as incomplete. The task’s status reverts to In progress.

Further reading
For more information on Authoring tasks, or working in other task types as an assignee, read the following articles: