Creating a File Attach question
A File Attach question allows candidates to work in Microsoft applications, such as Word and Excel, to upload a file as their response. You can provide a template file for candidates to complete, let candidates work from a blank file, or ask candidates to provide their own files.

This article explains how to create a basic File Attach item in Surpass, including details on the difference between Manual and Managed modes and how to set up Secure File Attach.
In This Article
1. Choose your item type
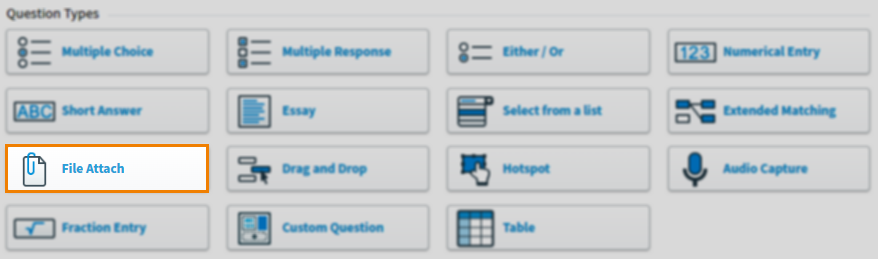
In your subject, select Create New Item to open the Question Types menu. Choose File Attach to create a blank File Attach item and go to the Edit screen.
2. Name your item
Enter the item’s name in the Name field.

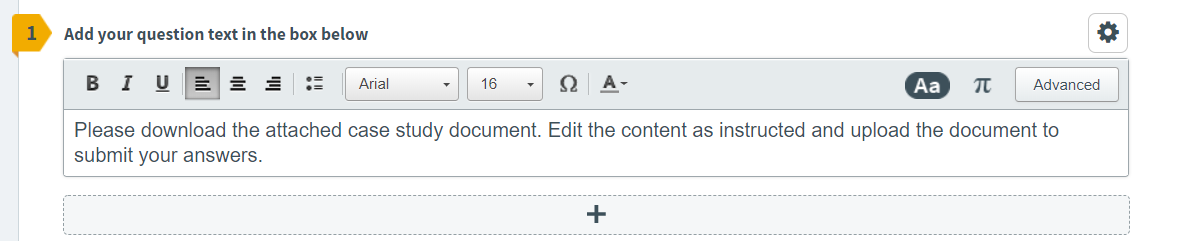
3. Enter your question text
Enter your question text in the question stem. Select Add Text Area to add an additional question stem. You can have a maximum of five question stems per item.
Open Additional Options to add source material or assistive media to your question stem. In mixed subjects, you can also add a table to your question stem (in HTML subjects, tables can be added using the formatting toolbar).
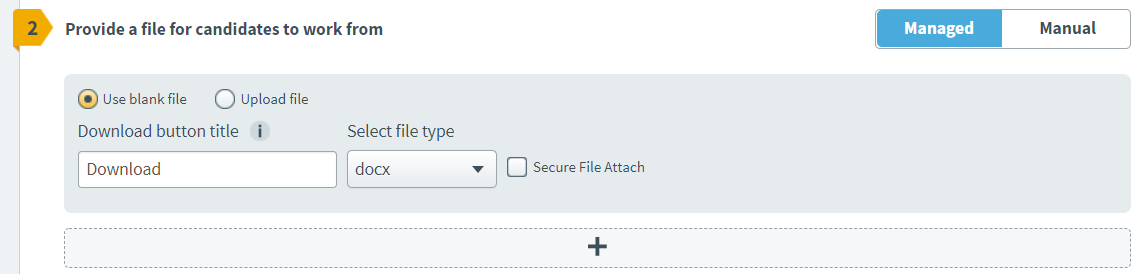
4. Choose your File Attach mode
Select either Managed or Manual to set your File Attach mode. For information on each mode, refer to the following table.

| Managed | Manual |
|---|---|
| Candidates’ responses are automatically uploaded when they select Save in the external application. Managed mode is recommended only for tests delivered in locked-down SecureClient.
WARNING: Do not select Managed if your File Attach item is to be used in web delivery because candidates will be unable to upload their file.
| Candidates must select Upload in the test driver and find the file on their device’s local storage to submit their response. Manual mode is recommended for tests delivered in a web browser or unlocked SecureClient, because candidates have access to their device’s file explorer. |
5. Set up files for candidates
How you set up your files depends on your selected File Attach mode. Expand the relevant section for instructions.
Setting up Managed mode
In Managed mode, candidates can work on up to five files. Candidates’ responses are automatically uploaded when they select Save in the external application.
Choose your files
You can create blank files directly in Surpass or upload your own (like templates, questionnaires, or data sheets).
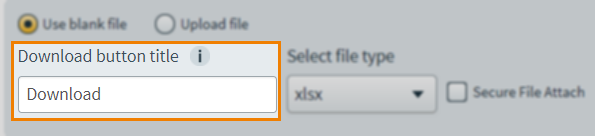
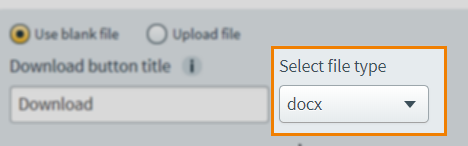
Select Use blank file to create a blank file for candidates.
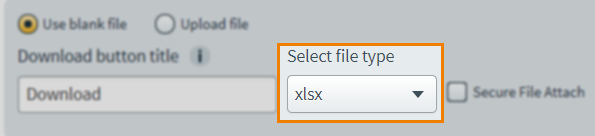
Choose the file format in the Select file type menu. The following file types are available: DOCX, DOC, XLSX, XLS, PPTX, PPT, MDB, ACCD, RDATA, RMD.
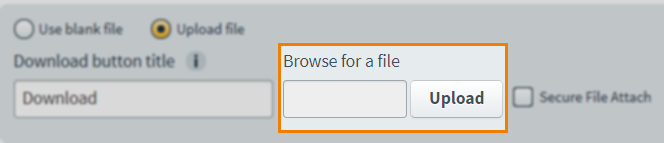
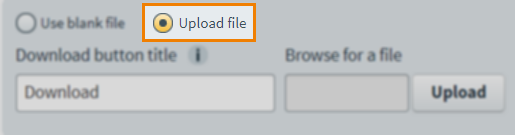
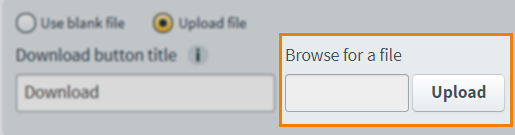
Select Upload file to add your own file.
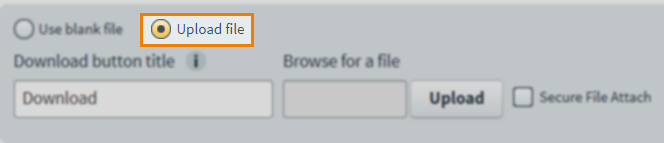
Use Upload to open your device’s file manager and choose your file.
Name the Download button
By default, the button candidates press to download your file is named ‘Download’. You can change this in the Download button title field.
Add more files
To add another file, select Add file and repeat the process. You can add up to five files to a Managed File Attach item.
Setting up Secure File Attach
Secure File Attach restricts the functionality of Microsoft Word and Excel instances opened by a Managed File Attach item in SecureClient. Candidates are only able to use Save, which uploads their response to SecureClient. Other functions like Save as, Print, and Open are disabled.
Select Secure File Attach next to items in a Managed File Attach item to enable Secure File Attach. Secure File Attach is set on an item-by-item basis.

If you are providing your own file, you must select Secure File Attach before uploading your file. If your file does not meet the following requirements, the upload will be rejected:
- File type: DOCX, XLSX
- File size: 4 MB
Setting up Manual mode
In Manual mode, you can define the type and number of files candidates can download and upload. Candidates must select Upload in the test driver and find the file on their device’s local storage to submit their response.
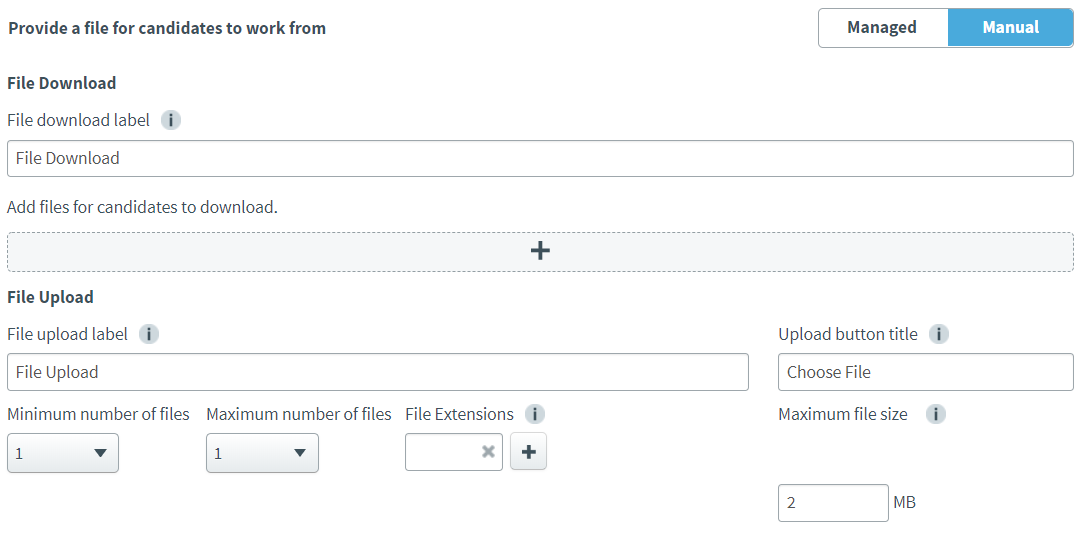
Enter the download label
If you want a title over your file download buttons, enter it in the File download label field.

Choose your files
You can create blank files directly in Surpass or upload your own (like templates, questionnaires, or data sheets).
Select Add file to add a file to your item.

By default, the button candidates press to download your file is named “Download”. You can change this in the Download button title field.

Select Use blank file to create a blank file for candidates.
Choose the file format in the Select file type menu. The following file types are available: DOCX, DOC, XLSX, XLS, PPTX, PPT, MDB, ACCD, RDATA, RMD.
Select Upload file to add your own file.
Use Upload to open your device’s file manager and choose your file.
To add another file, select Add file again and repeat the process. You can add up to ten files to a Manual File Attach item.
Enter the file upload label
If you want a title over your file upload button, enter it in File upload label.

By default, the button candidates press to upload their files is named “Choose File”. You can change this in the Upload button title field.

Set up file upload options
Set the minimum and maximum number of files candidates can upload in Minimum number of files and Maximum number of files, respectively. The maximum value for both options is ten.

Specify the file extensions that will be accepted by the upload manager in File Extensions. All files extensions of five characters or under are accepted. However, duplicate entries are rejected.

Define the per-file megabyte (MB) limit in Maximum file size. Surpass accepts up to 999 MB per file, but we suggest not exceeding 200 MB for performance reasons.

6. Set the question’s marks
Set the item’s total marks in the Mark field.

7. Select a workflow status
Set the item’s workflow status in the Status drop-down menu. Only items set to Live can be used in a test.

8. Preview your question
To see your item from a candidate’s perspective, select Preview .

In Mixed subjects, you can preview your item in the HTML test driver. Use the Preview arrow to open the Preview Options menu and select Preview in HTML . Any custom CSS is applied in the Preview screen. For more information on custom CSS, see Creating a subject in Setup.

If you need to continue working on the item, select Edit to return to the Edit screen.

9. Saving and closing your item
Select Save to save your item to your subject.

To see additional saving options, use the Save arrow to open the Save Options menu. Select Save & Close to save the item and return to the Subjects screen. Select Save & New to save the item and create another File Attach item.

Select Close to leave the Edit screen. If you have unsaved changes, you are prompted to either save or discard them.

Further reading
You can do much more with File Attach items in Surpass. For more information, read the following articles: