Creating a Table question
A Table question lets candidates submit a data grid in response to a prompt. You can either provide a partially-filled table or give candidates the tools to create their own.
This article explains how to create a Table question in Surpass and includes information on formatting options.
In This Article
1. Choose your item type
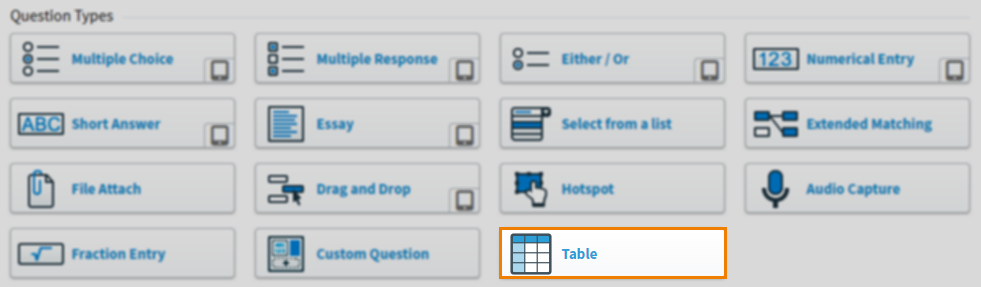
In your subject, select Create New Item to open the Question Types menu. Choose Table to create a blank Table item and go to the Edit screen.
2. Name your item
Enter the item’s name in the Name field.

3. Enter your question text
Enter your question text in the question stem. Select Add Text Area to add an additional question stem. You can have a maximum of five question stems per item.

Open Additional Options to add source material or assistive media to your question stem.
4. Configure your table
Select Configure to open the table editor.
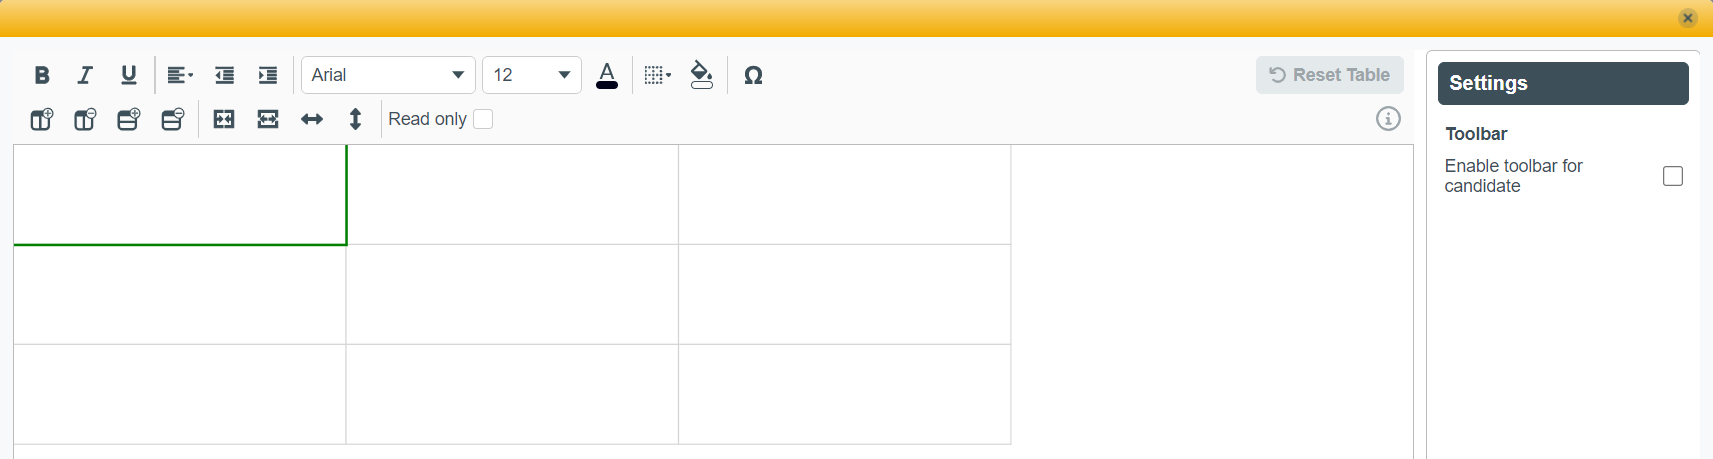
Table items contain a configurable 3 x 3 data grid that accepts both alphabetical and numerical content. Use the table toolbar to format your table and add or remove cells.
Use the Close button and then select Save to save your configuration.
The options and settings available in the editor’s toolbar are as follows:
| Icon | Setting | Description |
|---|---|---|
| Bold |
Makes text darker. |
|
| Italic |
Makes text slant to the right. |
|
| Underline |
Adds a horizontal line below the text. |
|
| Align |
Sets the alignment of text in selected cells. |
|
| Decrease Indent |
Moves text in selected cells one pixel to the left. |
|
| Increase Indent |
Moves text in selected cells one pixel to the right. |
|
| Font |
Choose your text font. The available fonts are Arial, Comic Sans MS, Courier New, and Georgia. |
|
| Font Size |
Choose your text size, up to 24 pixels. |
|
| Font Colour |
Choose your text colour. |
|
| Cell Border |
Choose the border for selected cells. |
|
| Cell Fill Colour |
Choose the colour of your cells. |
|
| Special Characters |
Insert a special character. For a list of available characters, read About special characters. |
|
| Add Column |
Inserts a new column to the right of the selected cell. |
|
| Remove Column |
Deletes the selected column and its content. |
|
| Add Row |
Inserts a new row beneath the selected cell. |
|
| Remove Row |
Deletes the selected row and its contents. |
|
| Merge Cells |
Combines the selected cells into one cell. |
|
| Split Cells |
Divides merged cells. |
|
| Column Width |
Sets the width of the selected column in pixels. You can apply this value to all columns. |
|
| Row Height |
Sets the height of the selected row in pixels. You can apply this value to all rows. |
Use the Reset Table button to delete your table.
Setting cells as read-only
Read-only cells cannot be edited by candidates. Use read-only cells to provide candidates with a partially-completed table.
Highlight the cell(s) you want to be read-only and then select the Read only checkbox from the toolbar.

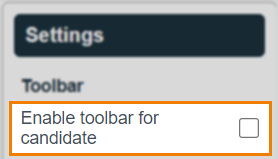
Enabling toolbar for candidates
Candidates are only able to enter alphanumeric characters into the available cells and cannot edit the table itself unless the editor’s toolbar is enabled for candidates. The toolbar given to the candidates is the same one used by item authors.
Select the Enable toolbar for candidate checkbox from the available settings.
5. Set the marking type
Table items are set to Human marking be default. If you want to mark candidates’ responses in either the Surpass Mark screen or SecureMarker, leave the Marking Type as Human. For more information, read Setting the marking type.
6. Set the question’s marks
Set the item’s total marks in the Mark field.

7. Select a workflow status
Set the item’s workflow status in the Status drop-down menu. Only items set to Live can be used in a test.

8. Preview your question
To see your item from a candidate’s perspective, select Preview .

If you need to continue working on the item, select Edit to return to the Edit screen.

9. Saving and closing your item
Select Save to save your item to your subject.

To see additional saving options, use the Save arrow to open the Save Options menu. Select Save & Close to save the item and return to the Subjects screen. Select Save & New to save the item and create another Table item.

Select Close to leave the Edit screen. If you have unsaved changes, you are prompted to either save or discard them.

Further reading
You can do much more with Table items in Surpass. For more information, read the following articles: