Creating a rescoring session
Rescoring lets you reduce the impact of incorrect and invalid items in Surpass. In a rescoring session, you can award full marks to items, add and remove scores, and change the correct answer options.
You can create a new rescoring session in the Rescoring screen.
This article explains how to create a rescoring session in Rescoring.
In this article
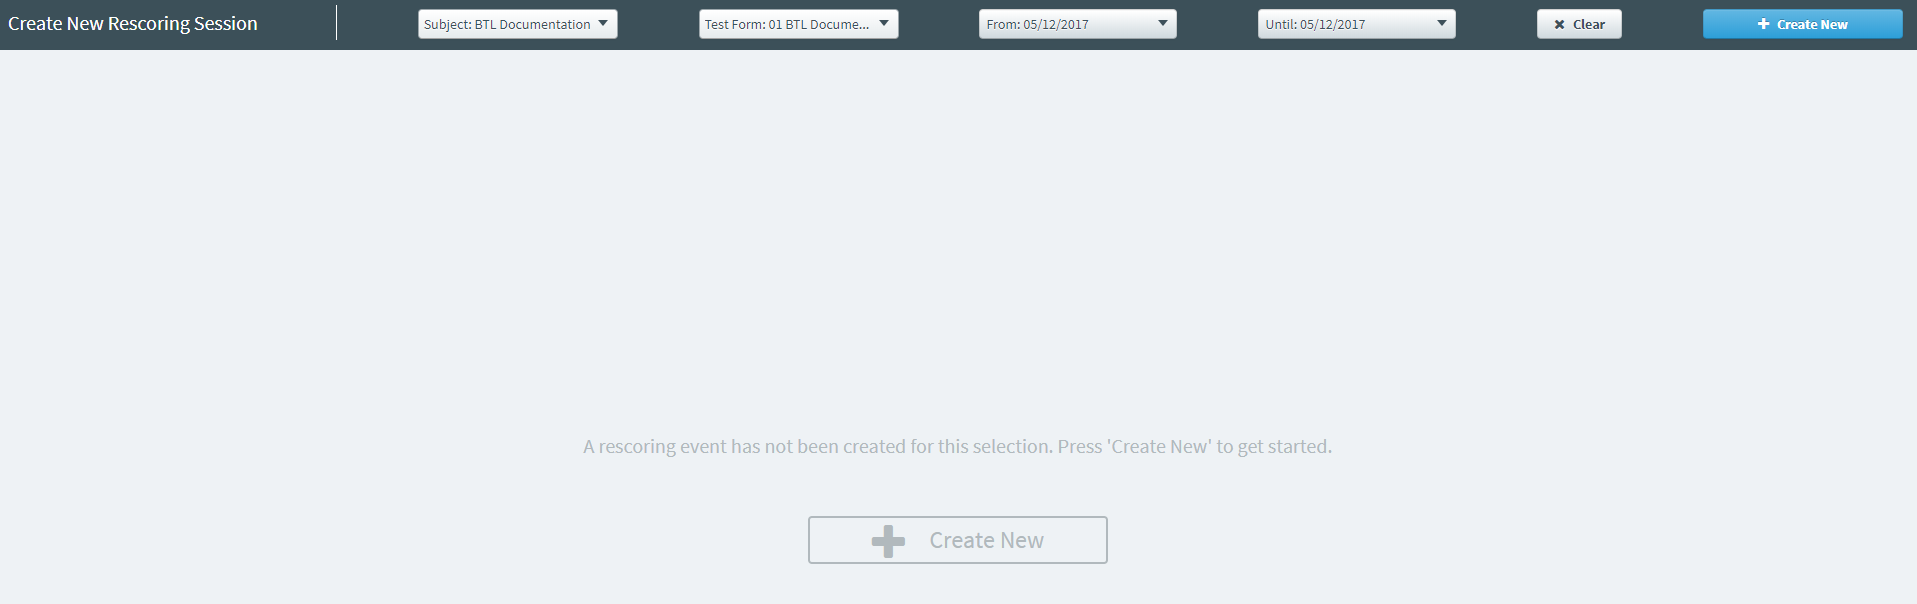
1. Go to the Rescoring screen
To view the Rescoring screen, go to Reporting > Rescoring.

2. Choose a test session
Use the filters to search for the test session that contains the items you want to rescore.

Filtering test sessions
For Subject and Test Form, select the subject and test form that contains the items you want to rescore.

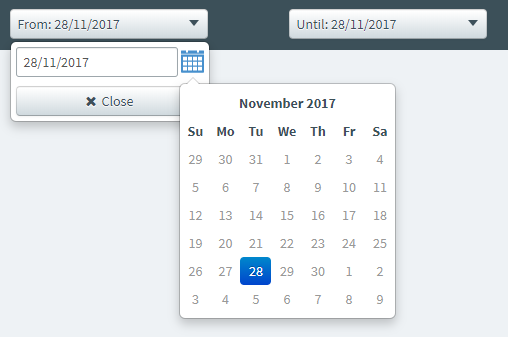
For From and Until, use the date pickers to choose a date range in which the test was taken by candidates.
Select Clear to reset the filters.
3. Create your rescoring session
Select Create New to create your rescoring session.

Further reading
Now you know how to create a rescoring session, read the following articles to learn more: