Adding scheduled breaks to a test form
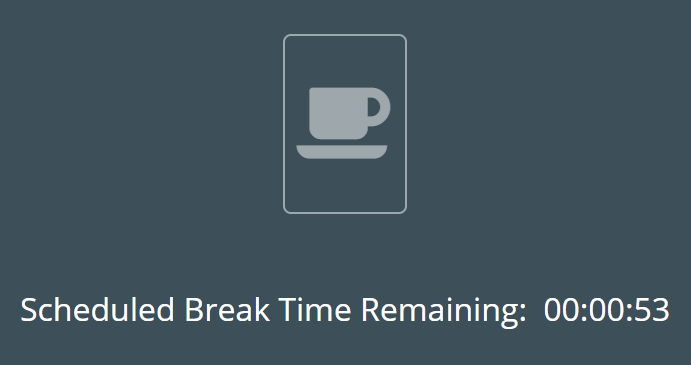
You can add breaks after sections in timed section tests. During the break, the test timer is paused and candidates cannot view or interact with the test content. Scheduled breaks occur automatically at the end of chosen sections. You can set up scheduled breaks to be cancellable (meaning candidates can return to the test at any point) or mandatory (candidates must wait until the break timer expires before returning to the returning to the test).
This article explains how to add scheduled breaks to a test form.
In this article
1. Set up timed sections
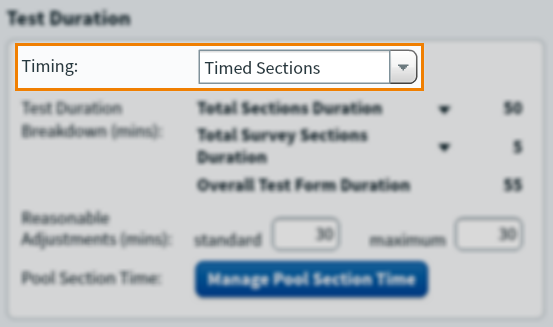
In the Test Duration area of the Test Form Rules tab, select Timed Sections in the Timing menu to enable timed sections for your test form.
2. Enable scheduled breaks
Select Add Breaks under Scheduled Breaks to enable breaks for your test form.

3. Define the break type
Choose the relevant break type in the Break Type menu.
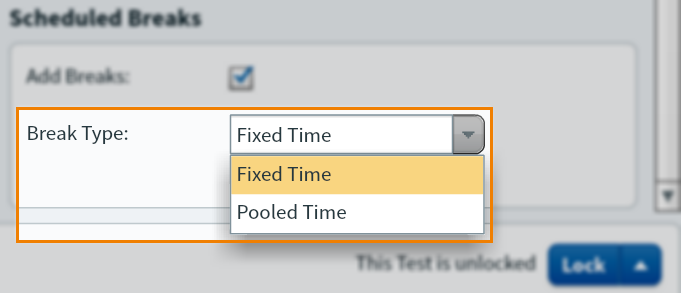
Fixed Time breaks
Fixed Time breaks have individual timers. If a candidate cancels a five minute break after two minutes, the remaining three minutes are lost. Individual break timers are set up in the section’s Section Properties dialog.
Pooled Time breaks
Pooled Time breaks have a shared timer. Candidates can choose how much of their total break time to use at each break point. If a test form has a pooled break time of 20 minutes and two break points, candidates can choose to take two 10 minute breaks (10/10), use the whole time in one break (20/0), or split their available time unevenly across the break points (7/13).
Enter the required pooled break time in minutes in the Total Break Duration (mins) field.
4. Configure break details
Select the section you want to add a break to.
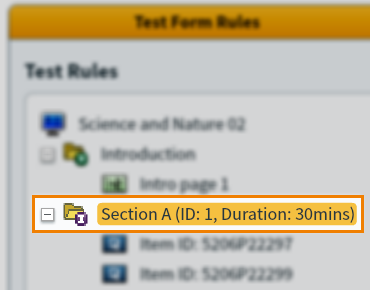
Select Edit to open the section’s Section Properties dialog.

Select Enable Break After Section.
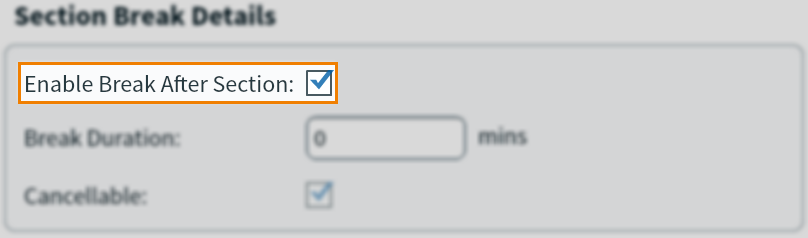
If you have enabled Fixed Time breaks, set the break’s individual timer in minutes in the Break Duration field. The minimum and maximum accepted values are 1 and 999, respectively.
By default, Fixed Time breaks are set to Cancellable, meaning that candidates can leave the break and return to the test at any time. Clear Cancellable to enforce a mandatory break time.
5. Save break details
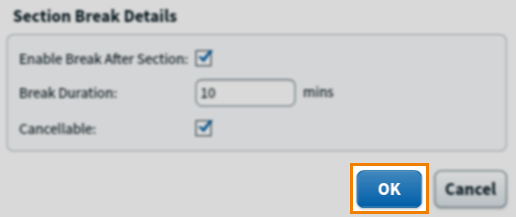
Select OK to save the break details and add the break to the test form.
Further reading
To learn more about setting up test forms, read the following articles: