About Branding options
The Branding section of Site Settings allows you to customise the appearance of Surpass to match your organisation’s brand.
This article explains how to configure the Branding options in Site Settings, including how to change logos, email footers, and home page content.
In this article
Navigating to the Branding screen
To view Site Settings, select your user name to open the User menu.

Select Site Settings in the User menu.
Select the Branding tab to view the Branding options.

About the Branding screen
The Branding screen is divided into two areas. Settings are separated into sections that are displayed in the Branding list.
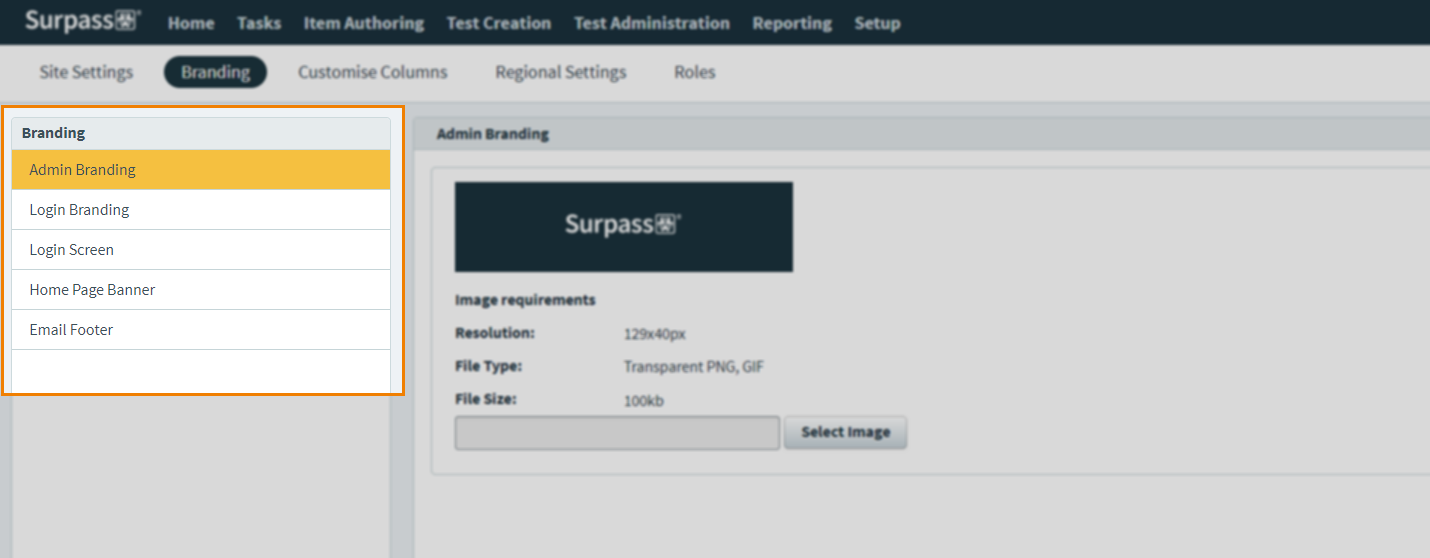
Select a section in the Branding list to view its associated settings in the Settings panel.
Branding settings are saved on a section-by-section basis. Ensure that you select Save Changes to save your changes before moving to another section. Select Cancel to discard any unsaved changes. To reset the section to its original settings, select Restore Default.

About Admin Branding settings
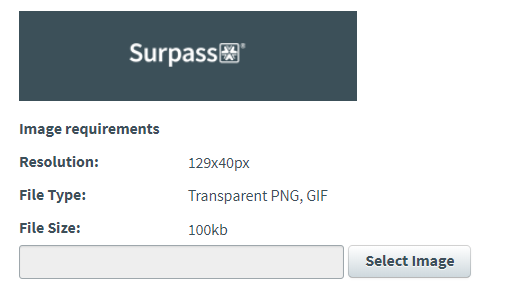
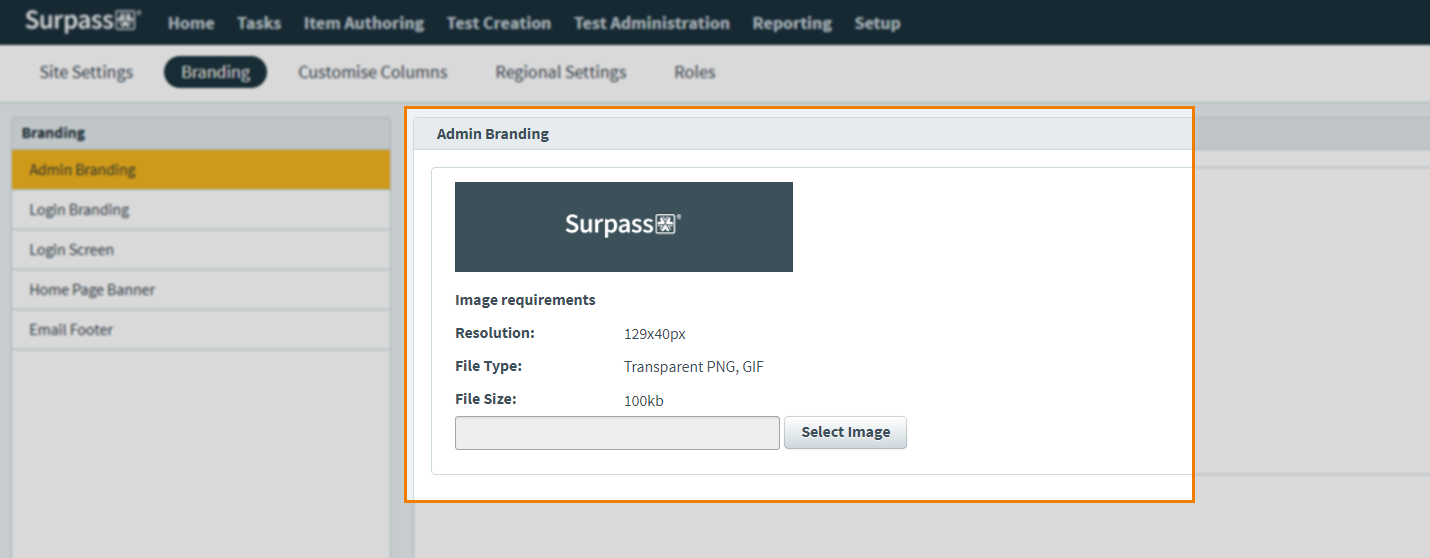
In Admin Branding, you can change the logo that displays in the top navigation bar of Surpass.
To upload an image, use Select Image to open your device’s file explorer and select your image.
Images must meet the following criteria:
- Resolution: 129 x 40 px
- File Type: PNG (with transparent background), GIF
- File Size: 100 KB
Select Save Changes to save your new logo.
About Login Branding settings
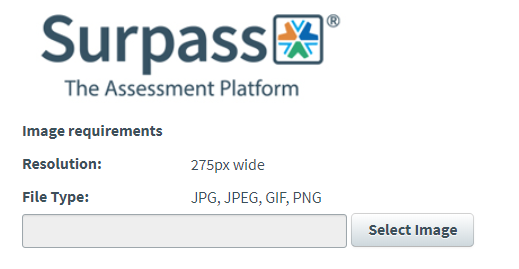
In Login Branding, you can change the logo that displays on the Surpass Login screen.
To upload an image, use Select Image to open your device’s file explorer and select your image.
Images must meet the following criteria:
- Resolution: 275 px width
- File Type: JPG, JPEG, GIF, PNG
Select Save Changes to save your new logo.
About Login Screen settings
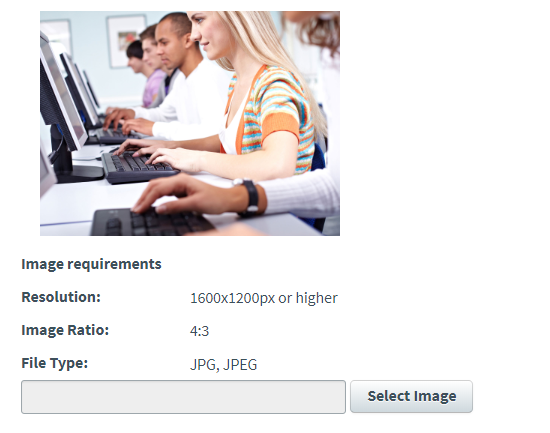
In Login Screen, you can change the image that displays on the Surpass Login screen.
To upload an image, use Select Image to open your device’s file explorer and select your image.
Images must meet the following criteria:
- Resolution: 1600 x 1200 px (or higher)
- Image Ratio: 4:3
- File Type: JPG, JPEG
Select Save Changes to save your new image.
About Home Page Banner settings
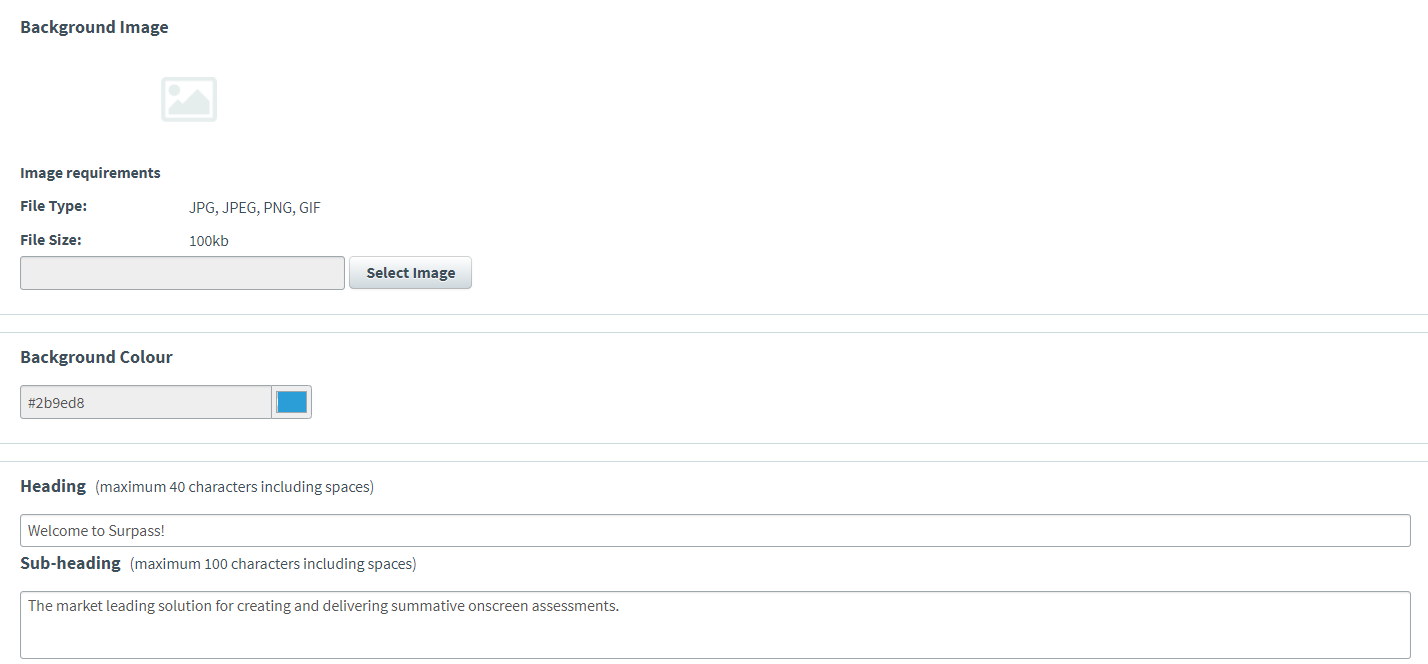
In Home Page Banner, you can customise the Welcome banner on the Surpass home page. Refer to the following table for information on each setting.
| Setting | Description |
|---|---|
| Background Image |
Use Select Image to upload a background image for the home page home page banner. Images must meet the following criteria:
|
| Background Colour | Use the colour picker to choose a background colour for the home page banner. |
| Heading |
Enter a heading for the home page banner.
NOTE: Heading text has a limit of 40 characters, including spaces.
|
| Sub-heading |
Enter a sub-heading for the home page banner.
NOTE: Sub-heading text has a limit of 100 characters, including spaces.
|
| Heading/Sub-heading Colour | Use the colour picker to choose a colour for heading and sub-heading text. |
About Email Footer settings
In Email Footer, you can define content that will be added to the footer of all emails automatically sent by Surpass. This includes the emails sent to users when their account is created, when a password or security question is reset, and when an account is locked.
Further reading
To learn more about working in Site Settings, read the following articles: