Item Groups
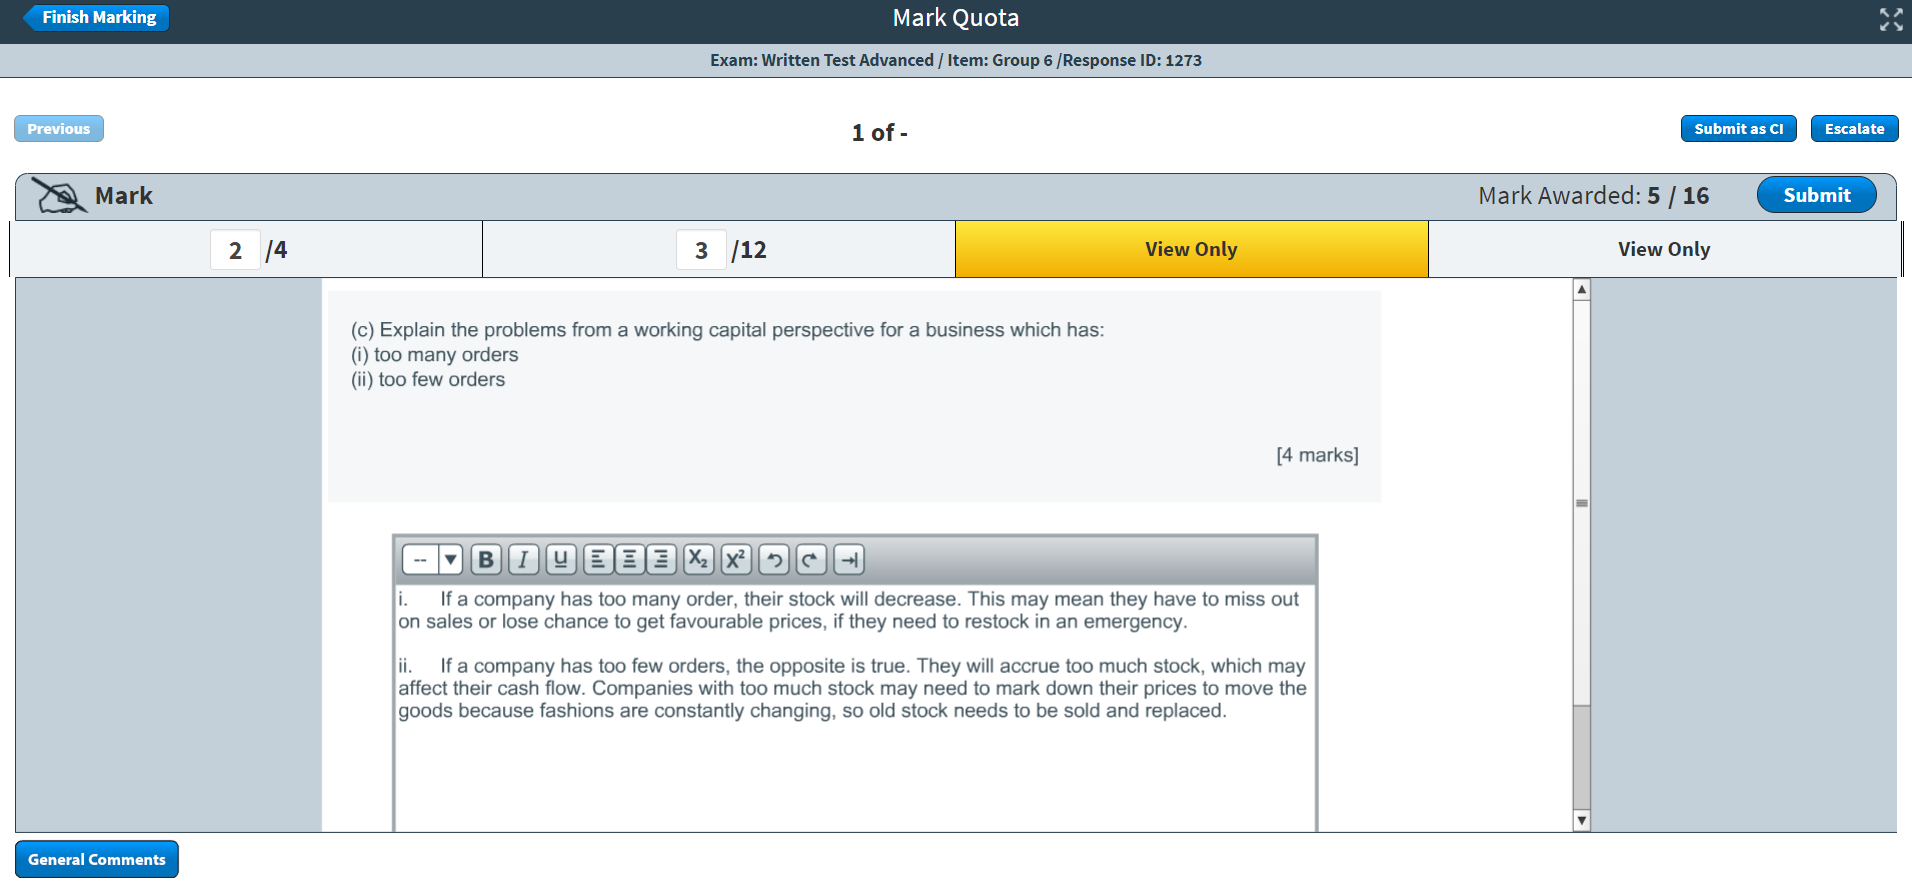
Item groups in SecureMarker allow examiners to view or mark related items at the same time. For example, items in a case study might be grouped together to ensure consistency in marking and to provide context to an examiner.
An item group must contain a minimum of two items, a maximum of ten items, and at least one item to mark. Each item in an item group is assigned individual marks. You can create and edit item groups in the Item Groups screen.
Examiners can view or mark all items in an item group when marking candidate responses in their quota. For more information, read Marking responses in SecureMarker.
This page gives an overview of the Item Groups screen of SecureMarker.
In This
Article
About the Item Groups screen in SecureMarker
About the Item Groups screen in SecureMarker discusses everything you need to know about working in the Item Groups screen. This includes details on how to navigate the Item Groups screen.
Creating an item group in SecureMarker
Creating an item group in SecureMarker explains how to create item groups in the Item Groups screen. You will learn how to add items to your item group and how to release item groups for marking.
Editing an item group in SecureMarker
Editing an item group in SecureMarker looks at how you can edit item groups in the Item Groups screen. This article also includes information on how to edit the name of your item group.
Deleting an item group in SecureMarker
Deleting an item group in SecureMarker gives full instructions on how to delete item groups in the Item Groups screen.