About the Item Groups screen in SecureMarker
Item groups in SecureMarker allow examiners to view or mark related items at the same time. For example, items in a case study might be grouped together to ensure consistency in marking and to provide context to an examiner. You can create item groups in the Item Groups screen.
This article explains what the Item Groups screen is, how to navigate it, and how to use its features.
In This Article
Navigating to the Item Groups screen
To view the Item Groups screen, select Item Groups on the navigation bar.

Selecting a subject and test
Select the Subject/Test menu on the navigation bar.

Selecting a test form version
Select a test form version for your chosen subject and test from the drop-down menu. A new test form version is added when the test form or an item in the test form is edited and delivered to a candidate.

The date and time on which the test was taken by candidates is displayed next to the test form name.

You can see the number of scripts for your chosen test form version and whether the item group has been released for marking. For more information, read ‘Releasing an item group for marking’ later in this article.

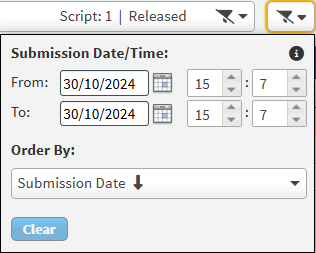
You can also filter and re-order the test form versions in the drop-down menu.

Select the filter icon to filter test form versions by Submission Date/Time (the point at which the latest script was submitted) or re-order the list by Submission Date, Name, or Number Of Scripts, in ascending () or descending () order.
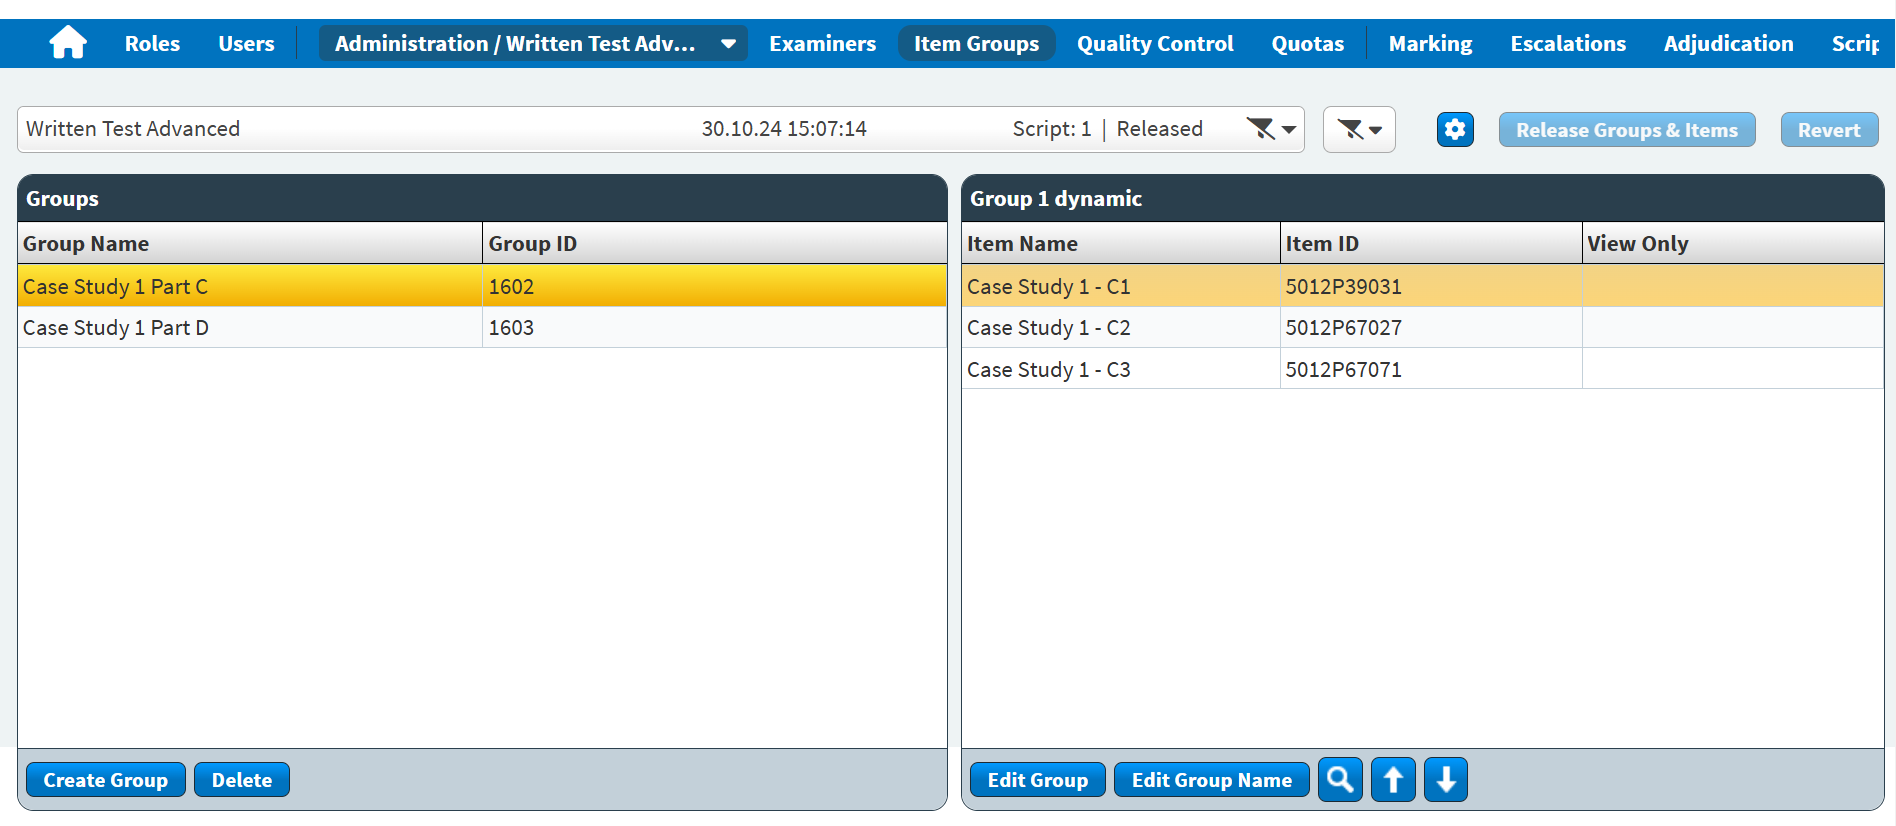
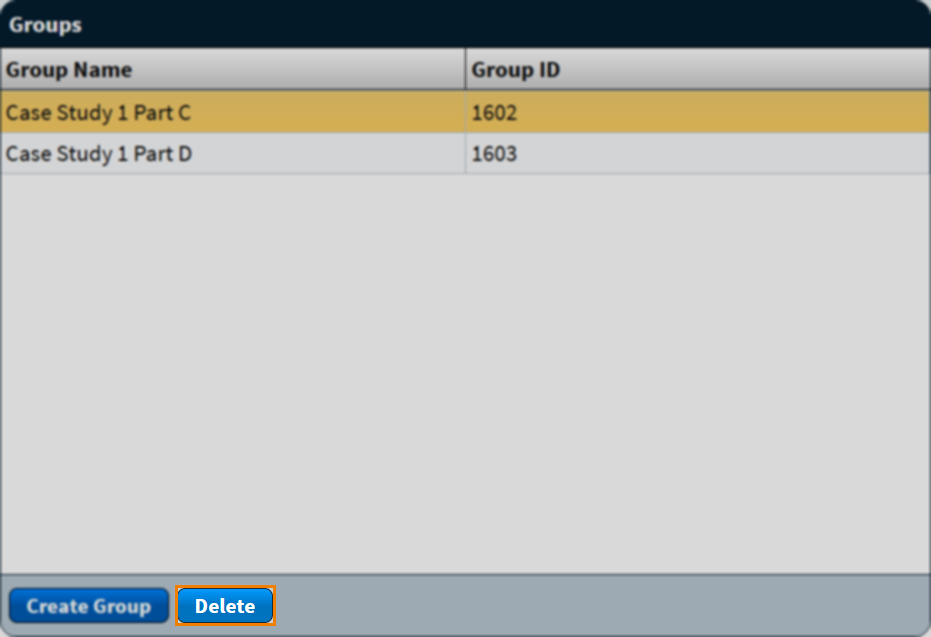
About the Groups grid
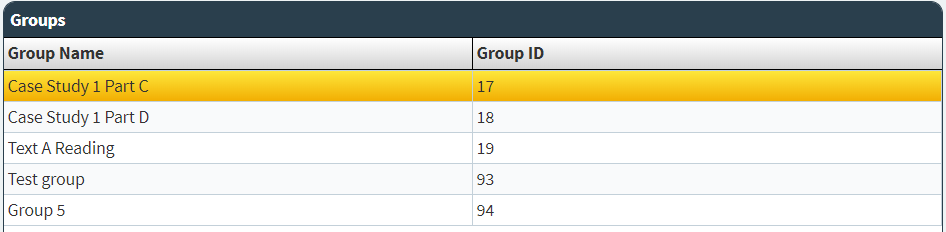
The Groups grid displays a list of item groups for your selected test form version. Refer to the following table for information on each column.
| Column | Description |
|---|---|
| Group Name | Displays the name of the item group. |
| Group ID | Displays the item group’s unique ID code. |
Select an item group in the Groups grid to view the items in the item group.

Refer to the following table for information on each column.
| Column | Description |
|---|---|
| Item Name | Displays the name of the item. |
| Item ID | Displays the item’s unique ID code. |
| View Only | Indicates whether the item can or cannot be marked by an examiner. |
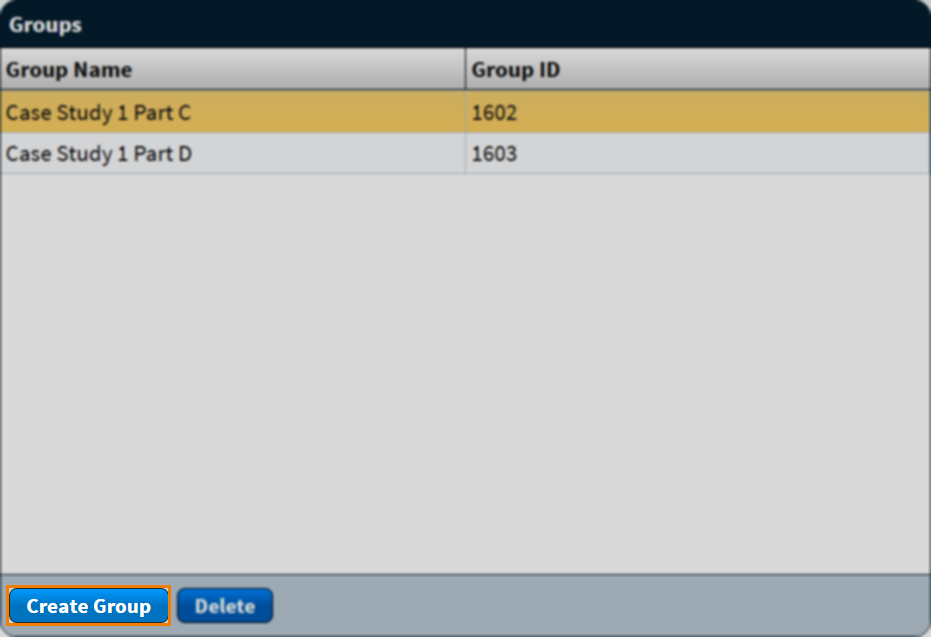
Creating item groups
To create an item group, select Create Group in the Groups grid. For more information, read Creating an item group in SecureMarker.
Previewing item groups
To preview the items in your item group, select Preview .

In the Preview screen, you can view each item in your item group. Navigate the items in your item group using the View Only and For Marking tabs.
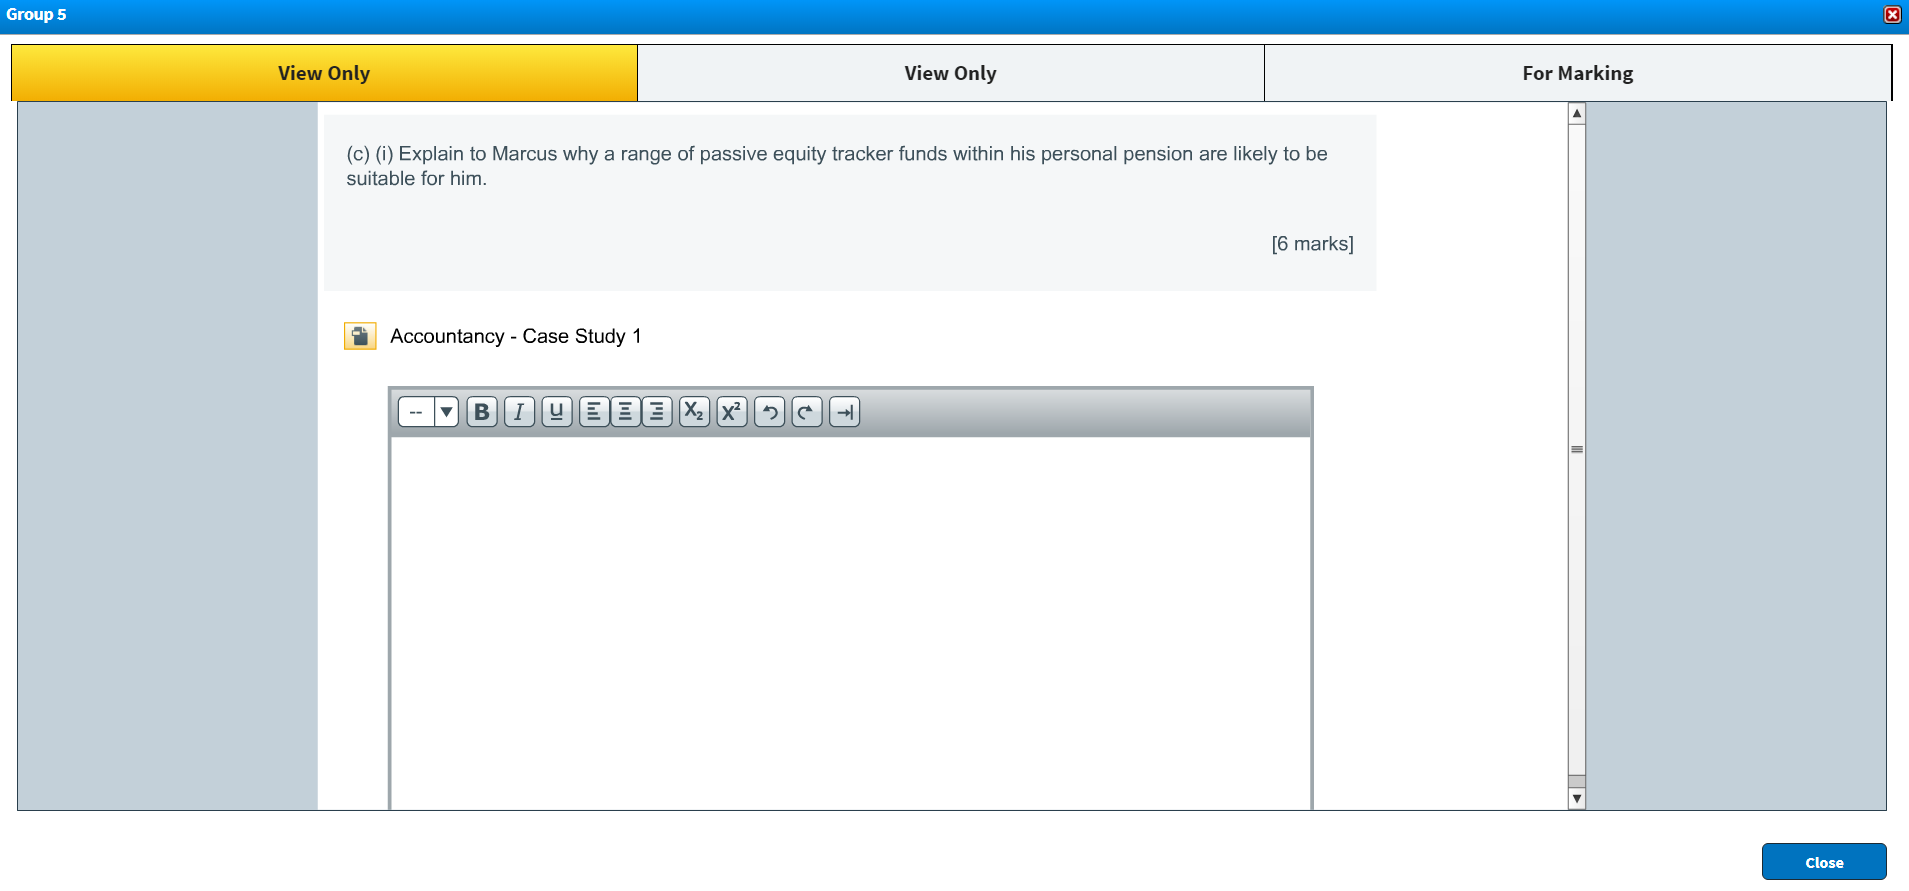
Select Close to return to the Item Groups screen.
Editing item groups
To edit the items within your item group, select Edit Group. To edit the name of your item group, select Edit Group Name. For more information, read Editing an item group in SecureMarker.

Use Up and Down to change the order of the items in your item group.

Deleting item groups
To delete an item group, select Delete in the Groups grid. For more information, read Deleting an item group in SecureMarker.
Releasing an item group for marking
Select Release Groups & Items to release your item group for marking. For more information, read ‘Release your item group for marking’ in Creating an item group in SecureMarker.

Further reading
To learn more about working in Item Groups, read the following articles: