Creating a role in SecureMarker
In SecureMarker, a “role” is a predefined set of permissions that grant access to specific areas of the system. Roles can be assigned at the global or test level. You can create and edit roles for users in your instance in the Roles screen.
This article explains how to create a new role in the Roles screen of SecureMarker.
In This Article
1. Go to the Roles screen
To view the Roles screen, select Roles on the navigation bar.

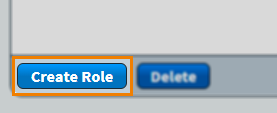
2. Select Create Role
Select Create Role to create a new role.
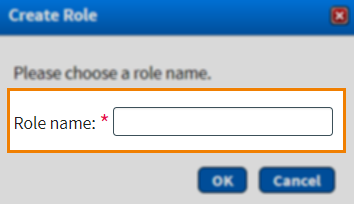
3. Name your role
Name your role in the Role name entry field. Select OK to create your role.
The new role appears in the Roles list.
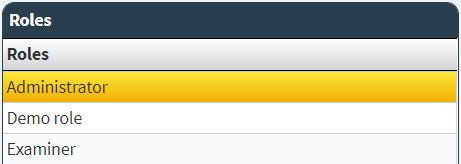
4. Define your role
Select the role in the Roles list to define its permissions, assignable roles, and levels.
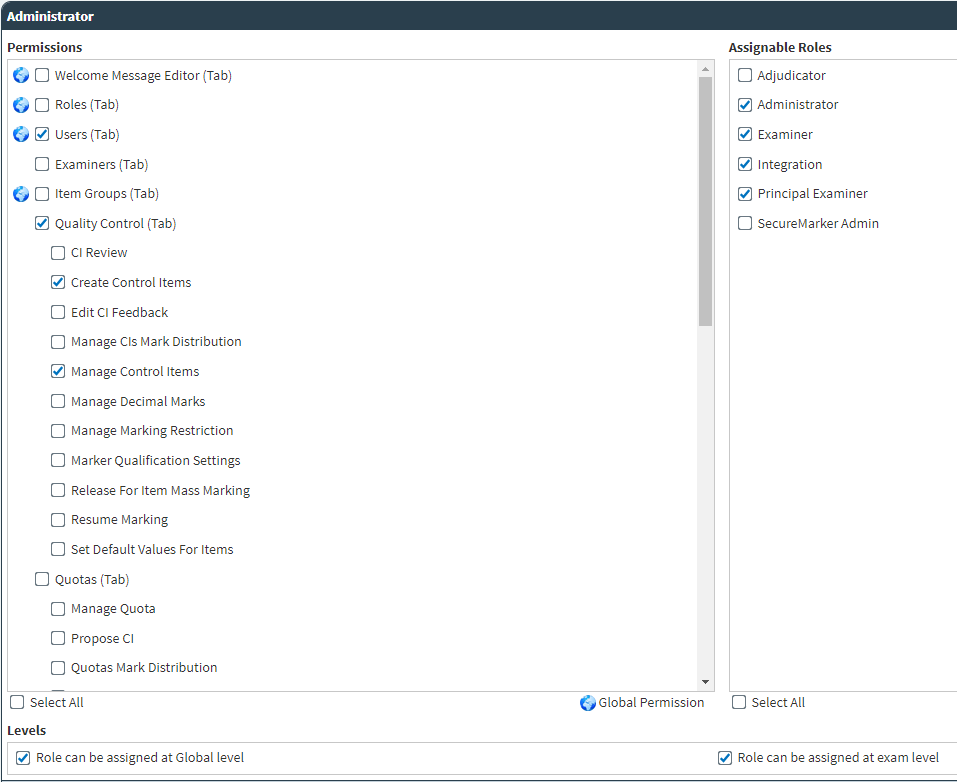
Defining your permissions
The following permissions are available across SecureMarker.
| Permission | Description |
|---|---|
| Welcome Message Editor (Tab) | Allows users to edit the home page content in the SecureMarker home screen. For more information, read About the SecureMarker home screen. |
| Roles (Tab) | Gives access to the Roles screen. For more information, read About the Roles screen in SecureMarker. |
| Users (Tab) |
Gives access to the Users screen. For more information, read About the Users screen in SecureMarker. |
| Examiners (Tab) |
Gives access to the Examiners screen. For more information, read About the Examiners screen in SecureMarker. |
| Item Groups (Tab) |
Gives access to the Item Groups screen. For more information, read About the Item Groups screen in SecureMarker. |
| Quality Control (Tab) |
Gives access to the Quality Control screen. For more information, read About the Quality Control screen in SecureMarker. |
| Quality Control > CI Review | Allows users to review control items in the Quality Control screen. |
| Quality Control > Create Control Items |
Allows users to create control items in the Quality Control screen. For more information, read Creating control items in SecureMarker. |
| Quality Control > Edit CI Feedback | Allows users to edit feedback on control items in the Quality Control screen. |
| Quality Control > Manage CIs Mark Distribution | Allows users to view the Mark Distribution Graph in the Quality Control screen. |
| Quality Control > Manage Control Items |
Allows users to manage control items in the Quality Control screen. For more information, read Managing control items in SecureMarker. |
| Quality Control > Manage Decimal Marks | Allows users to enable or disable decimal marking. |
| Quality Control > Manage Marking Restriction | Allows users to enable or disable marking restrictions for examiners in the Quality Control screen. |
| Quality Control > Marker Qualification Settings | Allows users to edit examiner competency settings in the Quality Control screen. |
| Quality Control > Release Item For Mass Marking |
Allows users to release items for marking in the Quality Control screen. For more information, read Releasing a test for marking in SecureMarker. |
| Quality Control > Resume Marking | Allows users to stop marking and resume marking for examiners in the Quality Control screen. |
| Quality Control > Set Default Values for Items |
Allows users to edit the default settings of items in the Quality Control screen. Item defaults can be changed when new responses come into SecureMarker. For more information, read About the Quality Control screen in SecureMarker. |
| Quotas (Tab) |
Gives access to the Quotas screen. For more information, read About the Quotas screen in SecureMarker. |
| Quotas > Manage Quota | Allows users to edit quotas and set unlimited quotas for markers in the Quotas screen. |
| Quotas > Propose CI | Allows users to submit control items when reviewing marked responses in the Quotas screen. |
| Quotas > Quotas Mark Distribution | Allows users to view the Mark Distribution Graph in the Quotas screen. |
| Quotas > Review Marked CIs in Quotas | Allows users to review marked control items in the Quotas screen. |
| Quotas > Review Marked Items | Allows users to review marked items in the Quotas screen. |
| Quotas > Review Escalated Items | Allows users to review escalated items in the Quotas screen. |
| Marking (Tab) | Gives access to the Marking screen. For more information, read About the Marking screen in SecureMarker. |
| Marking > Examiner |
Allows users to mark candidate responses in their quota in the Marking screen. For more information, read Marking responses in SecureMarker. |
| Marking > Marking Managers Report |
Allows users to view marking managers reports for all examiners across SecureMarker in the Marking screen. For more information, read Viewing marking managers reports in SecureMarker. |
| Marking > Marking Report |
Allows users to view marking reports for a specific examiner in the Marking screen. For more information, read Viewing marking reports in SecureMarker. |
| Marking > Propose CI | Allows users to submit control items when marking in the Marking screen. |
| Marking > Review Own Marked CI | Allows users to review their own control items in the Marking screen. |
| Marking > Review Own Marked CI When Suspended | Allows suspended users to review their own control items in the Marking screen. |
| Marking > Senior Examiner | Allows users to mark candidate responses in their quota in the Marking screen. |
| Marking > Unmarked Items Report |
Allows users to view reports about unmarked items in the Marking screen. For more information, read Viewing unmarked item reports in SecureMarker. |
| Marking > Unrestricted Examiner | Exempts users from marking restrictions in the Marking screen. |
| Escalations (Tab) |
Gives access to the Escalations screen. For more information, read About the Escalations screen in SecureMarker. |
| Escalations > Change Marked Items | Allows users to change the grade of marked items in the Escalations screen. |
| Escalations > Submit Zero Marks for Whole Script | Allows users to award zero marks to a whole script in the Escalations screen. |
| Escalations > View Whole Script | Allows users to view whole scripts when reviewing escalations in the Escalations screen. |
| Adjudication (Tab) |
Gives access to the Adjudication screen. For more information, read About the Adjudication screen in SecureMarker.
NOTE: Double and double blind marking functionality is not available by default. If you would like this functionality, contact your Surpass Customer Success Manager.
|
| Adjudication > Adjudication Blind | Allows users to adjudicate responses without being able to see the markers’ marks, comments, or annotations. |
| Adjudication > Adjudication with Marks Visible | Allows users to adjudicate responses with the markers’ marks, comments, or annotations visible. |
| Script Review (Tab) |
Gives access to the Script Review screen. For more information, read About the Script Review screen in SecureMarker. |
| Script Review > Moderate Script | Allows users to moderate scripts in the Script Review screen. |
| Script Review > Confirm |
Allows users to confirm scripts from SecureMarker to Surpass in the Script Review screen. For more information, read Sending completed scripts from SecureMarker to Surpass. |
| Script Review > Set Moderated | Allows users to set scripts as moderated in the Script Review screen. |
| Script Review > Set Flag | Allows users to flag scripts in the Script Review screen. |
| Script Review > Set VIP | Allows users to enable VIP Mode in the Script Review screen. |
| Script Review > Review | Allows users to review scripts in the Script Review screen. |
| Script Review > Upload On Behalf Of Candidate |
Allows users to upload files on behalf of the candidate for File Attach items in the Script Review screen. |
| Manage Site Settings |
Gives access to the Site Settings screen. For more information, read Site Settings. |
| Personal Profile Editor |
Gives access to the Personal Profile screen. For more information, read About Personal Profile options in SecureMarker. |
| Integration |
Allows users to integrate SecureMarker with external apps and systems.
NOTE: This permission should not be assigned to standard users.
|
Defining your assignable roles
If you want the user given this role to be able to assign a role to another user, select the relevant checkboxes in the Assignable Roles list.

Defining your levels
You can choose whether the selected role is assigned at the global or test level.

Select Role can be assigned at the Global level to allow users with the selected role to perform actions across all exams in SecureMarker. Select Role can be assigned at test level to allow users with the selected role to only perform actions across exams they have access to.
5. Save your role
Select Save Changes to save your role.
Further reading
To learn more about working in Roles, read the following articles: