About the SecureMarker home screen
In SecureMarker, the home screen is where users can view marking reports and edit the home page content, including the welcome message.
This article explains how to navigate the SecureMarker home screen and use its features.
In This Article
Navigating to the SecureMarker home screen
To view the SecureMarker home screen, select Home on the navigation bar. You are automatically directed to the home screen when you log in to SecureMarker.

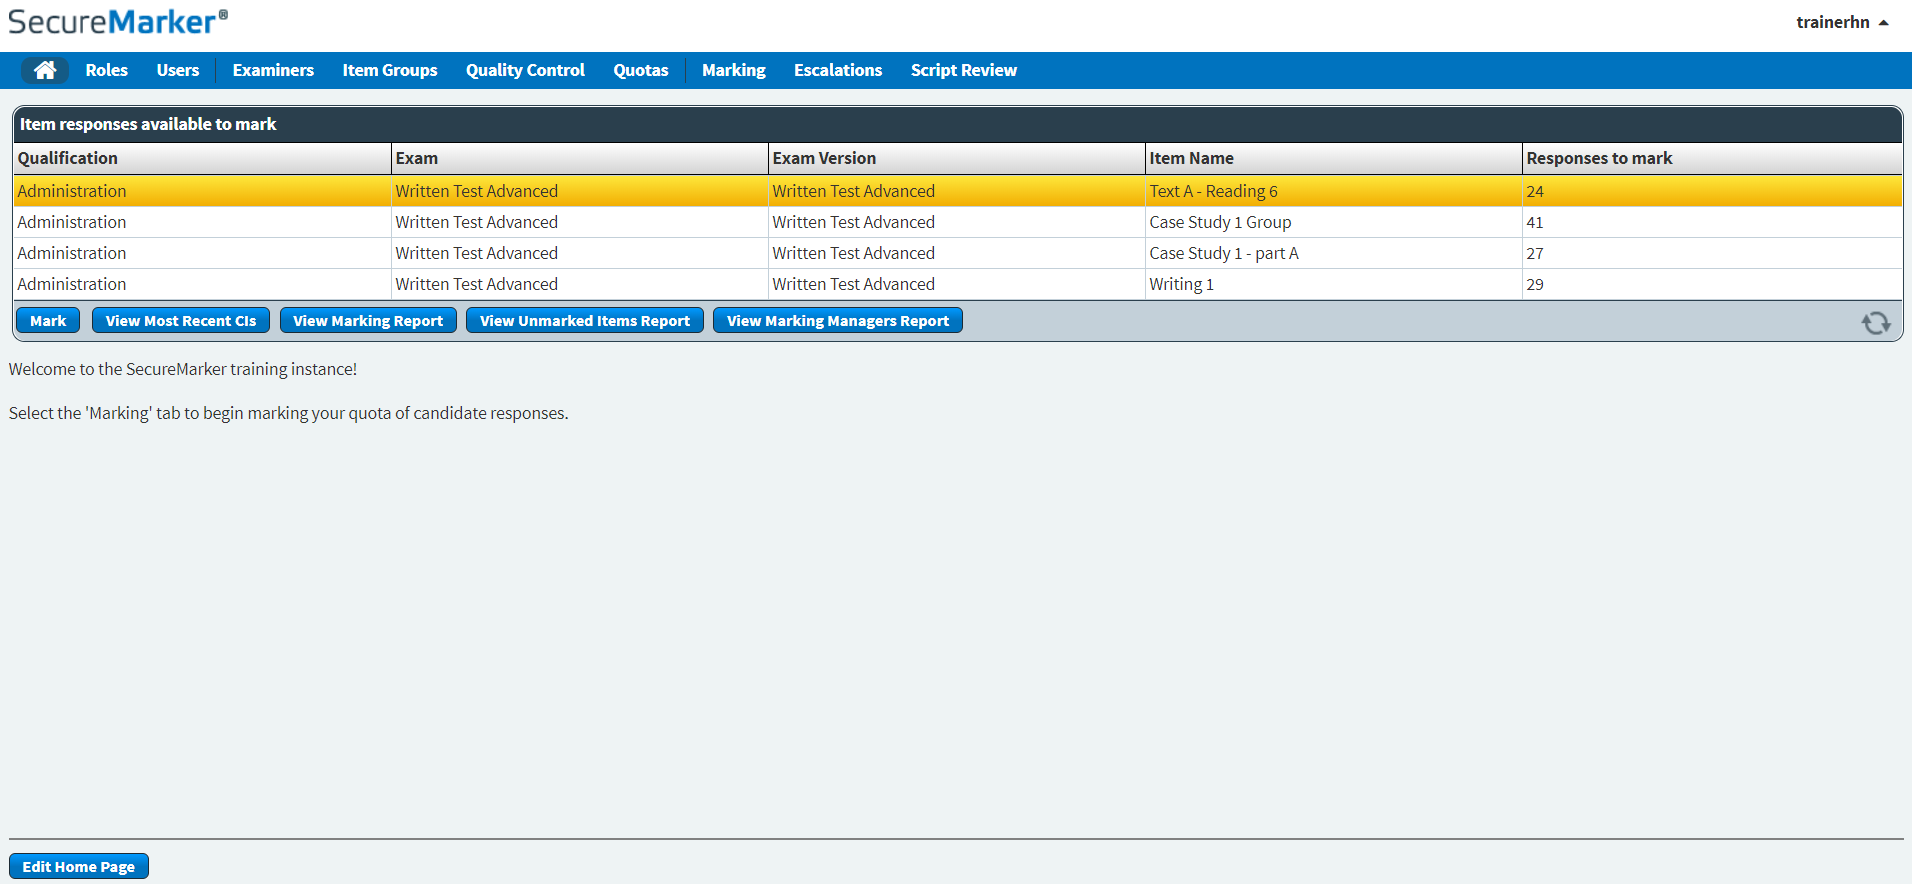
About the Item responses available to mark grid

The Item responses available to mark grid displays all responses available for marking. Refer to the following table for more information on each column.
| Column | Description |
|---|---|
| Subject | Displays the name of the subject. |
| Test | Displays the name of the test. |
| Test Form | Displays the name of the test form. |
| Item Name | Displays the name of the item or item group. |
| Responses to mark | Displays the number of responses available to mark for that item or item group. |
Marking responses in the SecureMarker home screen
Select Mark to mark a response. For more information, read Marking responses in SecureMarker.
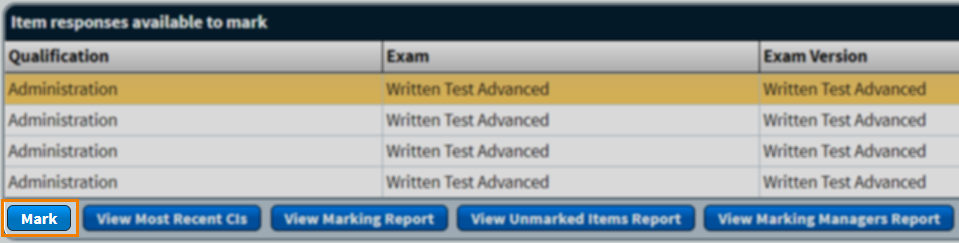
Actions on the SecureMarker home screen
There are many actions you can take on the SecureMarker home screen. Refer to the following table for more information on each option.
| Setting | Description |
|---|---|
| Mark |
Allows you to mark available responses in SecureMarker. For more information, read Marking responses in the Mark screen. |
| View Most Recent CIs | Allows you to view a list of your marked control items. For more information, read Reviewing control items in SecureMarker. |
| View Marking Report | Allows you to view a report of your marked responses. For more information, read Viewing marking reports in SecureMarker. |
| View Unmarked Items Report |
Allows you to view a report of unmarked responses. For more information, read Viewing unmarked item reports in SecureMarker. |
| View Managers Marking Report |
Allows you to view reports on examiners across all tests in SecureMarker. For more information, read Viewing marking managers reports in SecureMarker. |
| Refresh | Updates the data displayed in the grid. |
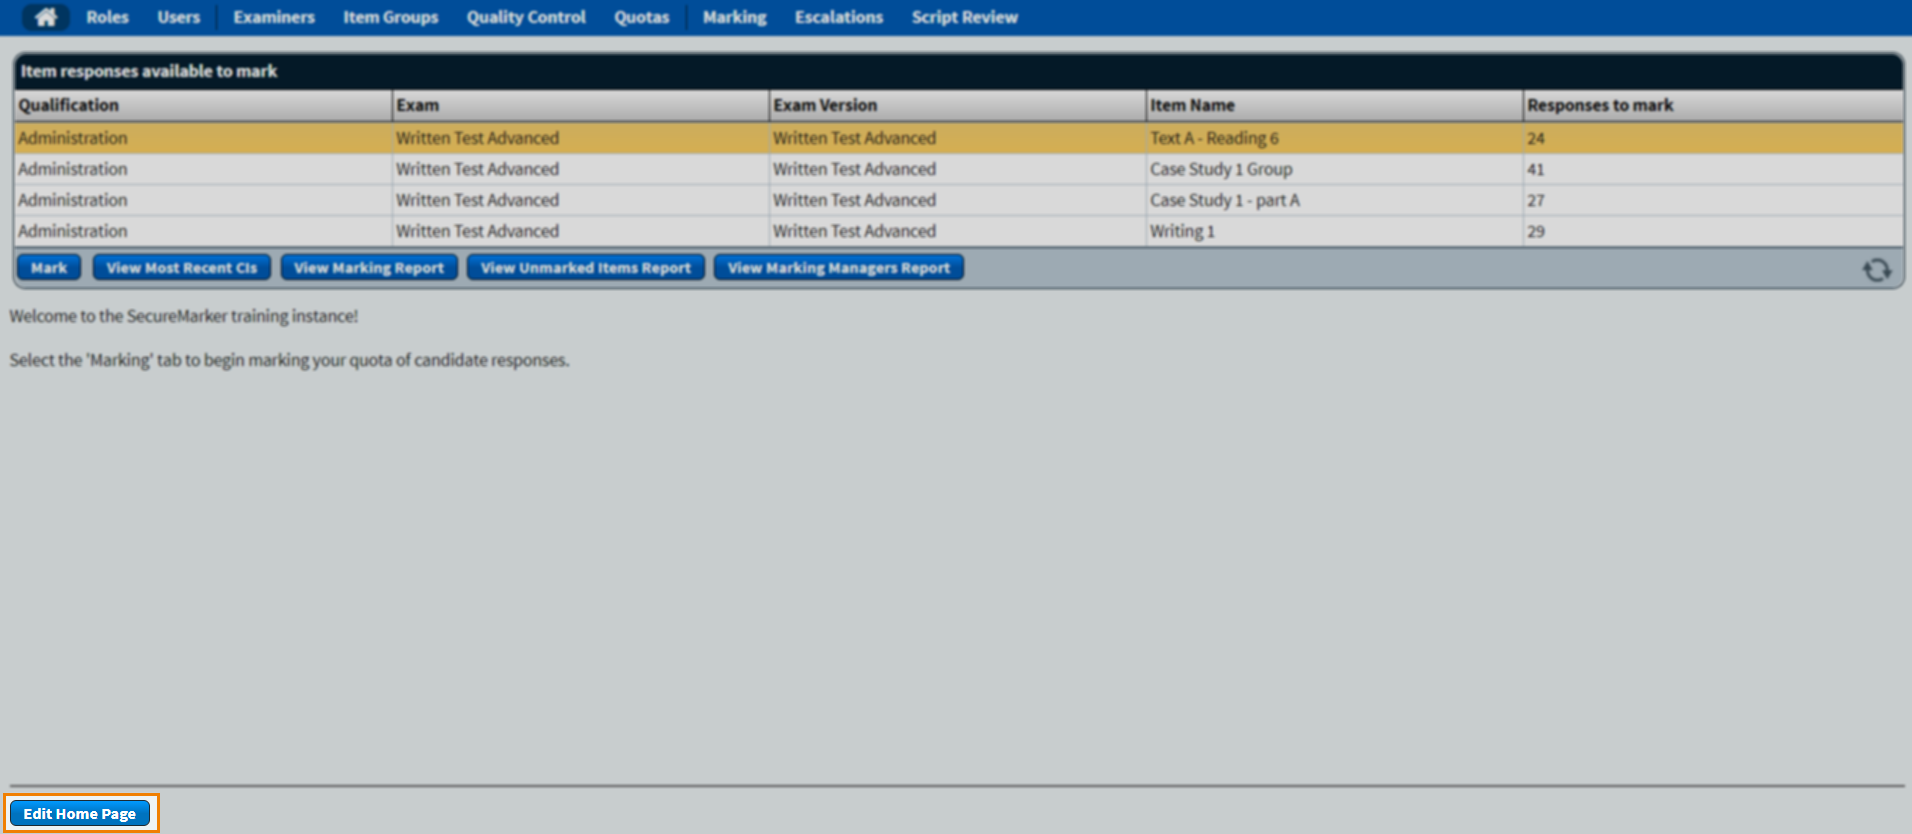
Editing the SecureMarker home screen
Select Edit Home Page to edit the welcome message displayed on the SecureMarker home screen.
Editing your welcome message
The formatting toolbar lets you control the appearance of selected text in your welcome message. Read the following table for information on each formatting option.

| Icon | Setting | Description |
|---|---|---|
| Font size | Determines the size of your text. | |
|
Bold (Control + B) |
Makes text darker. | |
|
Italics (Control + I) |
Makes text slant to the right. | |
|
Underline (Control + U) |
Adds a horizontal line below the text. | |
| Align left | Aligns text along the left margin. | |
| Centre | Aligns text in the middle of the content area. | |
| Align right | Aligns text along the right margin. | |
| Justify | Adjusts word spacing to fill the length of your text area. | |
| Bulleted list | Starts a bulletpoint list at the cursor’s position. | |
| Link | Adds links to the welcome message. For more information, read Adding links to the SecureMarker home screen. | |
| Unlink | Removes links from the welcome message. For more information, read Adding links to the SecureMarker home screen. |
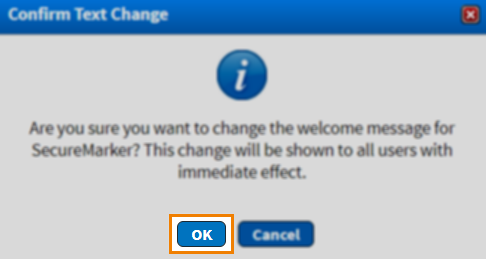
Select Save to change your welcome message.

Select OK in the Confirm Text Change dialog to save your welcome message. The welcome message is updated for all users in your instance.
Further reading
To learn more about working in SecureMarker, read the following articles: