Marking responses in SecureMarker
In SecureMarker, you can assign marks to and interact with candidate responses. This includes adding annotations, submitting responses as control items, and escalating scripts for further attention. You can mark responses in the Marking screen.
This article explains how to mark a response in the Marking screen of SecureMarker, including how to download mark schemes and annotate responses.
In This Article
1. Go to the Marking screen
To view the Marking screen, select Marking on the navigation bar.

2. Choose an item
Select an item or item group to mark in the Items grid.

3. Select Mark
Select Mark to open the Mark Quota screen.

4. Mark the response
You can view responses, assign marks, and download mark schemes in the Mark Quota screen. You can also submit responses as control items and escalate responses for further attention. For more information, read Submitting a response as a control item in the Marking screen and Escalating a response in the Marking screen.

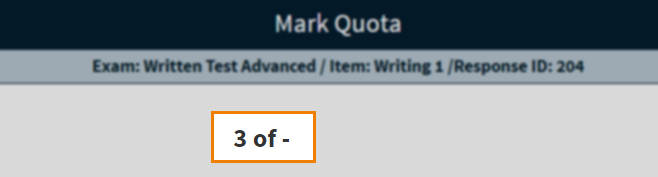
You can view basic details about the selected response in the Mark Quota screen:
- Test – Displays the name of the test.
- Item – Displays the name of the item.
- Response ID – Displays the response’s ID number.

You can view the number of responses you have marked and the number of responses left to mark in your quota. A hyphen (-) indicates an unlimited quota. For more information, read Setting quotas for examiners in SecureMarker.
Downloading mark schemes
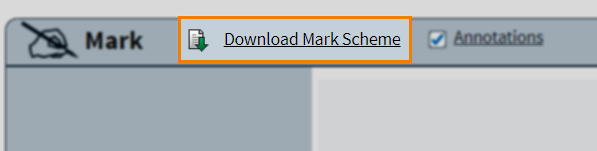
If a mark scheme has been attached to the item, you can download it while marking scripts.
Select Download Mark Scheme to download a mark scheme attached to the item. Mark schemes are uploaded to items in Surpass. For more information, read Uploading a mark scheme to an item.
Viewing annotations and annotating responses
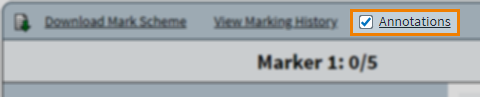
If annotation tools are set up on the parent test form in Surpass, you can mark up candidates’ scripts. For more information, read Configuring a test form for SecureMarker.
Select Annotations to enable annotation tools.
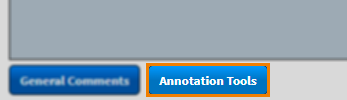
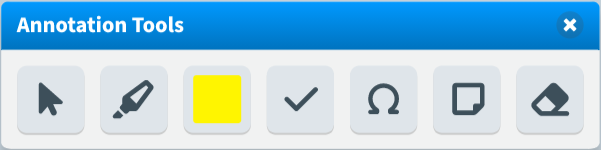
Select Annotation Tools to open annotation tools.
The toolbar contains the following tools:
| Button | Description |
|---|---|
| Cursor | Allows you to select item content. Also allows you to move annotation components. |
| Highlight Line | Allows you to draw a semi-transparent horizontal line across response content. |
| Highlight Colour |
Allows you to change the colour of the highlight. |
| Tick |
Allows you to leave a stamped tick mark on the item content. |
| Symbols |
Allows you to place a stamped symbol on the item content. |
| Comments | Allows you to add a text box overlaying the item. |
| Eraser | Allows you to erase annotations. |
The toolbar can be dragged around the screen.
Viewing and adding comments
If annotation tools are set up on the parent test form in Surpass, you can view and add comments to candidate responses.
Marking responses with Marked Learning Outcomes
If an item has Marked Learning Outcomes, you must add a score for each Learning Outcome in the Marking Panel.
Each Learning Outcome’s maximum mark is displayed next to the entry field. Input a mark for each Learning Outcome in their corresponding entry field.
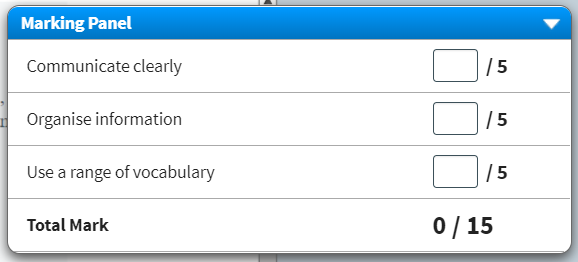
The item’s mark is automatically calculated from the sum of all Learning Outcome scoring values. For more information about Marked Learning Outcomes, read ‘Setting up Marked Learning Outcomes’ in Using tags in items.
Assigning zero marked codes
If zero marked codes are enabled in Site Settings, a code can be assigned to a response awarded a mark of zero. For more information, read ‘About Zero Marked Codes’ in About Site Settings options.
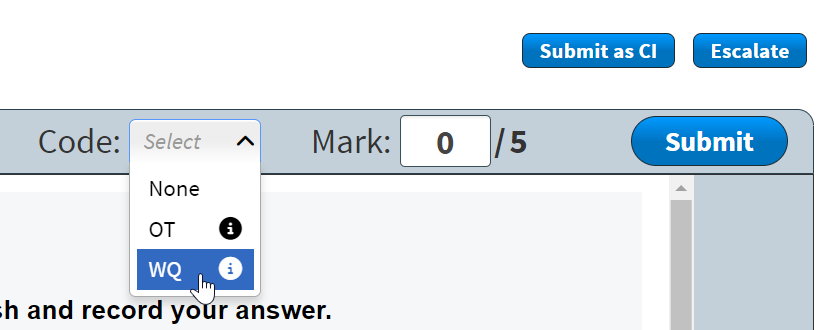
Once you have assigned a mark of zero, the option to assign a zero marked code appears.

Select a zero marked code from the Code drop-down menu. Hover over the information icon to view the code’s reasoning, as configured by a user with the Manage Site Settings permission.
- If an item has Marked Learning Outcomes, a zero marked code can only be applied if each learning outcome is given no marks
- If an item has been configured for double marking and one marker assigns a zero marked code and the other marker does not assign the same code, the response is sent for adjudication
- Responses with a zero marked code assigned cannot be submitted as a control item
5. Submit marks
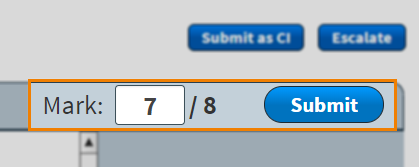
To assign a mark to a response, enter a value in the Mark field and select Submit. The next response to mark automatically populates on the Mark Quota screen.
Marking double marked responses
Items can be configured for double marking in Quality Control. For more information, read Setting up double marking in SecureMarker.
If an item has been configured for double marking and you are the second marker, you can see the first marker’s assigned mark. You cannot see the first marker’s mark if the item has been configured for blind double marking.

Enter a value in the Mark field and select Submit to assign your mark.

Double marked items that are marked out of tolerance by one or both markers are sent for adjudication. For more information on the adjudication process, read Adjudication.
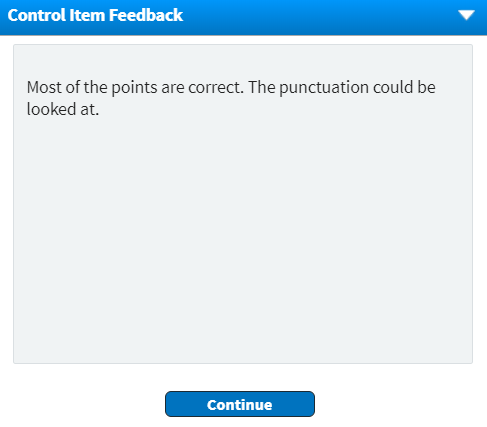
Viewing control item feedback
If you are marking a control item, you can view feedback added to the control item when it was created.
Select Continue in the Control Item Feedback dialog to submit the response. For more information, read Creating control items in SecureMarker.
Further reading
To learn more about working in Marking, read the following articles:
- About the Marking screen in SecureMarker
- Submitting a response as a control item in the Marking screen of SecureMarker
- Escalating a response in the Marking screen of SecureMarker
- Viewing marking reports in SecureMarker
- Viewing unmarked item reports in SecureMarker
- Viewing marking managers reports in SecureMarker
Select Annotations to enable annotation tools.
Select General Comments to add your comments.