Configuring a test form for SecureMarker
SecureMarker is a standalone on-screen marking app that integrates with Surpass. SecureMarker features anonymous item-based marking, with quota allocations and quality and consistency functions not available in Surpass.
You can set up your test form to automatically export candidates’ scripts to SecureMarker after submission. These scripts will bypass the standard Surpass marking workflow and instead go through SecureMarker before returning to Surpass at the Audit stage.
This article explains how to set up a test form to export candidate scripts to SecureMarker when submitted.
In this article
1. Go to Test Form Details
Navigate to Test Creation > Test Forms and select the relevant test form in the grid.

Select Edit Test Form to open the Edit Test Form window.

In the Edit Test Form window, open the Test Form Details tab.

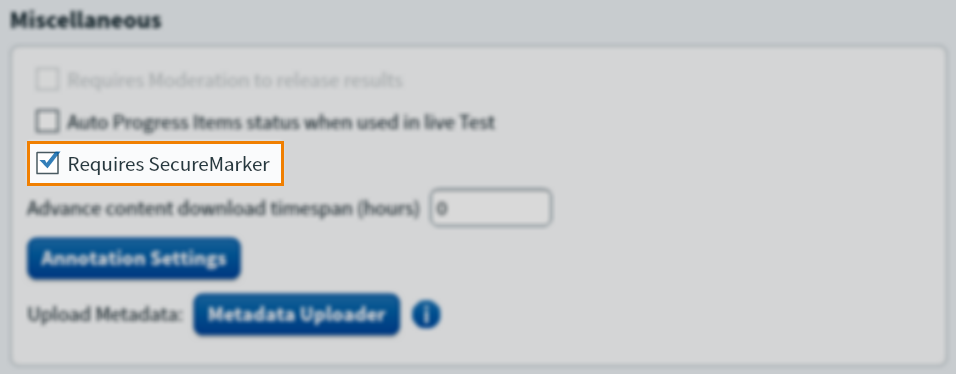
2. Enable Requires SecureMarker
Select Requires SecureMarker in Miscellaneous options to export candidates’ scripts to SecureMarker when submitted.
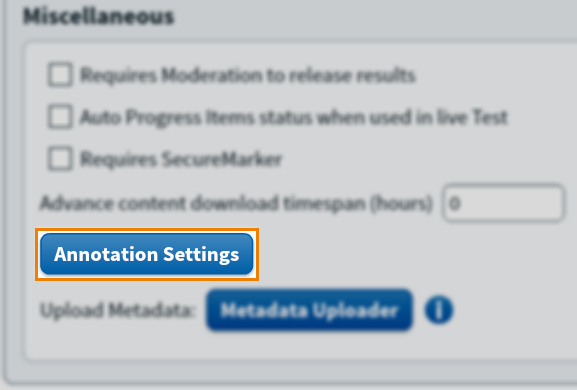
3. Configure Annotation Settings (optional)
You can control what commenting and annotation tools are available to markers working in SecureMarker.
Select Annotation Settings in Miscellaneous options to open the Annotation Settings window.
General Comments
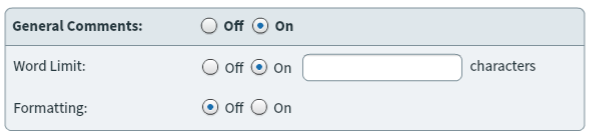
General comments allow markers to leave a comment on the item. General comments are not attached to specific part of the response.
Use the General Comments > On / Off toggle to enable and deactivate general comments, respectively.
Enable Word Limit to enforce a character limit on markers’ responses. Define the character limit in the characters field.
Enable Formatting to give markers basic formatting tools, such as bold, italic, and underline.
Open Comments

Open comments allow markers to leave comments on specific areas on the response with digital “sticky notes”. Multiple open comments can be left on an item.
Use the Open Comments > On / Off toggle to enable and deactivate open comments, respectively.
Enable Word Limit to enforce a character limit on markers’ responses. Define the character limit in the characters field.
Annotations
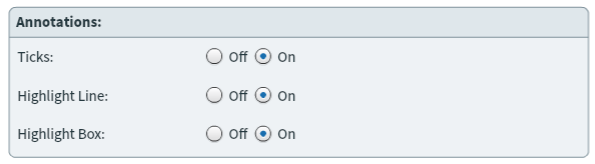
The annotation tools give markers additional markup options.
Enable Ticks to allow markers to leave checkmarks anywhere on the response.
Enable Highlight Line to allow markers to draw a translucent yellow line anywhere on the response.
Enable Highlight Box to allow markers to draw a red box anywhere on the response.
Fixed Comments
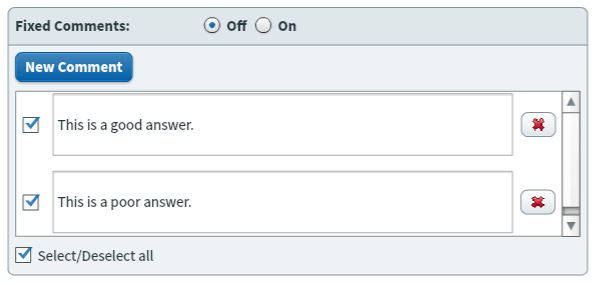
Fixed comments provide markers with pre-written remarks that can be added to the response. Use fixed comments to prevent markers from leaving inappropriate or unnecessary comments on scripts, especially those that might be shown to candidates during a candidate review session.
Use the Fixed Comments > On / Off toggle to enable and deactivate fixed comments, respectively.
Select New Comment to add a new comment.
Use the checkboxes next to fixed comments to add or remove them from the test form. To delete a fixed comment, select Delete Comment .
Symbols
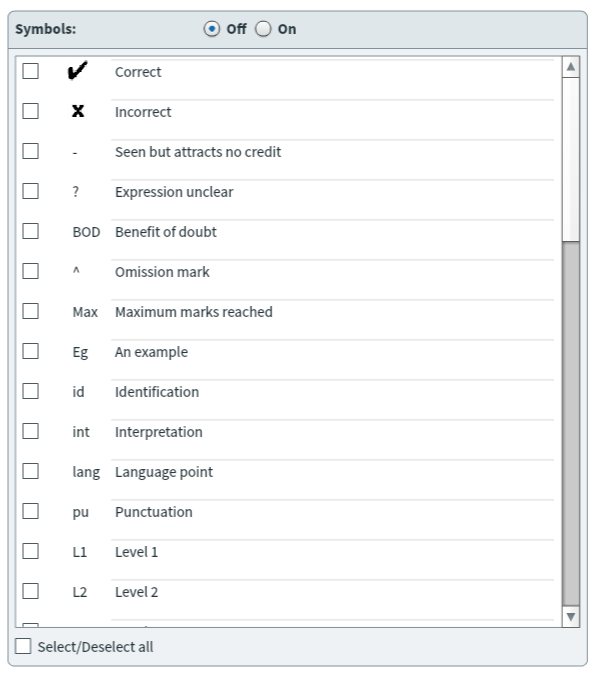
Symbols allow markers to add shorthand markup to responses. Use the checkboxes next to symbols to add or remove them from the test form. Use Select/Deselect all to add or remove all symbols.
Further reading
To learn more about test form settings, read the following articles: