Creating an Information Page
An Information Page is a non-scored, non-question item that appears to candidates during the test. You might want to use Information Pages to communicate any information or instructions candidates need to know while taking the test. Time spent on Information Pages is counted on the main test timer.
This article explains how to create a basic Information Page in Surpass.
In This Article
1. Choose your item type
In your subject, select Create New Item to open the Basic Pages menu. Choose Information Page to create a blank Information Page and go to the Edit screen.

2. Name your item
Enter the item’s name in the Name field.

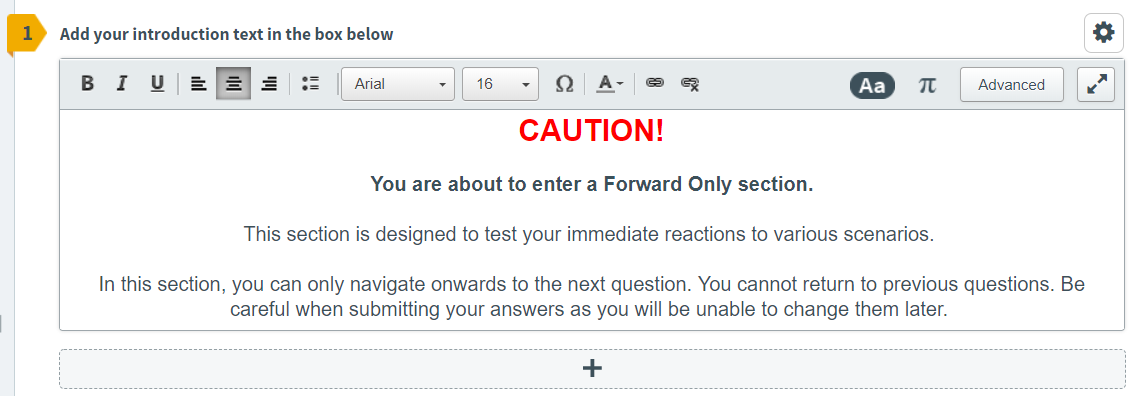
3. Enter your content
Enter your content in the text field. Select Add Text Area to add an additional stem. You can have a maximum of five stems per item.
Open Additional Options to add source material to your stem. In Mixed subjects, you can also add assistive media.
4. Select a workflow status
Set the item’s workflow status in the Status drop-down menu. Only items set to Live can be used in a test.

5. Preview your item
To see your item from a candidate’s perspective, select Preview .

In Mixed subjects, you can preview your item in the HTML test driver. Use the Preview arrow to open the Preview Options menu and select Preview in HTML . Any custom CSS is applied in the Preview screen. For more information on custom CSS, see Creating a subject in Setup.

If you need to continue working on the item, select Edit to return to the Edit screen.

6. Saving and closing your item
Select Save to save your item to your subject.

To see additional saving options, use the Save arrow to open the Save Options menu. Select Save & Close to save the item and return to the Subjects screen. Select Save & New to save the item and create another Information Page.

Select Close to leave the Edit screen. If you have unsaved changes, you are prompted to either save or discard them.

Further reading
You can create other basic pages in Surpass. Read the following articles for more information: