Creating a candidate
Candidates (also known as “students” or “learners”) are people that take tests using Surpass. Unlike users, candidates do not log into Surpass. Candidates only access their tests in the test driver—either in a web browser or SecureClient.
You can create candidates individually in the Surpass UI in the Candidates screen in the Setup section of Surpass.
This article explains how to create a candidate in the Candidates screen.
In this article
1. Go to the Candidates screen
To view the Candidates screen, go to Setup > Candidates.

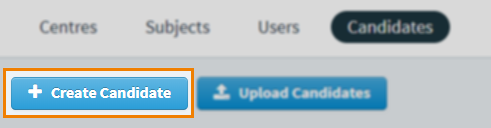
2. Select Create Candidate
Select Create Candidate to create a candidate.
3. Fill out the Candidate Details form
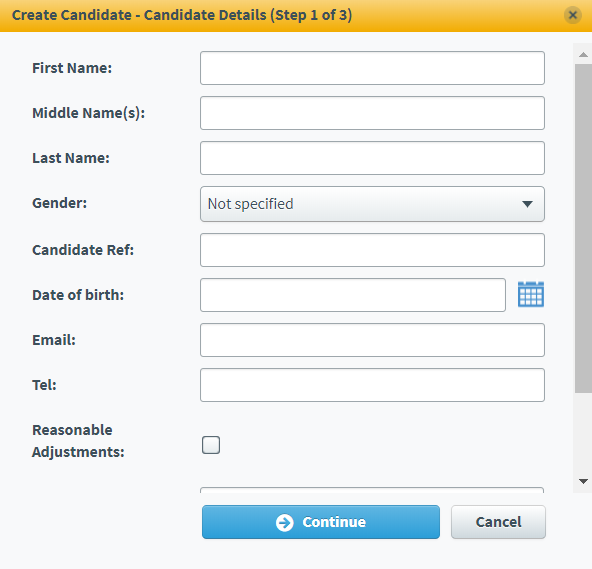
Fill out the Candidate Details form with your new candidate’s information. Refer to the following table for information about each field.
| Field | Description |
|---|---|
| First Name* | Enter the candidate’s first name. |
| Middle Name(s) | Enter the candidate’s middle name or names, if necessary. |
| Last Name* | Enter the candidate’s last name. |
| Gender | Indicate the candidate’s gender. The available options are Male, Female, and Not specified. |
| Candidate Ref | Give the candidate a unique reference code. If you do not provide a reference, Surpass auto-generates one (for example, Auto1adcd540ab274644b30a513c8a1631d9). |
| Date of birth* | Use the date picker to enter the candidate’s date of birth. |
|
Enter the candidate’s email. This is only used for administrative purposes. Surpass never contacts candidates directly. |
|
| Tel | Enter the candidate’s email. This is only used for administrative purposes. Surpass never contacts candidates directly. |
| Reasonable Adjustments |
Determines whether the candidate is to be granted extra time on their tests (for example, for reasons of physical impairment).
NOTE: If you have the Enable custom reasonable adjustments value permission, you can provide a Custom percentage of extra time given to the candidate. Test invigilators can modify the exact time given to the candidate between this custom value and the test form's defined maximum value. For more information, read Setting up reasonable adjustments for candidates in the Resources section of the Surpass Help Site.
|
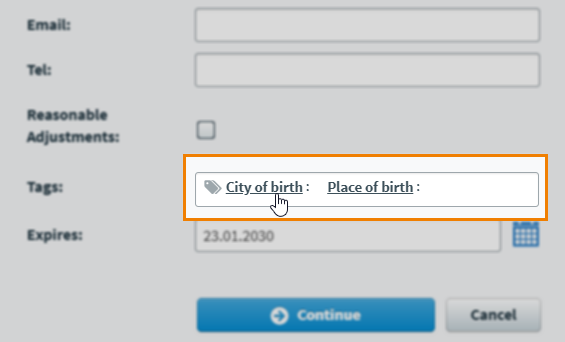
| Tags | Assign tags to your candidate. For more information on adding tags to candidates, expand ‘Adding candidate tags’ below. |
| Expires |
Use the date picker to choose the candidate’s expiry date. An expired candidate cannot be scheduled for tests.
NOTE: The default expiry date is ten years from the date the candidate is created.
|
Select Continue to proceed.
Adding candidate tags
Candidate tags allow you to record and store important additional information against your candidates. Candidate tag data can be retrieved in the raw data extract in Reporting.
Expand the following section to learn more about adding tags to a candidate.
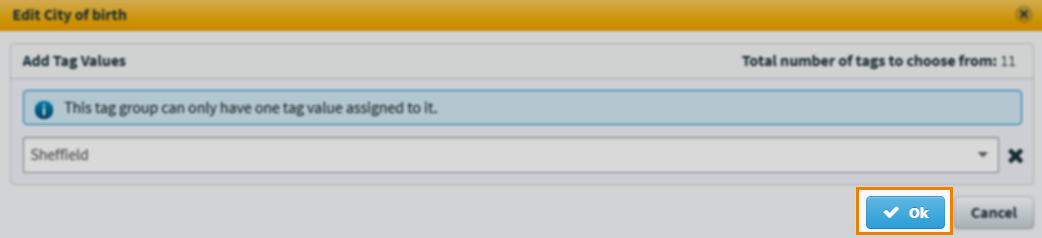
Select the relevant tag group in the Tags field to open the Edit [tag group] dialog.
Use the menu to select a tag value or type a new tag value into the text field.
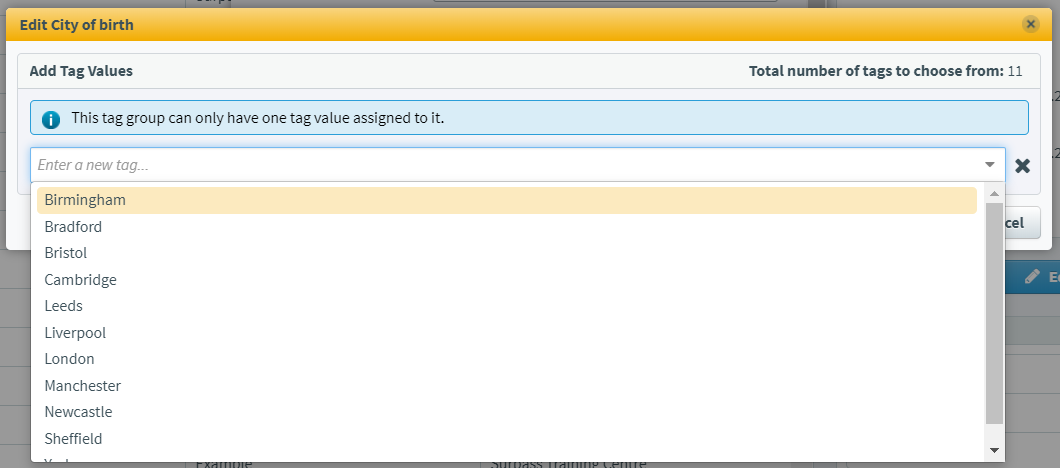
Select OK to save the tag value to the candidate.
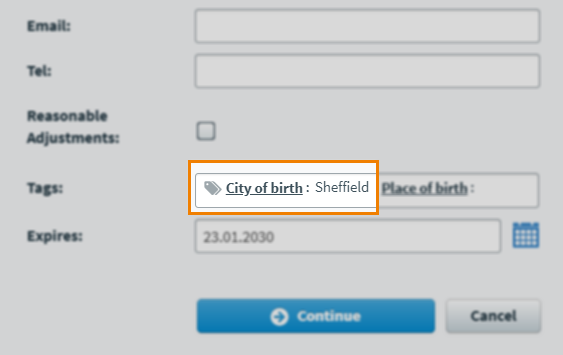
The tag value appears next to the tag group in Candidate Details.
4. Choose centre associations
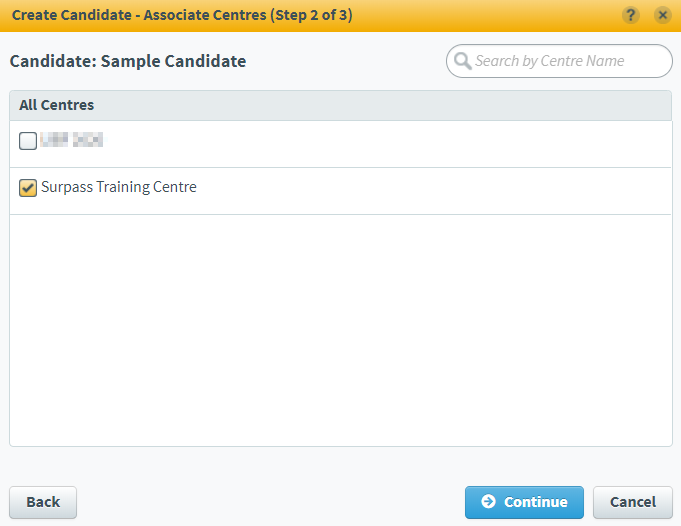
The Associate Centres dialog displays all available centres. Select the centre (or centres) you want to be the candidate’s parent centre. This parent centre determines the available subjects in the next step.
Select Continue to proceed.
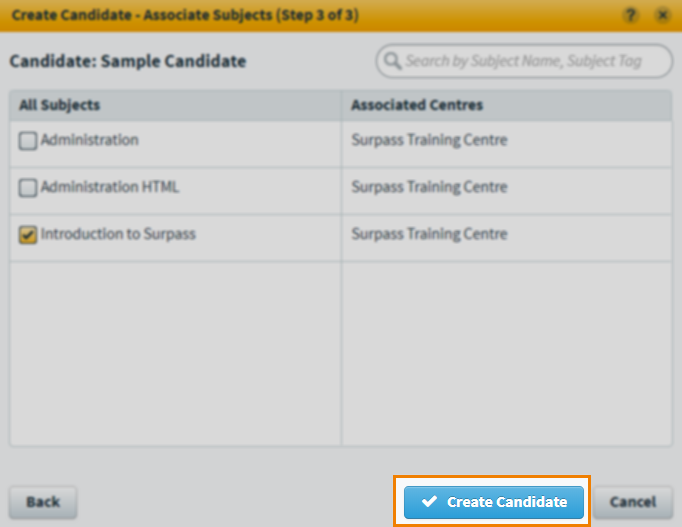
5. Choose subject associations
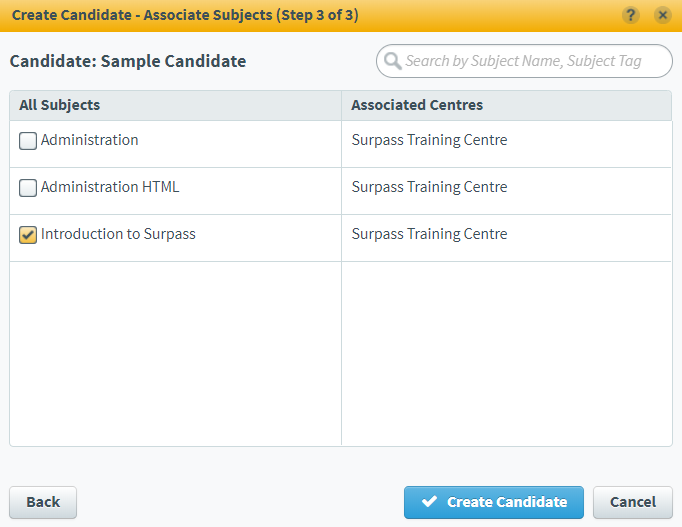
The Associate Subjects dialog displays all subjects contained in the chosen parent centre. Select the subjects you want the candidate to be associated with.
Select Continue to proceed.
6. Confirm candidate details
Select Create Candidate to create the candidate.
Further reading
To learn more about working in the Candidates screen, read the following articles: