Reverting changes in Rescoring
Rescoring lets you reduce the impact of incorrect and invalid items in Surpass. In a rescoring session, you can award full marks to items, add and remove scores, and change the correct answer options.
It is possible to discard changes made to items in Rescoring. This process reverts items back to their original state.
This article explains how to revert changes in Rescoring.
In this article
1. Go to the Rescoring screen
To view the Rescoring screen, go to Reporting > Rescoring.

2. Open your rescoring session
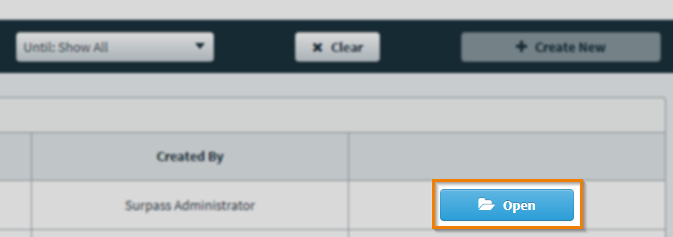
Select Open to enter your rescoring session.
3. Choose an item
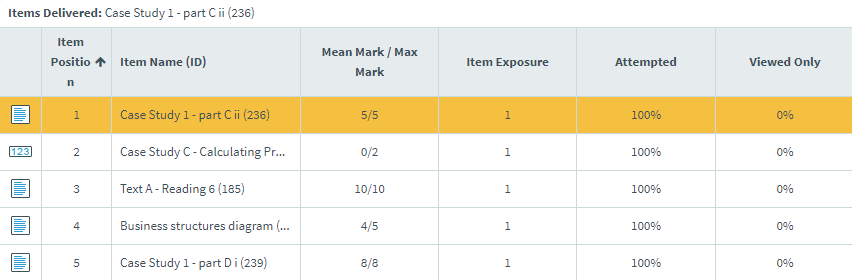
Choose the item you want to revert in the Items Delivered grid.
4. Select Revert Item
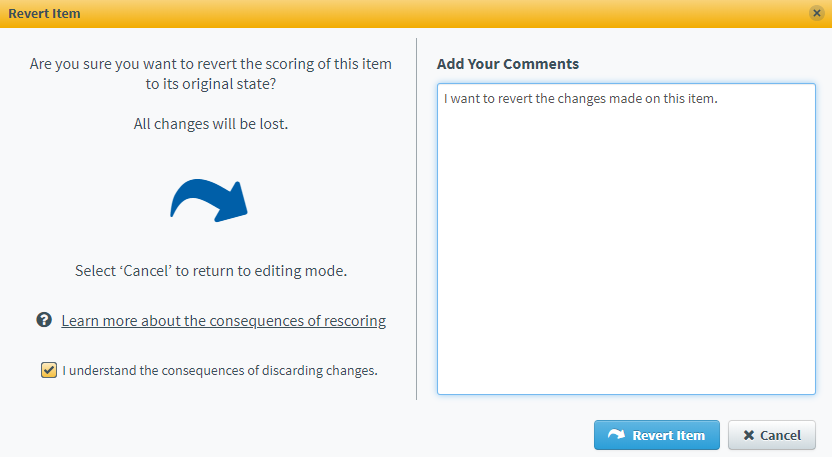
Select Revert Item to open the Revert Item dialog.
In the Revert Item dialog, you can provide a written explanation for reverting changes made to the item in Add Your Comments. Select I understand the consequences of awarding full marks to confirm you want to revert changes made to the item.

Select Revert Item to begin the reverting process.

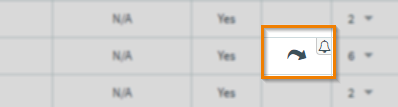
The changes are indicated in the Changed column of the Items Delivered grid ().
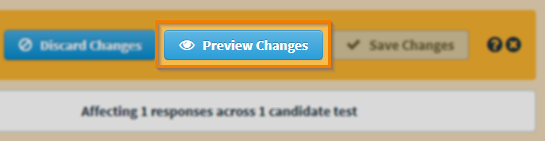
5. Preview your changes
Select Preview Changes to continue processing the changes.
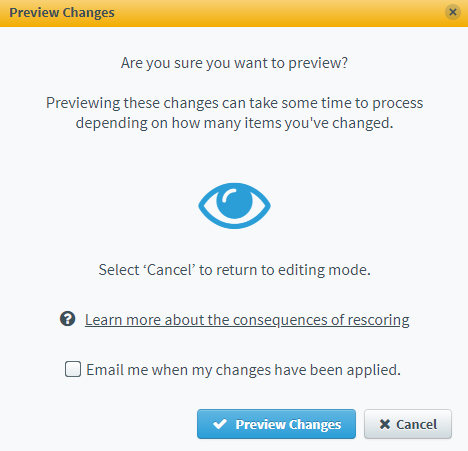
Select Email me when my changes have been applied to receive an email when the changes have been applied to the item. Select Preview Changes to continue the reverting process.
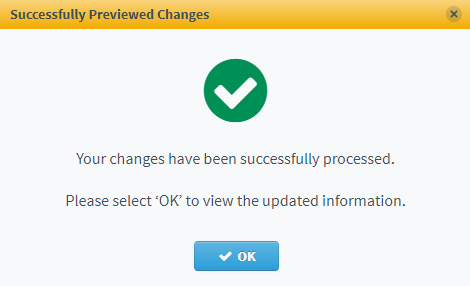
When your changes have been successfully processed, select OK to return to your rescoring session.
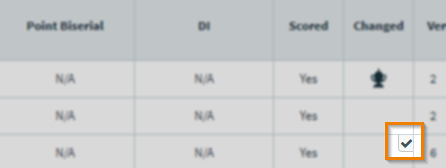
The changes are indicated in the Changed column of the Items Delivered grid ().
6. Save your changes
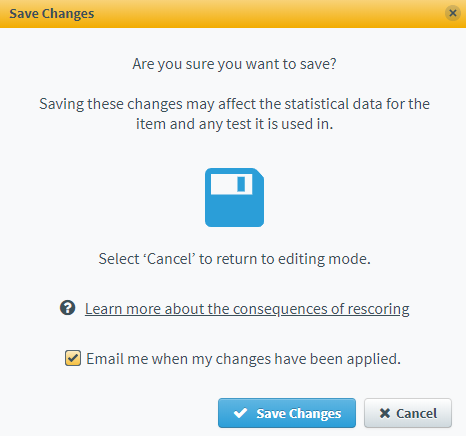
Select Save Changes to open the Save Changes dialog.

In the Save Changes dialog, select Email me when my changes have been applied to receive an email when the changes have been applied to the item. Select Save Changes to revert the item back to its original state.
When your item has been reverted to its original state, select OK to return to your rescoring session.

The changes are indicated in the Changed column of the Items Delivered grid ().
Further reading
Now you know how to revert changes made to items in Rescoring, read the following articles to learn more: