Scheduling a test session in the Schedule (Legacy) screen
In Surpass, the Schedule screen is where test sessions are arranged for particular candidates on a specific date and time.
This article explains how to use the scheduling wizard to schedule a test session in Surpass.
In this article
1. Go to the Schedule (Legacy) screen
To view the Schedule screen, go to Test Administration > Schedule.

Select Legacy on the Standard / Legacy toggle to view the Schedule (Legacy) screen.
2. Select Schedule Test
To open the scheduling wizard, select Schedule Test.

3. Select a centre
In the Select Centre tab of the Schedule Test Wizard, choose the centre that contains the test you want to schedule. You can search for centres based on their names in the text field.
Select Next to proceed.
4. Select a subject, test, and test form
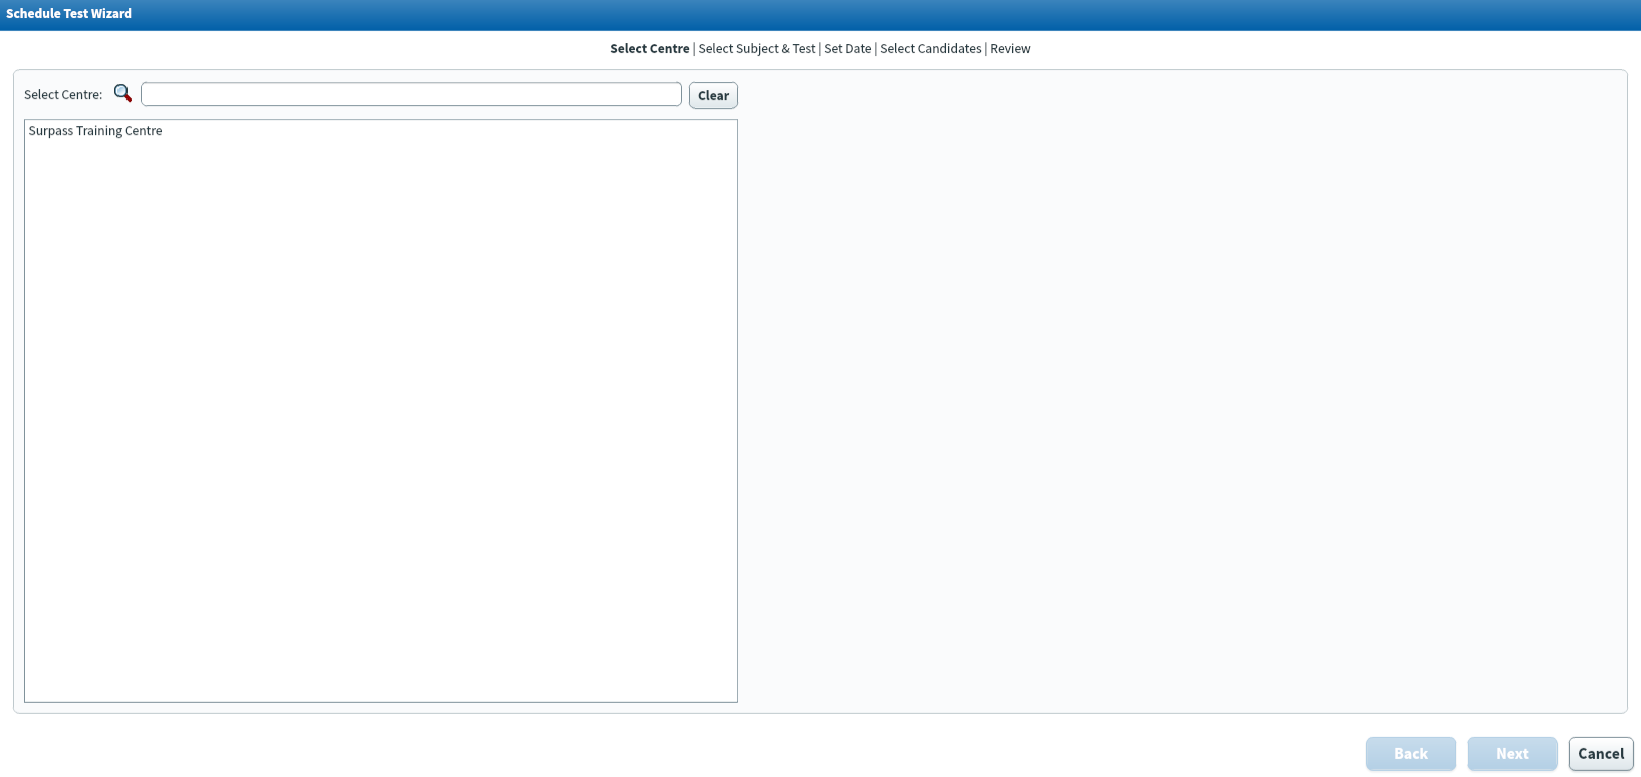
In the Select Subject & Test tab of the Schedule Test Wizard, choose the subject that contains the test you want to schedule in the Select Subject list. You can search for subjects based on their names in the text field.
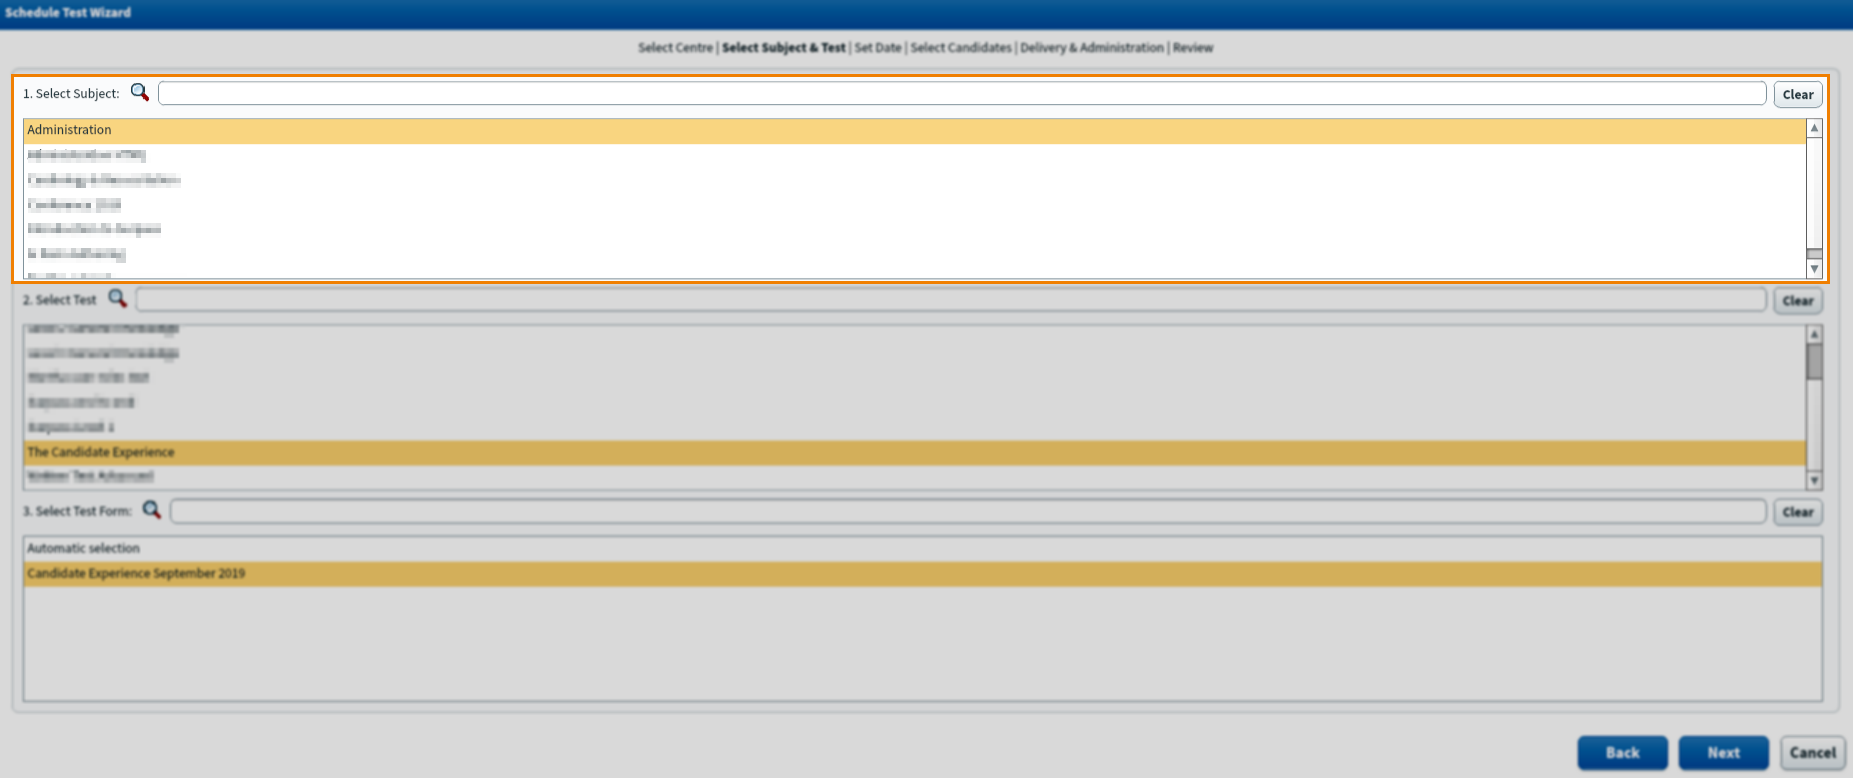
The list of available tests in the Select Test list varies based on the selected subject. Only tests set to Live are available. Choose the test you want to schedule. You can search for tests based on their names in the text field.
The list of available test forms in the Select Test Form list varies based on the selected test. Only valid test forms set to Live are available. Choose the test form you want to schedule or select Automatic selection to choose a test form at random. You can search for test forms based on their names in the text field.
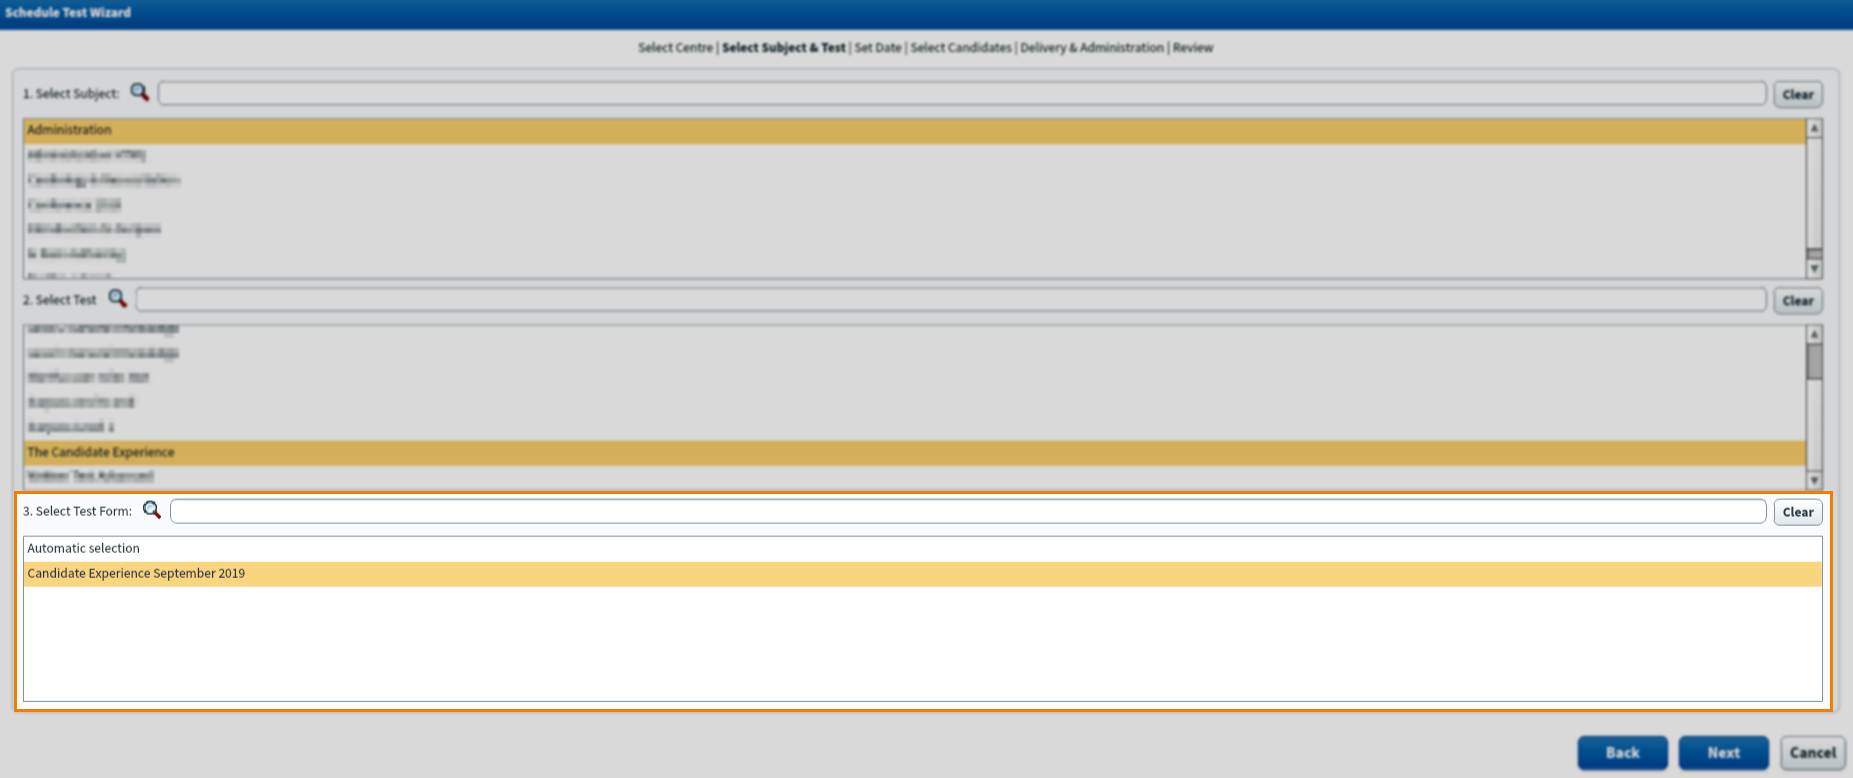
Select Next to proceed.
5. Set a date
In the Set Date tab of the Schedule Test Wizard, choose the dates and times at which the test will be available for candidates.
By default, the scheduling wizard will be set up for a single day test. Use the Start Date date picker to select the relevant day or enter a date in DD/MM/YYYY format.

Select Multiple day test to schedule a test session over numerous days. This adds an additional End Date field. Enter the last day on which the test can be sat.
Enter the earliest and latest times you want candidates to be able to start the test in Start Time and End Time, respectively. Times are represented in 24-hour notation.
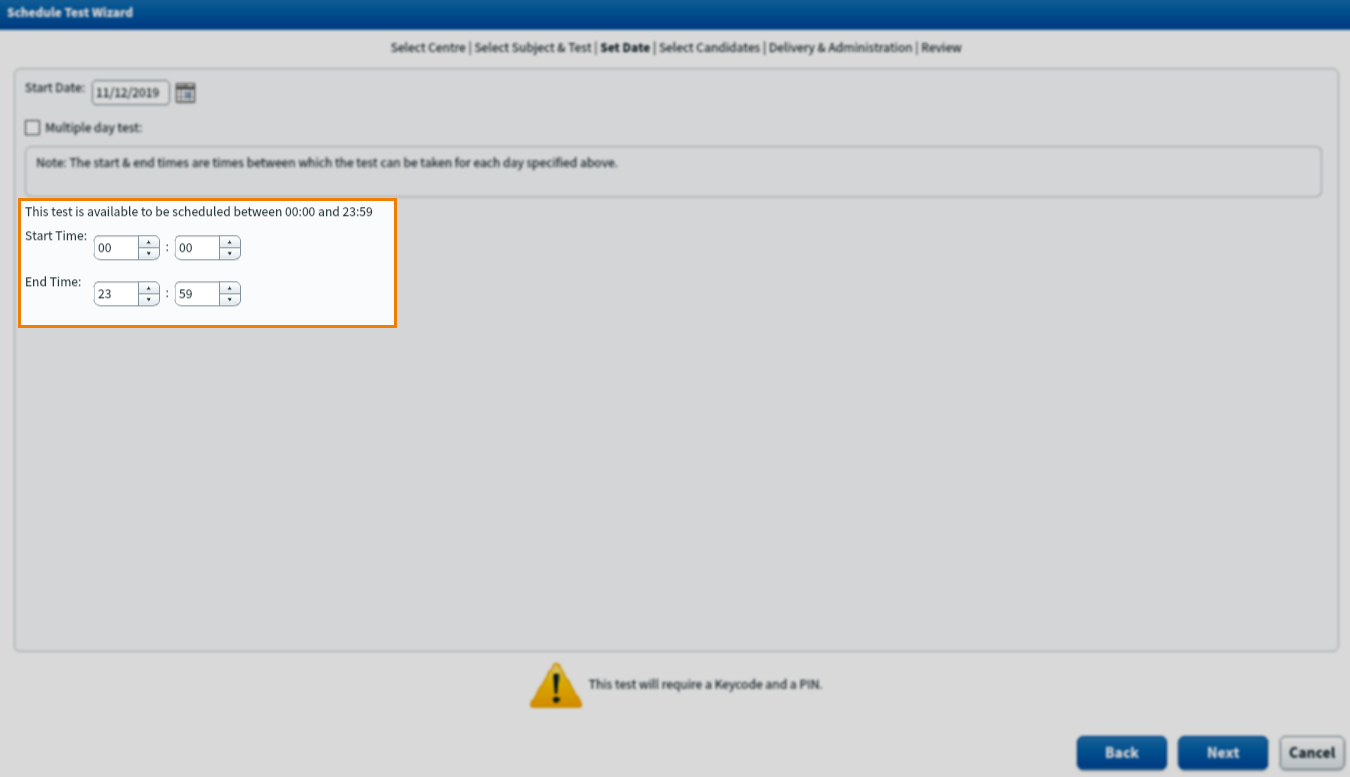
Select Next to proceed.
Setting dates for computer based projects
Computer based projects always take place over a number of days, therefore you must set a Start Date and a Submission Date. The Start Date is dependent on the test availability window settings in Test Creation and Maximum Advance Schedule (Days) setting in Site Settings. The Submission Date is set to the final day of the project duration defined in Test Creation.
You can amend the submission date, but this means the whole project duration defined in Test Creation would not be met.
6. Choose candidates
In the Select Candidates tab of the Schedule Test Wizard, choose the candidates that will be sitting the test in this session. You can either select candidates individually using the checkboxes in the Selected column or by using Select all in page. If the list of candidates extends over multiple pages, you must use Select all in page on each page to select all candidates.
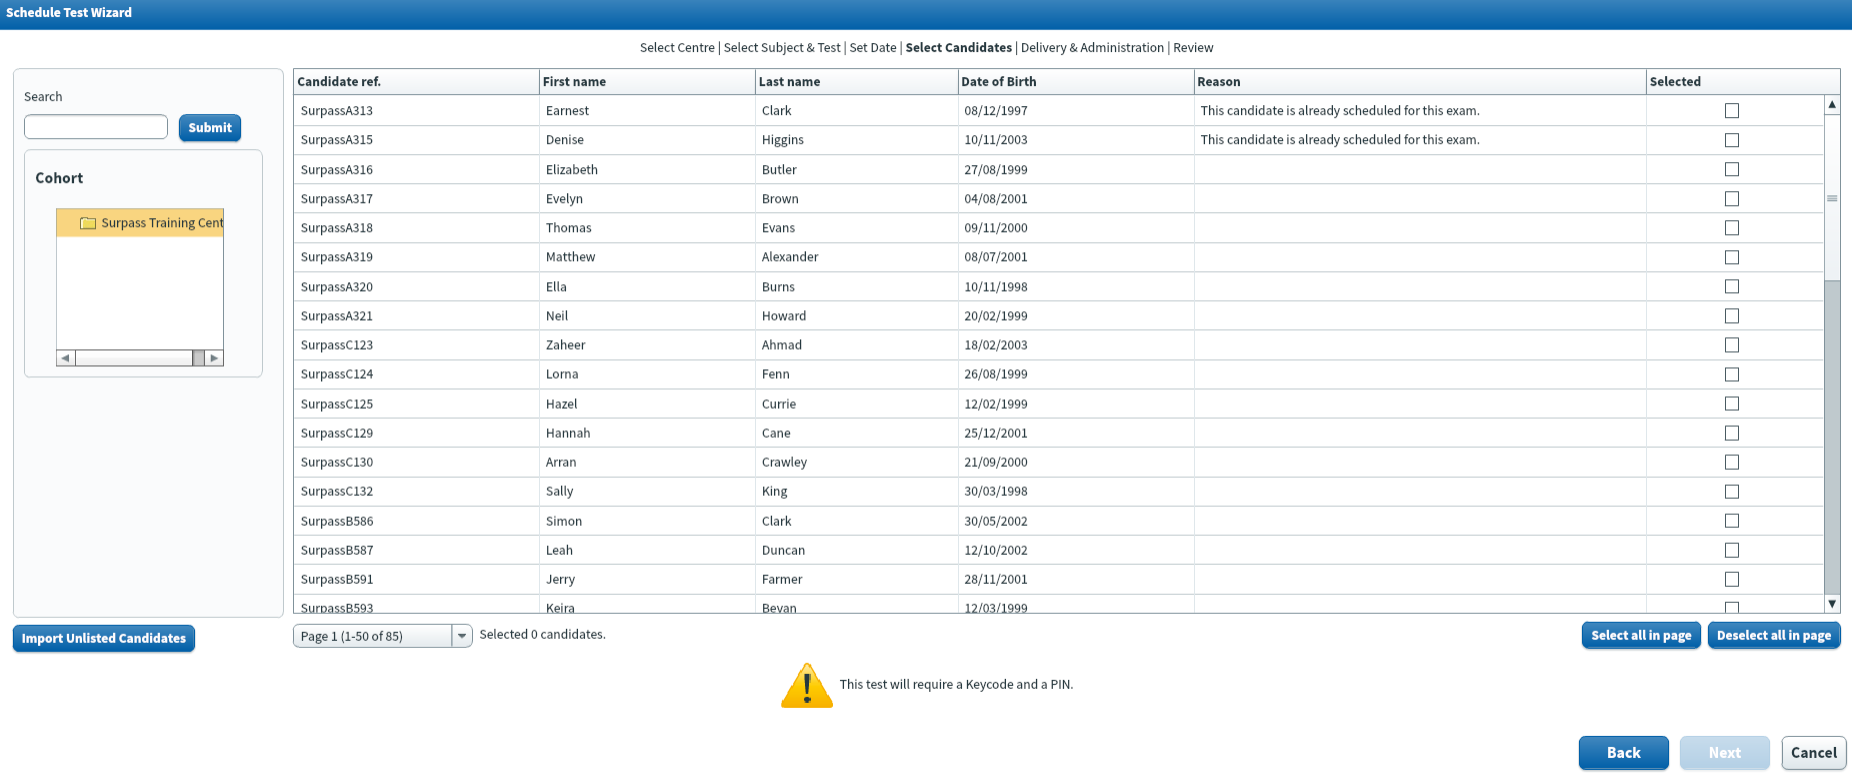
Select Next to proceed.
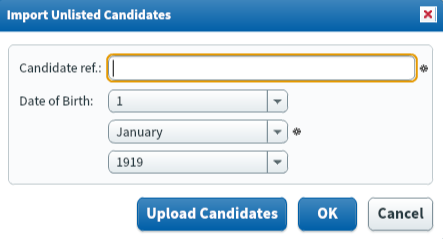
Importing unlisted candidates
If you want a candidate that is not registered at the selected centre to sit the test, you can add them to this session by selecting Import Unlisted Candidates. Enter their candidate reference and date of birth in the Import Unlisted Candidates dialog to add them to the session.
7. Set up Delivery and Administration options
In the Delivery & Administration tab of the Schedule Test Wizard, you can determine how the test is to be delivered to candidates.
Deliver the same test questions to all candidates
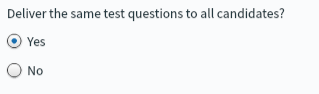
For test forms with dynamic rules, you can determine whether dynamic rules are run once to generate a fixed test form that is delivered to all candidates (Yes) or if the rules are to be ran for each candidate, giving everyone a unique test form (No).
Deliver Test
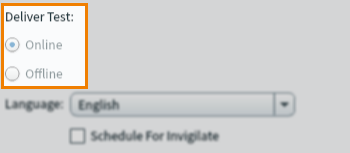
The Deliver Test options determine whether the test is to be delivered using web delivery or SecureClient with a connection to the central server (Online) or using SurpassLocal (Offline).
Language
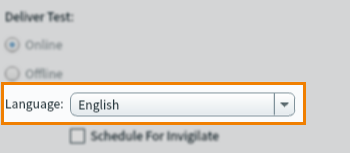
Language determines the default language of the test driver’s interfaces, menus, and navigation options. Select a language in the menu. For a full list of available test driver languages, read About Surpass test driver languages.
Schedule For Invigilate
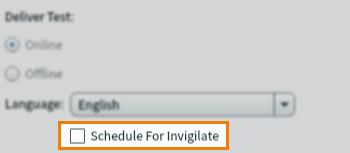
If the test has not been set up to require invigilation, you can select Schedule For Invigilate to enforce invigilation locks on the test. Whether candidates need a PIN to enter the test or require manual unlocking depends on whether the test-level setting Auto Create PIN has been enabled or cleared, respectively.
The test’s invigilation status is indicated in the Scheduling Test Wizard.

Administration

If Enable User Associations has been enabled on the selected test, you must choose a specific user to be the designated marker and moderator.
8. Confirm test session details
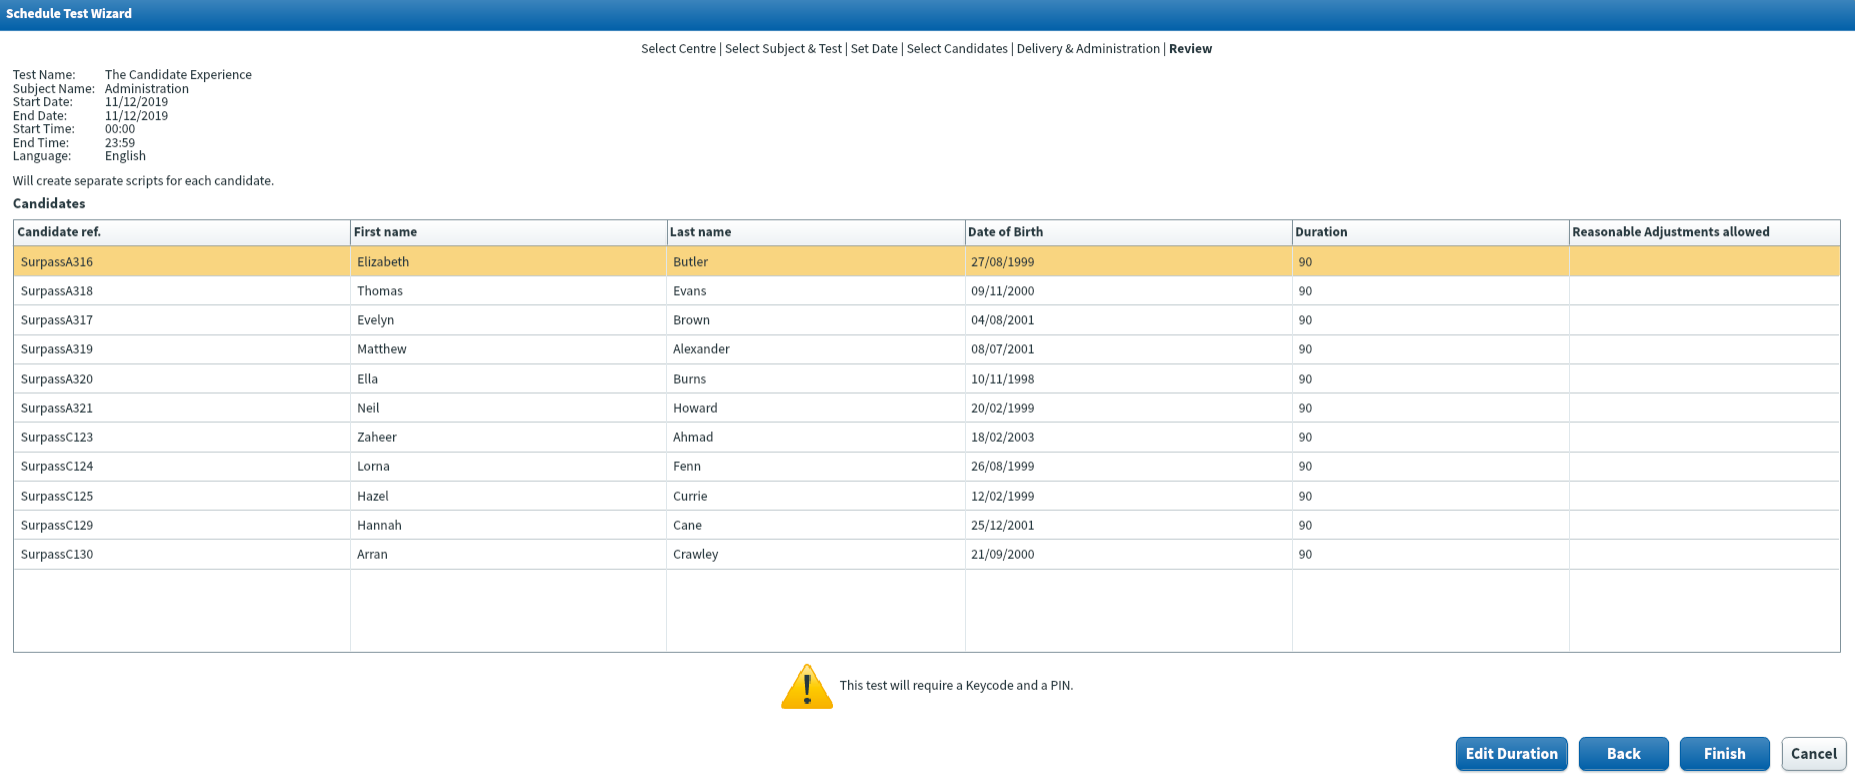
The Review tab of the Schedule Test Wizard displays a summary of the chosen test and start/end dates and times. All candidates that will be scheduled for this test session are listed in the Candidates grid along with their reasonable adjustments status (Reasonable Adjustments allowed).
If all details are correct, select Finish to schedule the test.
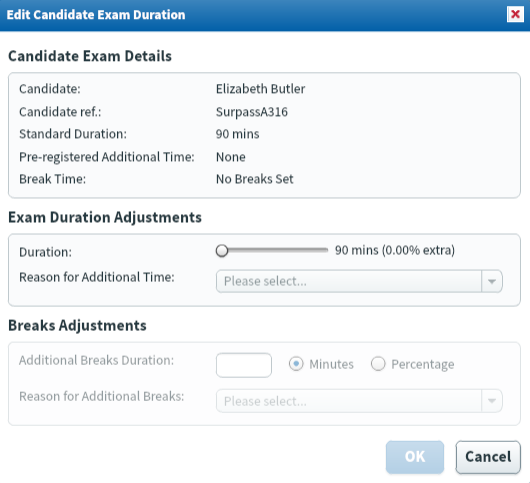
Editing candidate duration
To edit a candidate’s allocated time on the test, select them in the Candidates grid and select Edit Duration.
Use the Duration slider to add additional time to the candidate’s test. You must select a reason in the Reason for Additional Time menu.
If the test has timed sections with scheduled breaks, you can also add extra time to the breaks either in minutes or as a percentage of the total break time under Breaks Adjustments.
Further reading
To learn more about working in Schedule, read the following articles: