Creating an Authoring task
In an Authoring task, assignees can add content to a collection of blank or partially completed items, or create new items. As a manager, you create the task and set other users as assignees to complete it. You can monitor assignees’ progress through the Tasks screen.
This article explains how to create and assign Authoring tasks, including adding attachments and managing tags.
In this article
1. Check task prerequisites
To create an Authoring task, you must have an item list containing the items to be edited, users with Authoring Assignee permissions at the level of the item list’s parent subject, and item owner relationships set up between assignees and the items they are to work on. To learn more, read Preparing for tasks.
2. Choose your task type
To create a task, select Create task on the Tasks screen.

Choose Authoring in the Create Task dialog.
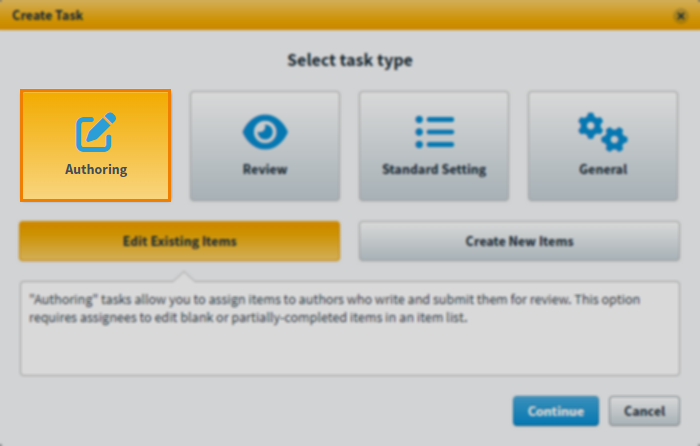
Select Continue to confirm the task type.
3. Choose authoring type
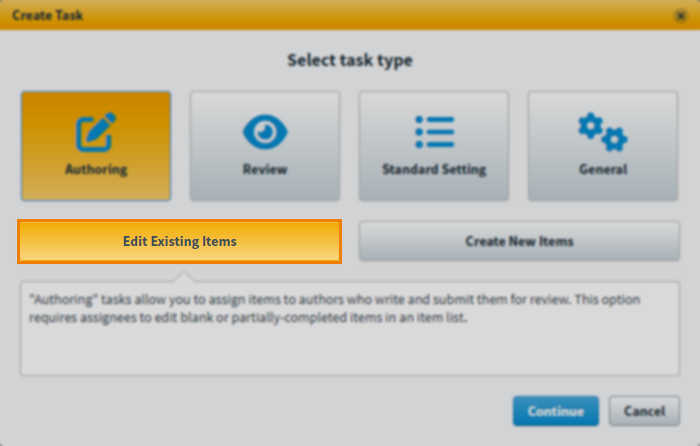
Select the authoring type for your task.
Edit Existing Items lets you assign blank or partially-completed items in an item list to authors.
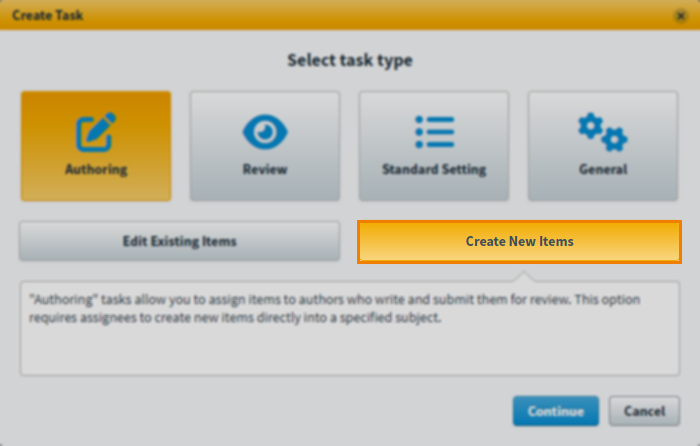
Create New Items lets you assign assignees a quota of items to be created directly into a specified subject.
4. Set task details
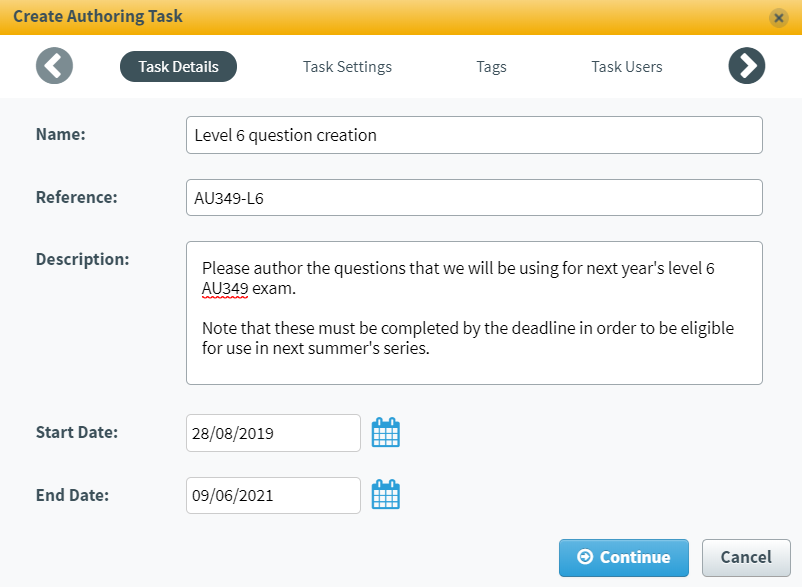
Fill in the following fields in the Task Details tab.
| Setting | Description |
|---|---|
| Name* | The name of the task. |
| Reference* | An alphanumeric reference code used to identify your task. This must be unique. |
| Description | Information about the task. The Description field accepts a maximum of 4,000 characters. |
| Start Date* | The day that the task begins. This cannot be in the past. |
| End Date* | The day that the task finishes. You can extend this later if necessary. For more information, read Editing tasks. |
Select Continue to confirm these details.
5. Set task settings
Task settings differ depending on which authoring type you select.
Edit Existing Items task settings
Fill in the following details in Task Settings to customise the task.
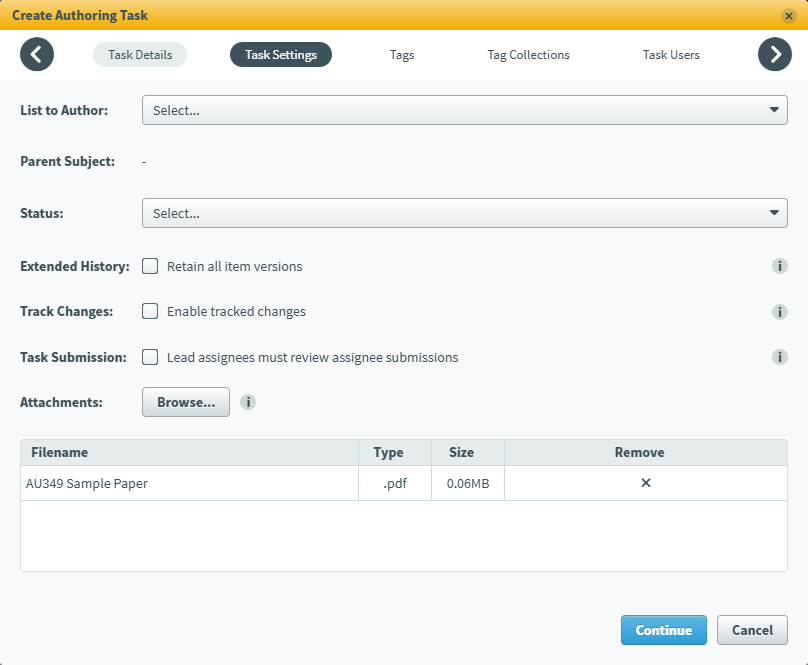
| Setting | Description |
|---|---|
| List to Author* | The item list that will be used in this task. Choose an item list in the menu to select it. You can also use the text search field to find a specific item list. |
| Parent Subject | The chosen list’s parent subject. This field automatically updates based on the selected list. |
| Status | The workflow status that items will be automatically posted to when submitted as part of this task. |
| Extended History |
Allows assignees and lead assignees to view old versions of items and restore changes since those versions. |
| Track Changes | Highlights all edits, additions, and deletions made to on-page text fields during the task. Each assignee’s changes are highlighted in a different colour. |
| Task Submission | Determines whether lead assignees must review assignee submissions. |
| Attachments |
Select Browse to add up to 40 files to the task, such as reference materials for task assignees. The total file size limit is 800MB. To delete an attachment, select Remove .
TIP: Surpass supports the following file types for task attachments: DOCX, DOC, XLSX, XLS, PPTX, PPT, MP4, MOV, MPG, MPEG, AVI, WMV, PDF, FLV, WAV, MP3, JPG, JPEG, GIF, BMP, PNG, SWF, TXT, and CSV.
|
Create New Items task settings
Fill in the following details in Task Settings to customise the task.
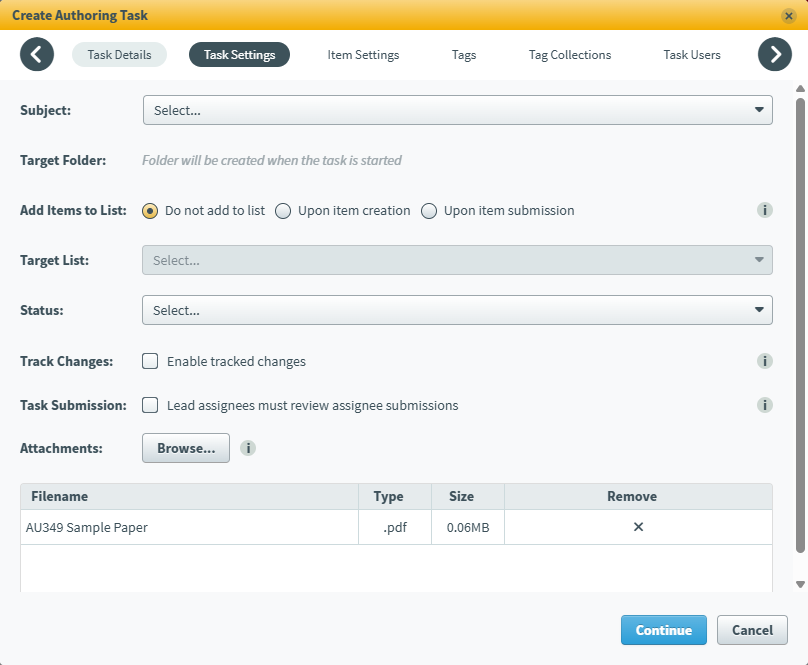
| Setting | Description |
|---|---|
| Subject* | The subject into which the items are created. |
| Target Folder | The folder into which the items are created. This folder is automatically created when the task is started. |
| Add Items to List | Choose whether newly created items are automatically added to an item list upon creation (Upon item creation), after they have been submitted (Upon item submission), or not at all (Do not add to list). |
| Target List | If you have set items to be added to a list, choose between adding them to an existing list or a newly created list. |
| Status | The workflow status that items will be automatically posted to when submitted as part of this task. |
| Track Changes | Highlights all edits, additions, and deletions made to on-page text fields during the task. Each assignee’s changes are highlighted in a different colour. |
| Task Submission | Determines whether lead assignees must review assignee submissions. |
| Attachments |
Select Browse to add up to 40 files to the task, such as reference materials for task assignees. The total file size limit is 800MB. To delete an attachment, select Remove .
TIP: Surpass supports the following file types for task attachments: DOCX, DOC, XLSX, XLS, PPTX, PPT, MP4, MOV, MPG, MPEG, AVI, WMV, PDF, FLV, WAV, MP3, JPG, JPEG, GIF, BMP, PNG, SWF, TXT, and CSV.
|
Select Continue to confirm these settings.
6. Set item settings (Create New Items tasks only)
If you are creating an Authoring (Create New Items) task, you can choose to limit which item types and templates assignees can create/create from, otherwise assignees can choose from all item types and available templates.
Select Limit Item Types. Use the drop-down menus to choose which item types and templates assignees can create/create from.
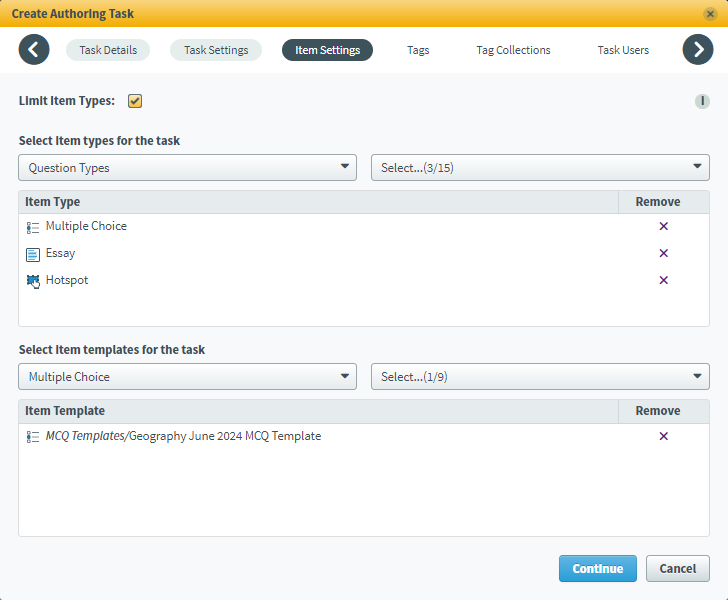
If selected item templates are in a folder, the folder structure is displayed in the form of a file path. For more information on item templates, read About Templates.
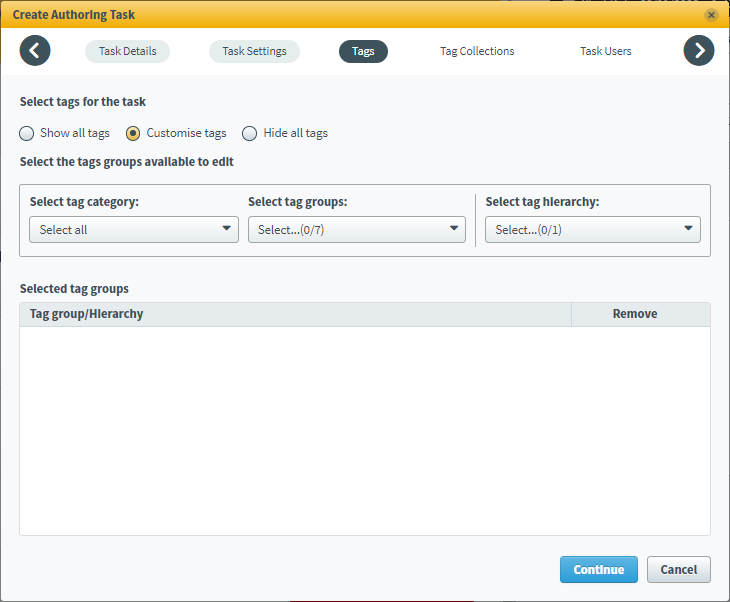
7. Manage tags
You can manage the tag groups that your assignees can assign to items in the Tags tab.
There are three ways you can control the tags that assignees can use during the task:
- Show all tags lets assignees edit all tag groups.
- Customise tags specifies which tag groups are available to assignees.
- Select a tag category with Select tag category. Open Select tag groups to choose tag groups from the selected category. These tag groups are editable by assignees. The tag groups selected appear in the Selected tag groups table.
- If a tag hierarchy has been created in the task’s parent subject, use Select tag hierarchy – individual tag groups from within a tag hierarchy cannot be selected. For more information, read Setting up tag hierarchies.
- Hide all tags stops assignees from editing tags when authoring items.
Managing tag collections
If the chosen item list’s items have tag collections, you can manage the tag collections that task assignees can view and edit during the Authoring task in the Tag Collections tab.
There are three ways to control the tag collections that assignees can use during the task:
- Show all tag collections lets assignees edit all tag collections.
- Customise tag collections specifies which tag collections are available to assignees.
- Hide all tag collections stops assignees from editing tag collections during the task.
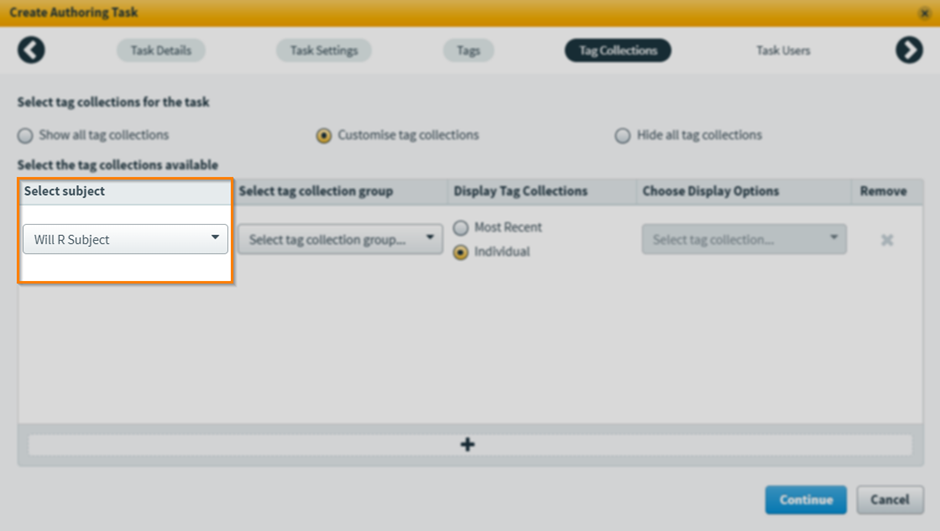
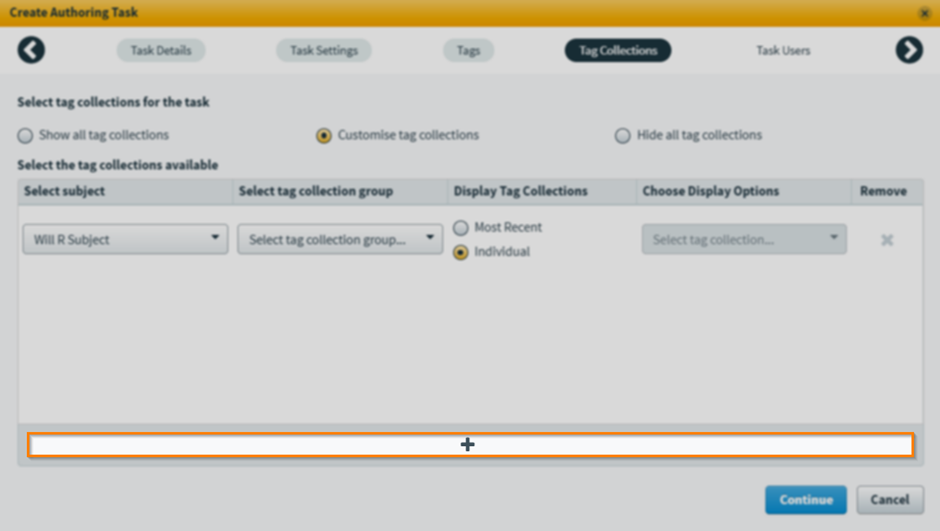
Select the relevant option under Select tag collections for the task.
If you select Customise tag collections, choose a subject that contains your tag collection in the Select subject list. Use Select all to choose all available subjects or use the search bar to find specific subjects.
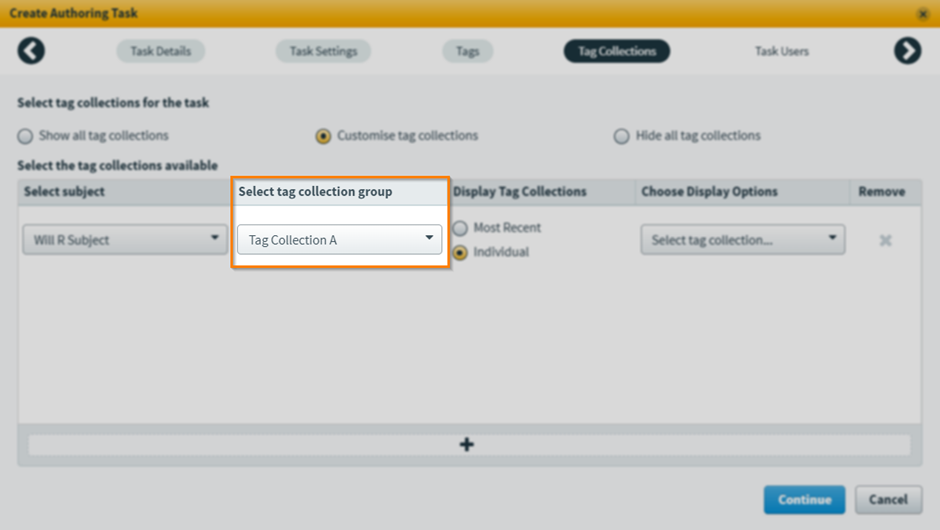
Choose a tag collection group from the Select tag collection group list.
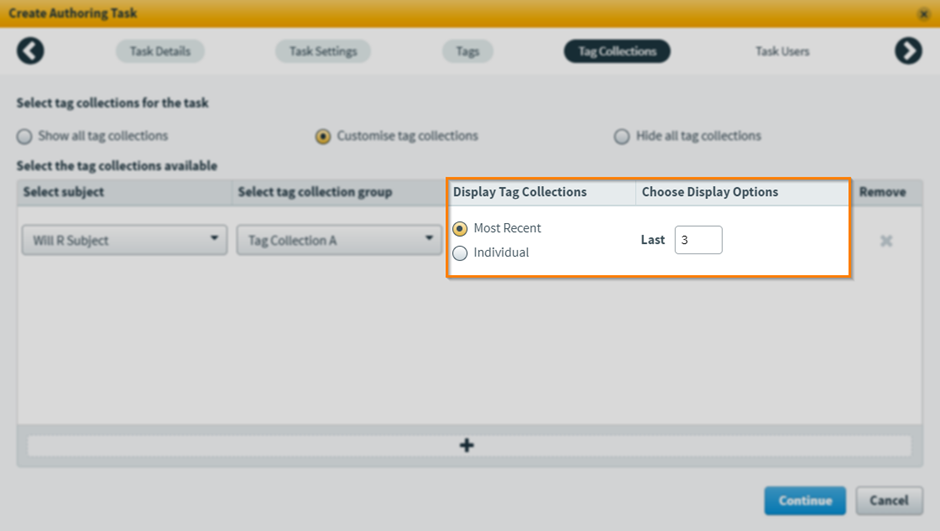
Select Most Recent to choose from the latest n of tag collections created, up to 99 tag collections.
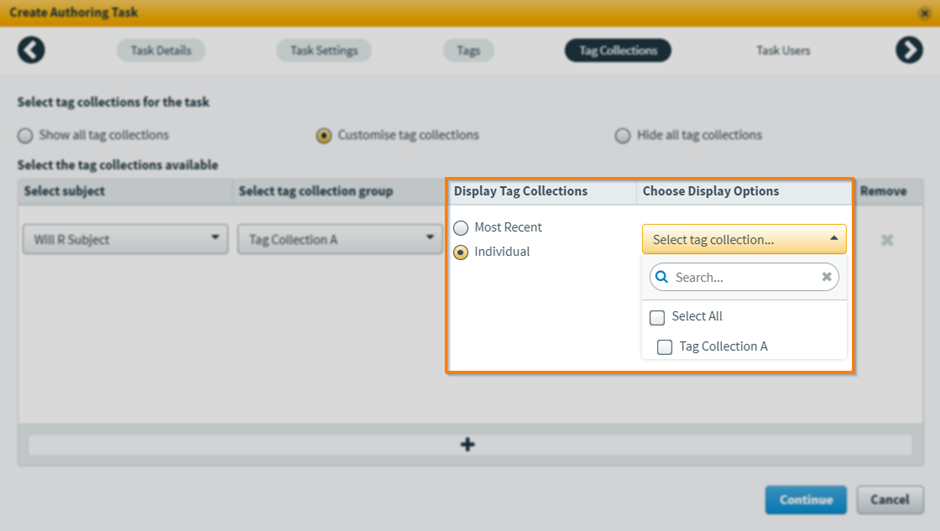
Select Individual to manually choose tag collections from a list of available tag collections. You can Select All tag collections. You can use the search bar to find specific tag collections.
Select Add to create additional tag collection rules, up to 10 rules.
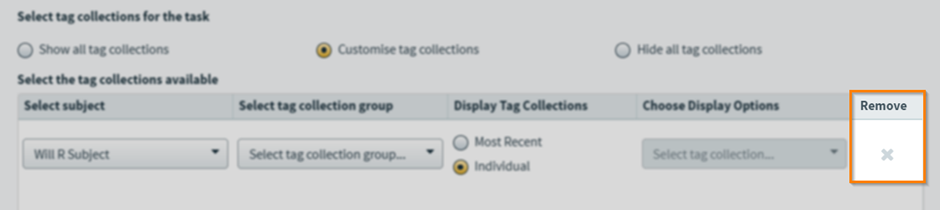
To delete a tag collection rule, select Remove .
8. Choose your task assignees
How task assignees are determined depends on the authoring type.
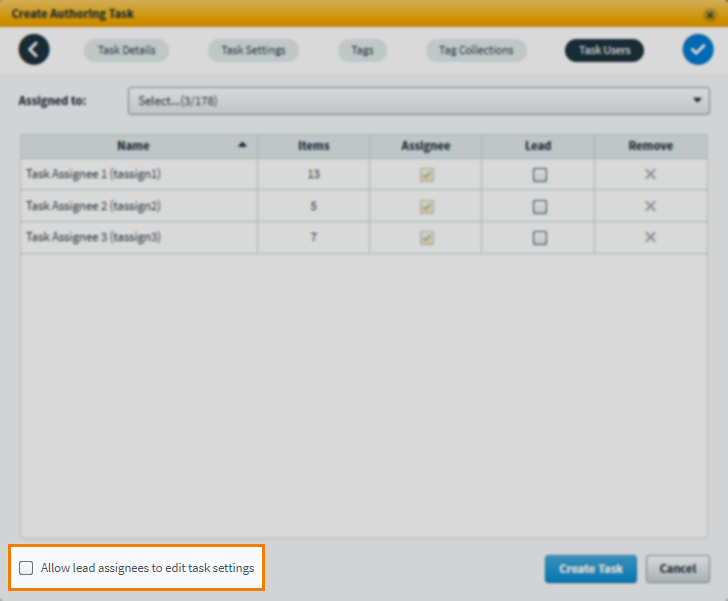
Choosing task assignees for Authoring (Edit Existing items) tasks
Assignees for tasks with the Edit Existing Items authoring type are based on the item owners from the item list selected in Task Settings > List to Author. These assignees are added to the table in the Task Users tab.
Lead assignees can view all assignees’ work and submit items on behalf of assignees. To set a lead assignee, select Lead next to the relevant assignee(s).
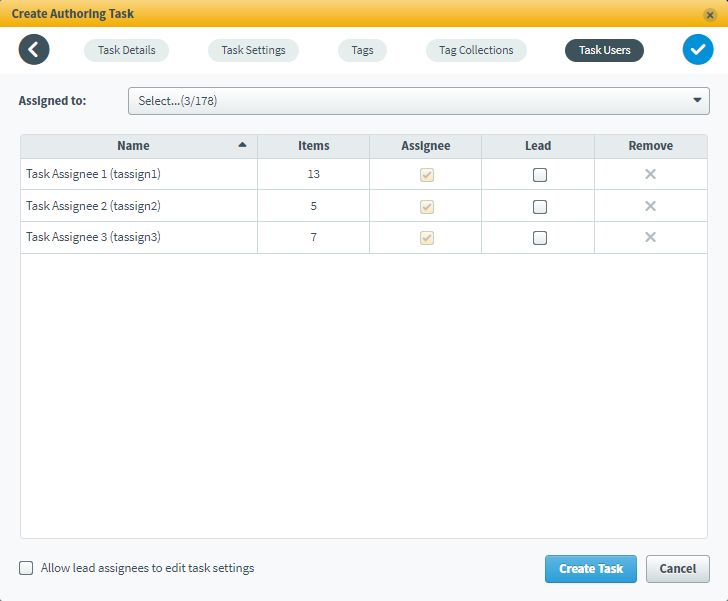
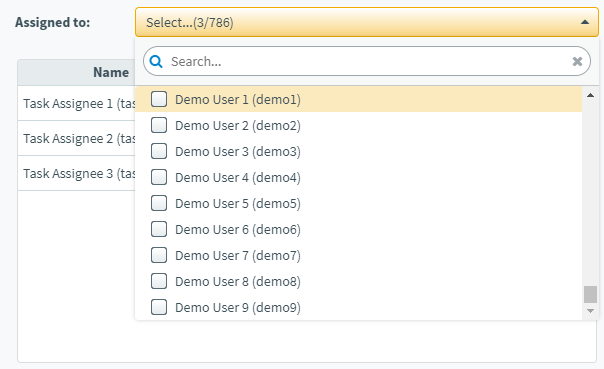
Add additional users to the task from the Assigned to menu. Users added through Assigned to can only be lead assignees.
Select Remove to remove assignees from the task. Only users added through the Assigned to menu can be removed from the task.
Choosing task assignees for Authoring (Create New Items) tasks
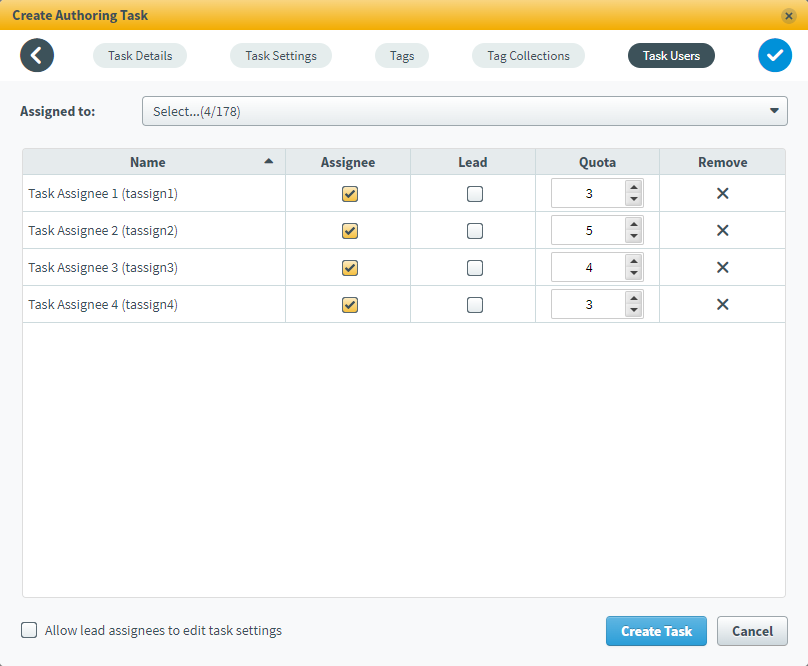
Choose the users you want to assign to the task in Task Users > Assigned to. You can only select users associated with the parent subject that have the Authoring Assignee permission. Choose the relevant option for each user in the table.
| Setting | Description |
|---|---|
| Assignee | The user(s) that will be given this task. Each assignee must each be allocated a quota. |
| Lead |
The user(s) that will be acting as lead assignee(s) on this task. Lead assignees can view all assignees’ items and can edit and submit them on their behalf. If the lead assignee has a quota of their own (they are both an assignee and lead assignee), lead assignees are able to select themselves from the list of assignees within the task to complete their own quota of items. |
| Quota |
The number of items the assignee must create in the task. The maximum quota per assignee is 99.
NOTE: Lead assignees are not required to complete a quota of items unless they are also an assignee.
|
| Remove | Deletes the adjacent user from the task. |
Allowing lead assignees to edit task settings
You can enable lead assignees to edit task settings.
Select Allow lead assignees to edit task settings in the Task Users tab.
9. Create the task
Select Create Task to finish creating the Authoring task.

Assignees can access the task on the Tasks screen after the start date set in Task Details. All items in the selected list are locked in Item Authoring until a lead assignee or manager finalises the task.
Further reading
For more information on Authoring tasks, and Tasks in general, read the following articles:
- Preparing for tasks
- About task managers, assignees, and lead assignees
- Editing tasks
- About the Tasks screen
- Working in an Authoring (Edit Existing Items) task as an assignee
- Working in an Authoring (Create New Items) task as an assignee
- Working in an Authoring (Edit Existing Items) task as a lead assignee
- Working in an Authoring (Create New Items) task as a lead assignee