About the Schedule (Standard) screen
The Schedule (Standard) screen is where test sessions are arranged for particular candidates on a specific date and time.
Before scheduling a test, you must have a test and at least one test form (created in either the Test Wizard or Test Creation) and at least one candidate associated with the test’s parent subject.
This article explains what the Schedule (Standard) screen is, how to navigate it, and how to use its features.
In this article
Navigating to the Schedule (Standard) screen
To view the Schedule screen, go to Test Administration > Schedule.

Select Standard on the Standard / Legacy toggle to view the Schedule (Standard) screen.
Scheduling a test session
There are two ways to schedule a test session in the Schedule screen.
To schedule a test session using the wizard, select Schedule Test. To learn more, read Scheduling a test session in the Schedule (Standard) screen.

To schedule a test session for up to 3,000 candidates or across multiple centres using a spreadsheet, select Bulk Schedule . To learn more, read Using Bulk Schedule.
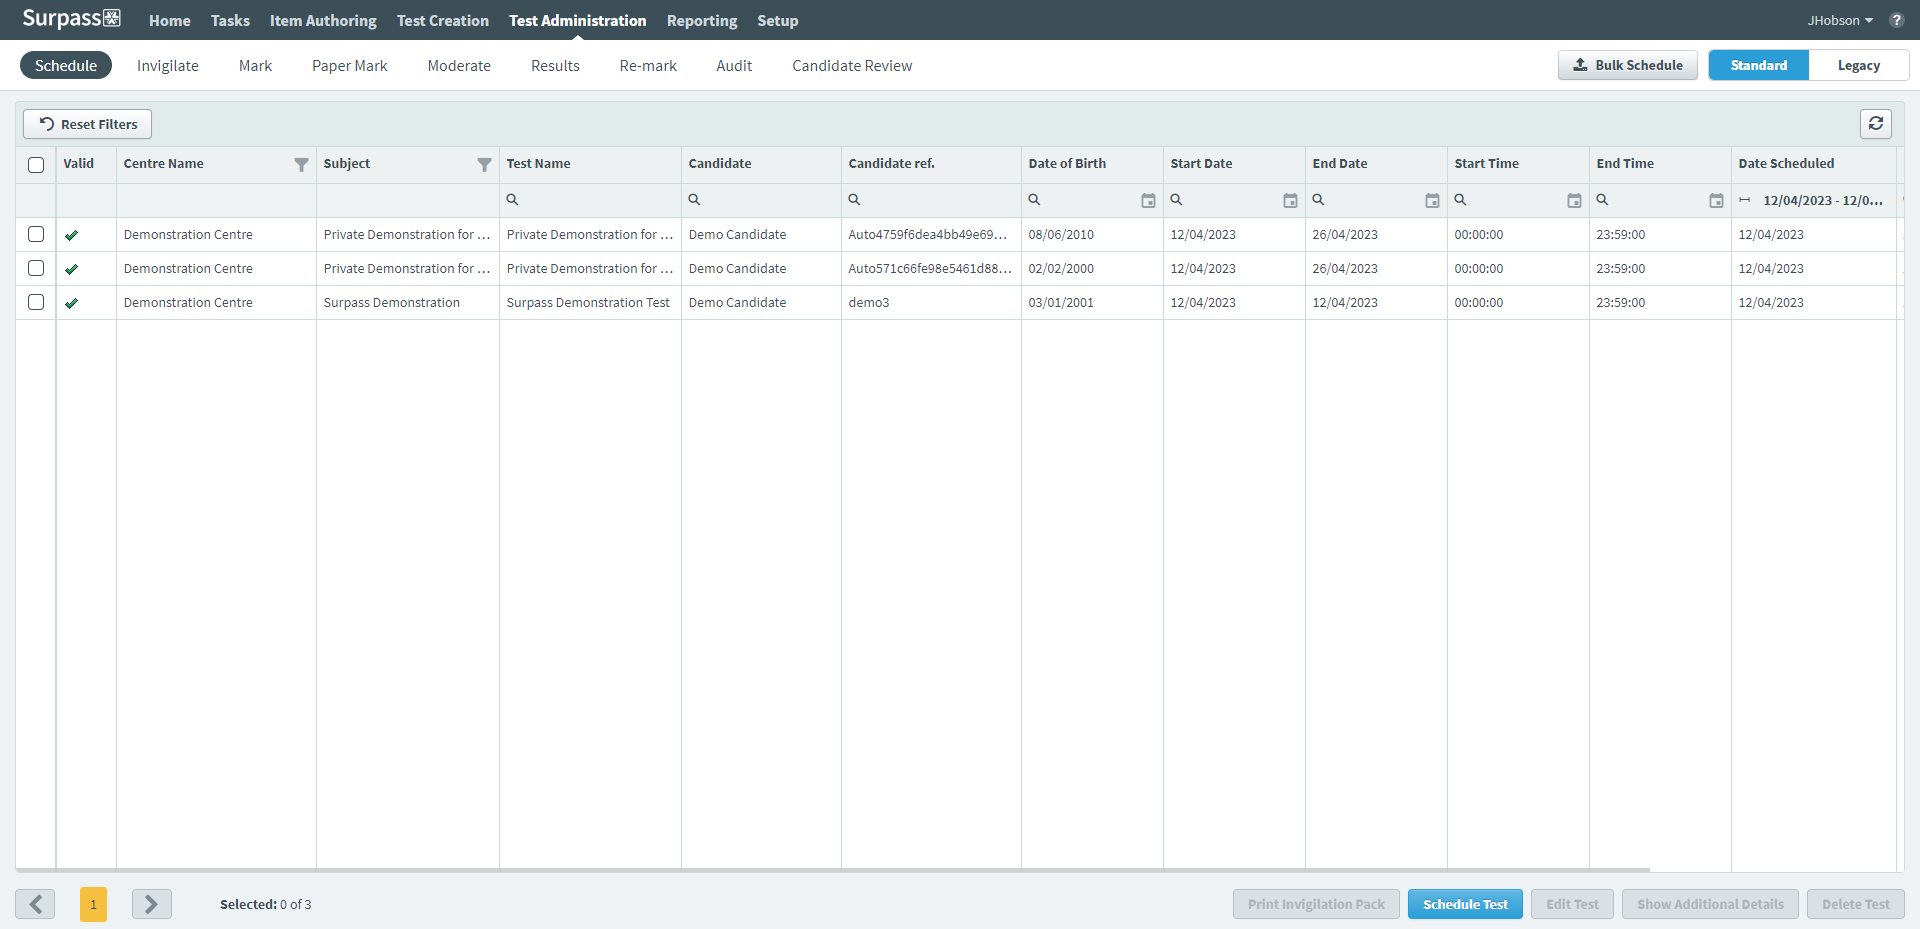
About the Schedule grid

The Schedule grid lists all currently scheduled test sessions that you have access to. This access is determined by your subject-level permissions. For more information, read About roles and permissions. Refer to the following table for information on each column.
Depending on your screen resolution, you may need to scroll horizontally to view the whole grid.
| Column | Description |
|---|---|
| Content Language |
Displays the content language of the test.
NOTE: This column is hidden by default.
|
| Valid |
Displays the validity of the test session. Tests can be either Valid or Invalid . Only valid tests can be taken by candidates.
NOTE: A test can become invalid if the rules defined in Test Creation can no longer be met.
|
| Centre Name | Displays the name of the test’s parent centre. |
| Subject | Displays the name of the test’s parent subject. |
| Test Name | Displays the name of the test. |
| Candidate |
Displays the name of the candidate. |
| Candidate ref. |
Displays the candidate’s unique reference code. |
| ULN |
Displays the candidate’s Unique Learner Number. |
| Date of Birth |
Displays the candidate’s date of birth. |
| Start Date | Displays the date on which the test session starts. |
| End Date | Displays the date on which the test session ends. |
| Start Time | Displays the earliest time on a valid test day that candidates can start the test. |
| End Time | Displays the latest time on a valid test day that candidates can start the test. |
|
Date Scheduled |
Displays when the test session was scheduled. |
| Scheduled By | Displays the username of the person who scheduled the test session. |
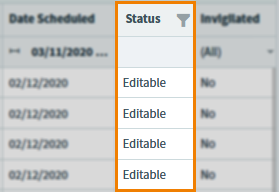
| Status |
Displays the test session’s current status. This is dependent on the Pre-Session Download Window test form setting. For more information on this setting, read About test form settings. There are two available test session statuses:
NOTE: The test session is editable until the Pre-Session Download Window value expires. If this is set to 0 and Strict Control of Test Time is enabled in Site Settings, the test session remains editable until the exact start time and date of the session.
|
| Invigilated | Indicates whether the test requires invigilation. For more information, read Setting up a test for invigilation. |
Finding a test session
By default, the Schedule grid displays all currently scheduled tests you have access to, ordered alphabetically by subject name. You can filter and sort to reorganise the Schedule grid.
Filtering test sessions
Some columns in the Schedule screen can be filtered. You can identify these columns by the Search icon (), Filter icon (), or the expander (). The icons correspond to the different types of available filters.
You can combine filters across multiple columns.
For Centre Name, Subject, and Status, select Filter and choose which of the preset options you want to include in your filter. Use the search field to find a particular filter. Select OK to apply the filter.
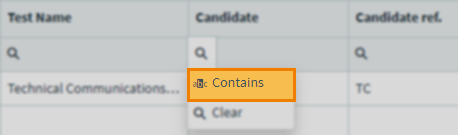
For Test Name, Candidate, Candidate ref., ULN, and Scheduled By, use the search field to filter the column contents based on a specified string.
You can also select Contains from the search options for partial matches.
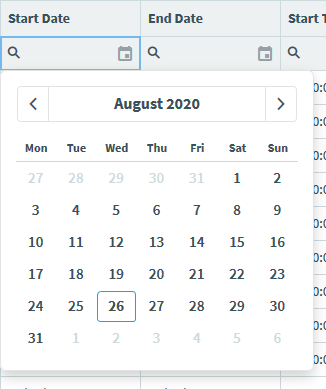
For Date of Birth, Start Date, End Date, and Date Scheduled, enter a date in DD/MM/YYYY format to filter the column. You can also use the Calendar to select a date. Use the Next and Previous arrows to navigate between months.
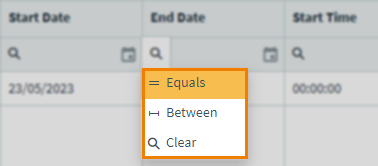
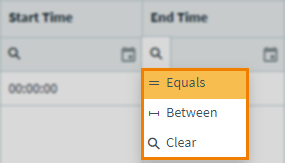
For Date of Birth, Start Date, End Date, and Date Scheduled, you can filter on a specific date or a range of dates. Open the Search menu and choose either Equals to filter on a specific date or Between to filter on a range of dates.
For Start Time and End Time, enter a time in HH:MM format to filter the column. Select the Calendar to use the clock to select a time. Use the arrows to increase () or decrease () the time. Select OK to apply the filter.
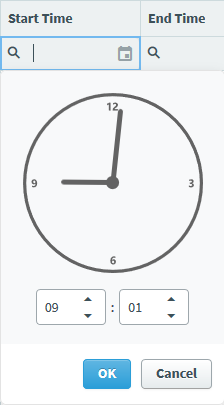
For Start Time and End Time, you can filter on a specific time or a range of times. Open the Search menu and choose either Equals to filter on a specific time or Between to filter on a range of times.
For Invigilated, open the expander and select an option from the list to apply the filter.
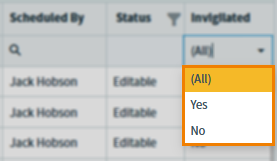
For Invigilated, select Yes to display all invigilated tests, No to display all uninvigilated tests, or (All) to display all tests.
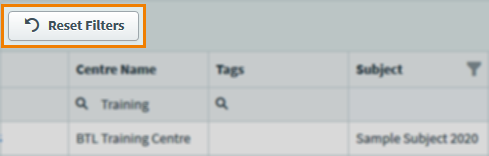
Select Reset Filters to clear any applied filters.
Sorting test sessions
Select a column header to sort the cell data alphabetically or numerically in ascending () or descending () order. Select the column header to toggle between ascending and descending order.
Alternatively, you can right-click on a column header to Sort Ascending or Sort Descending.
Fixing columns
To fix columns in place in the grid, right-click on a column header and select Fix To the left or Fix To the right.
Select Unfix to return columns to their original place in the grid.
Resizing columns
Click and drag between column headers to resize columns.
Changing pages
Tests are organised into pages. Choose between displaying 50, 100, 150, or 200 tests per page using the drop-down menu.

Use Next and Previous to navigate between pages, or input a page number to navigate to that page.

Editing test sessions
You can edit test sessions at the Editable status. You can check a test session’s status in the Status column of the Schedule grid.
If the test session is Editable, select Edit Test to open the Edit Test screen.

Session details
You can change the Start Date, End Date, Start Time, End Time, and Language of a test session. For more information, read the Scheduling a test session in the (Standard) Schedule screen article.
Test and Candidate details
You can view test details including Centre, Subject Name, Test Name, and Test Form Name. Candidates taking the same test form in the same test session as the selected candidate are listed in the Associated candidates table.
You can add or remove candidates from a test session. Select Add Candidates to view the candidates available to be added to the test session.

Use the corresponding checkbox(es) to choose your candidates and then select Add.
To remove a candidate, use the corresponding checkbox(es) to choose your candidates and then select Remove Candidates.

Select OK to remove the selected candidates. Removing all candidates is the same as deleting a test session.
Showing additional details
You can Show Additional Details for test sessions at the Locked status.
If the test session is Locked, select Show Additional Details to open the Additional Details panel, which lists the test session’s details including Test Type, Duration, Date Scheduled, Scheduled by, Language, whether the test is Invigilated, and PIN (if applicable).

Select Close or Hide Additional Details to close the Additional Details panel.
Deleting a test session
If a test session’s Status is Editable, you can delete it. Deleting a test session in the Schedule screen only affects the selected scheduled instance of the test.

Further reading
To learn more about working in Schedule, read the following articles: