Scheduling a test session in the Schedule (Standard) screen
In Surpass, the Schedule screen is where test sessions are arranged for particular candidates on a specific date and time.
This article explains how to use the scheduling wizard to schedule a test session in Surpass.
In this article
1. Go to the Schedule (Standard) screen
To view the Schedule screen, go to Test Administration > Schedule.

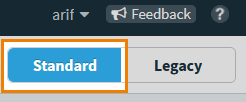
Select Standard on the Standard / Legacy toggle to view the Schedule (Standard) screen.
2. Select Schedule Test
Select Schedule Test to open the scheduling wizard.

3. Select a centre, subject, test, and date
Choose the centre, subject, test, and date in the Centre, Subject, Test & Date step of the Schedule Test Wizard.
Selecting a centre
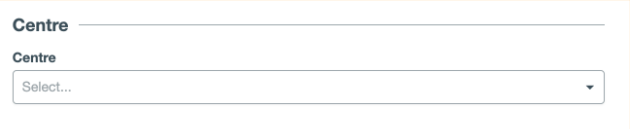
Choose the Centre that contains the test you want to schedule. You can search for centres based on their names in the text field.
Selecting a subject

Choose the Subject that contains the test you want to schedule. You can search for subjects based on their names in the text field.
Selecting a test

The list of available tests in the Test list varies based on the selected subject. Only tests set to Live are available. Choose the test you want to schedule. You can search for tests based on their names in the text field.
Selecting a test form

The list of available test forms in the Test Form list varies based on the selected test. Only valid test forms set to Live are available. Choose the test form you want to schedule or select Automatic selection to choose a test form at random. You can search for test forms based on their names in the text field.
Selecting a content language
The content languages listed in the Content Language drop-down menu are the languages that have valid item language variants in the language for all items in the test form.

Setting a date range
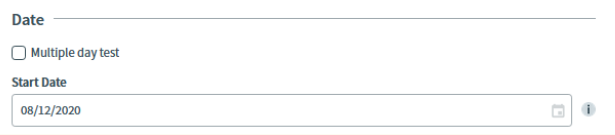
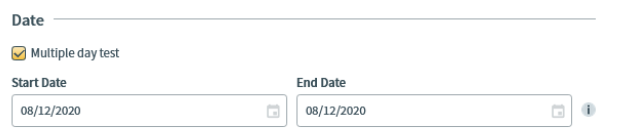
Choose the Start Date on which the test will be available for candidates.
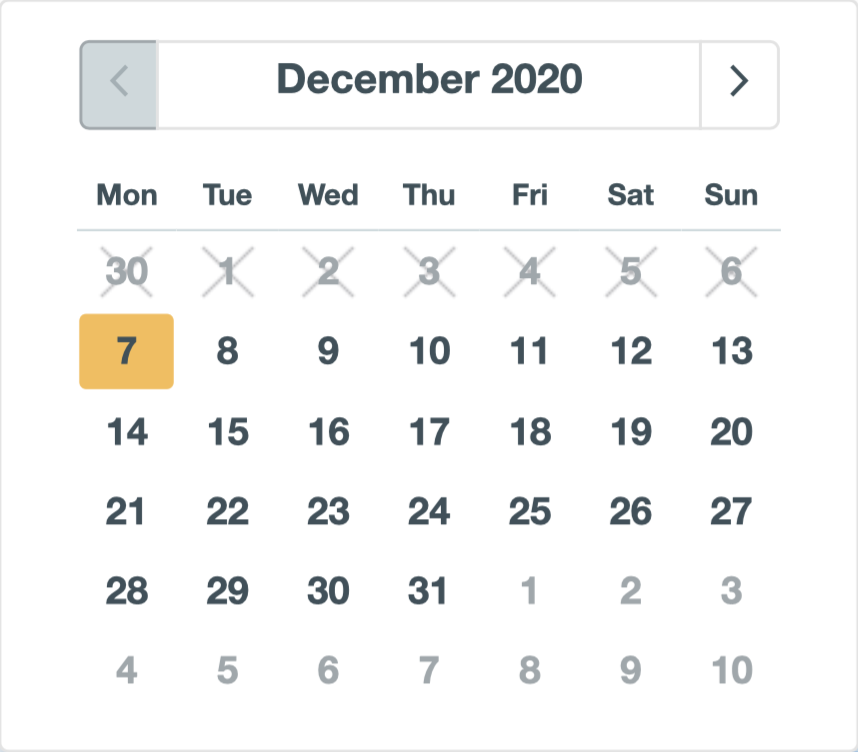
You can enter a date in the text field in DD/MM/YYYY format, or use the calendar to select a date. Use the Next and Previous arrows to navigate between months.
By default, the scheduling wizard will be set up for a single day test. Select Multiple day test to schedule a test session over numerous days. This adds an additional End Date field. Enter the last day on which the test can be sat.
Setting dates for computer-based projects
Computer-based projects always take place over a number of days, therefore you must set a Start Date and a Submission Date. The Start Date is dependent on the test availability window settings in Test Creation and Maximum Advance Schedule (Days) setting in Site Settings. The Submission Date is set to the final day of the project duration defined in Test Creation.
You can amend the submission date, but this means the whole project duration defined in Test Creation would not be met.
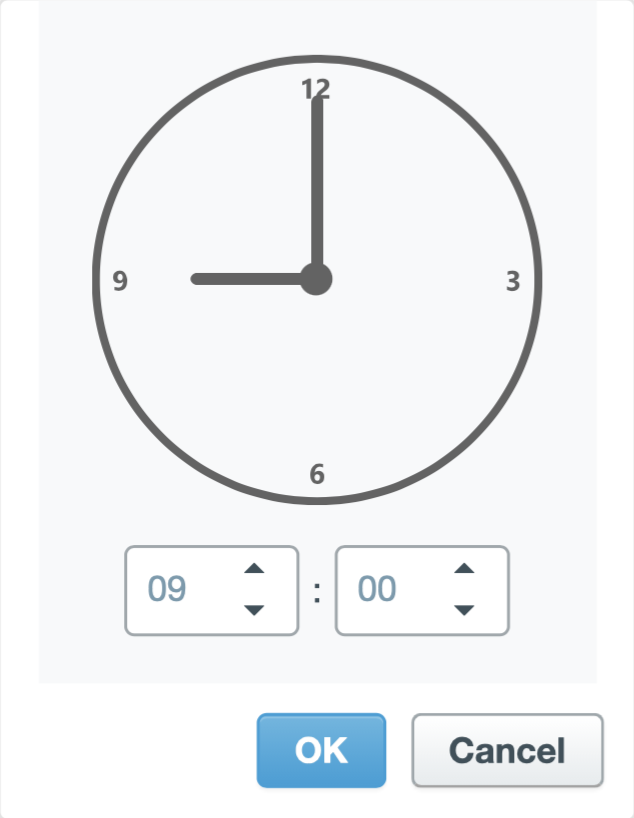
Setting a time range

Choose the Start Time and End Time between which candidates can sit the test.
You can enter a time in the text field in HH:MM format, or use the clock () to select a time. Use the arrows to increase () or decrease () the time. Select OK to apply the time.
Select Next to proceed.
4. Choose candidates
Choose the candidates that will be sitting the test in this session in the Candidates step of the Schedule Test Wizard.

Select candidates using the checkboxes. Use Shift to select multiple candidates. You can also select all candidates using the checkbox in the column header.
If the list of candidates extends over multiple pages, use Next and Previous to navigate between pages.
Select Next to proceed.
Searching for candidates
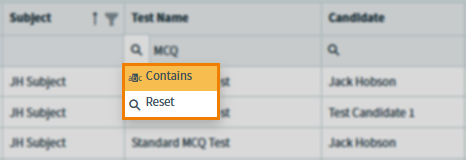
You can search for candidates by Candidate ref. or Last Name.
For Candidate ref. and Last Name, use the search field to filter the column contents based on a specified string.
You can also select Contains for partial matches.
Sorting candidates
Columns in the Candidates grid can be sorted to re-order the list of candidates.
Select a column header to sort the cell data alphabetically or numerically in ascending () or descending () order. Select the column header to toggle between ascending and descending order.
Alternatively, you can right-click on a column header to Sort Ascending or Sort Descending.
Fixing columns in the Candidates grid
Columns in the Candidates grid can be fixed in place.
To fix columns in place in in the grid, right-click on a column header and select Fix To the left or Fix To the right.

Select Unfix to return columns to their original place in the grid.
Resizing columns in the Candidates grid
Columns in the Candidate grid can be resized.
Click and drag between column headers to resize columns.
5. Set up Delivery and Administration options
Choose how the test is to be delivered to candidates in the Delivery & Administration step of the Schedule Test Wizard.
Configuring delivery settings

If the test’s Delivery Options setting is set to Either in Test Creation, you can select Deliver different tests to candidates. If the test form has dynamic sections, the rules are run as many times as needed to create a unique test form for each candidate.
For more information about the Delivery Options setting, read ‘Advanced Test Delivery Options’ in About test settings.
Selecting the test driver language
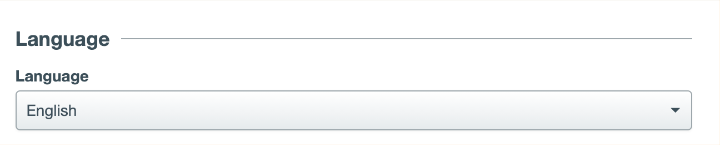
Language determines the default language of the test driver’s interfaces, menus, and navigation options. Select a language in the menu. For a full list of available test driver languages, read About Surpass test driver languages.
Scheduling for invigilation

If the test has not been set up to require invigilation, you can select Schedule for Invigilate to enforce invigilation locks on the test. Whether candidates need a PIN to enter the test or require manual unlocking depends on whether the test-level setting Auto Create PIN has been enabled or cleared, respectively.
Choosing user associations
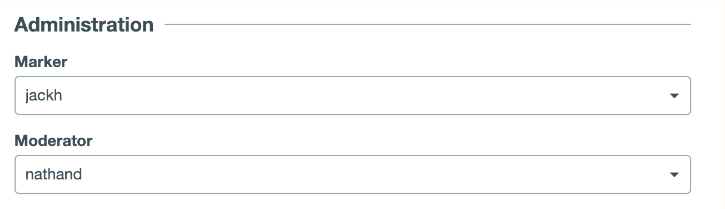
If Enable User Associations has been enabled on the selected test, you must choose a specific user to be the designated marker and moderator.
Entering a Purchase Order Number
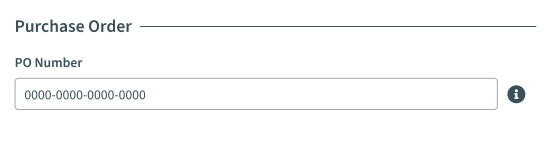
If the Purchase Order for Scheduling site setting is enabled, you must enter a valid Purchase Order Number before you can schedule your tests. For more information, read ‘Test Settings’ in About Site Settings options.
Assigning custom report templates
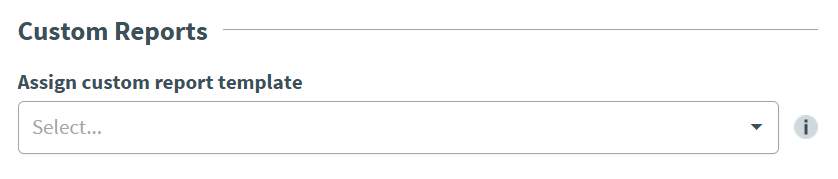
If the Custom Reports site setting is enabled, you can assign a custom report template to your test. For more information, read ‘Test Settings’ in About Site Settings options.
If a custom report template is assigned, candidates are automatically sent a custom report complete with their scoring information once their test has been scored. Candidates must enter their candidate reference code to access their report. For more information on custom reports, read About Custom Reports.
6. Confirm test session details
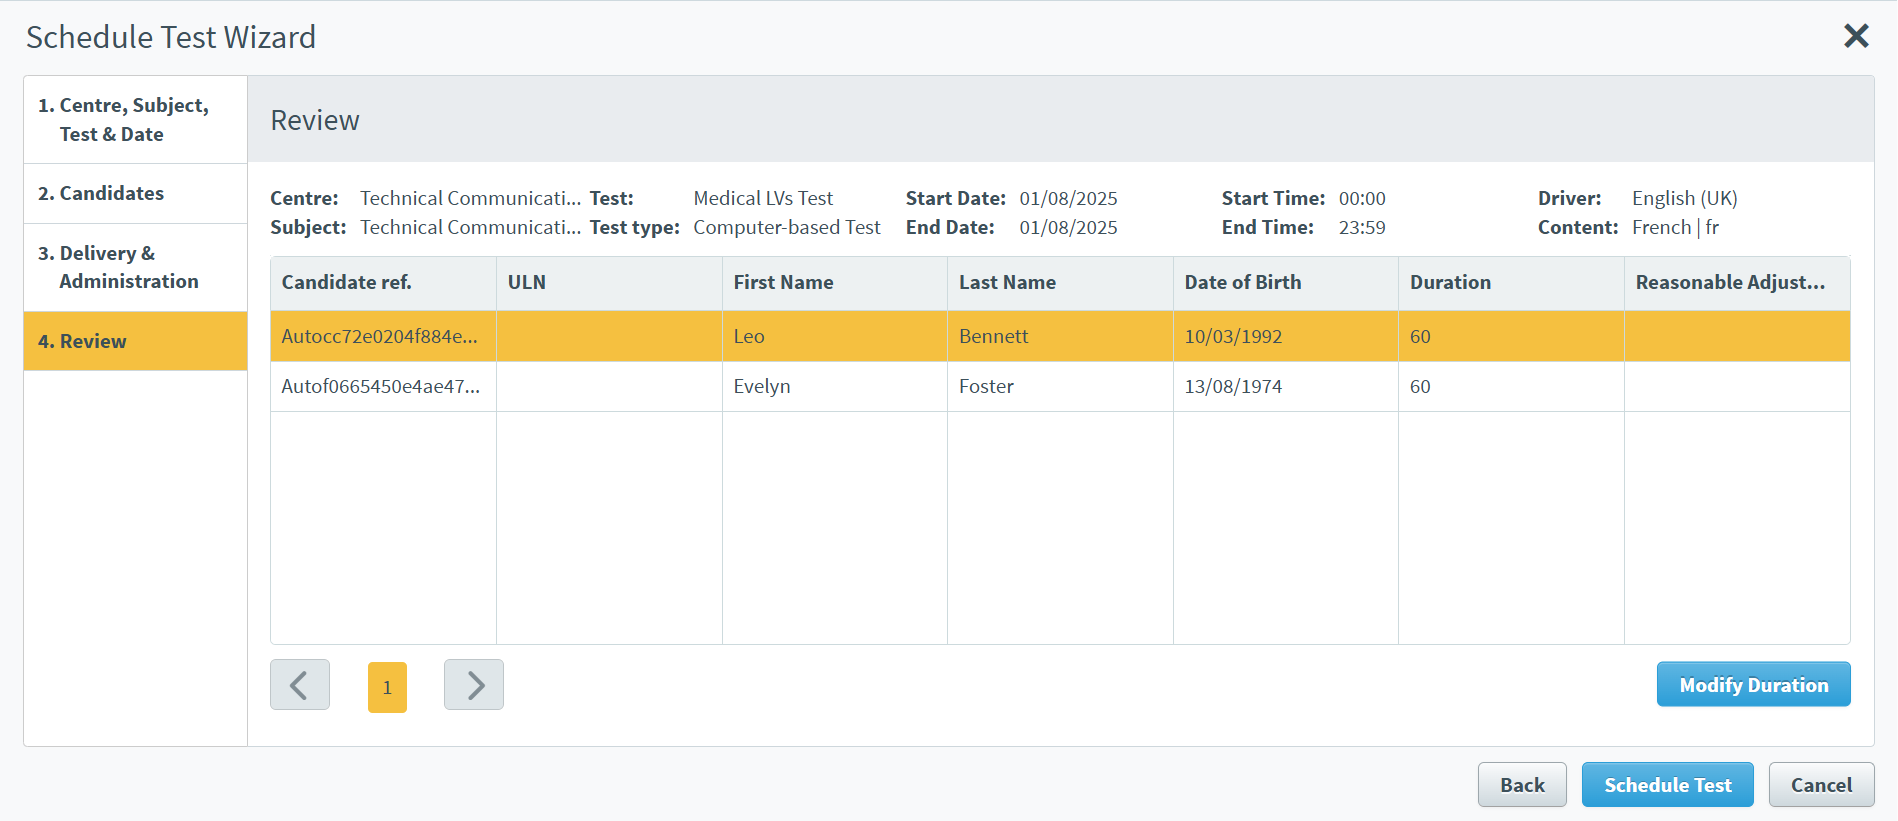
The Review step of the Schedule Test Wizard displays a summary of the chosen test and start/end dates and times. All candidates that will be scheduled for this test session are listed in the Candidates grid along with their reasonable adjustments status (Reasonable Adjustments allowed).
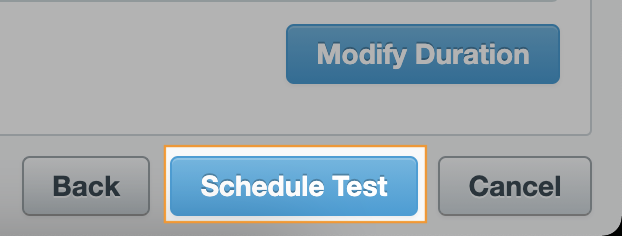
If all details are correct, select Schedule Test to schedule the test.
Editing candidate duration
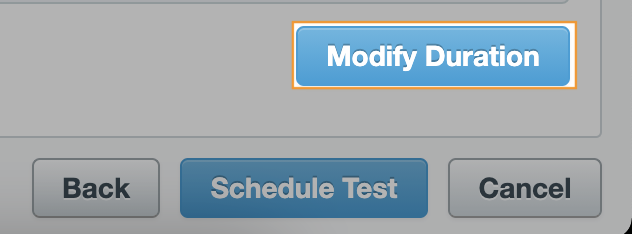
To edit a candidate’s allocated time on the test, select them in the Candidates grid and select Modify Duration.
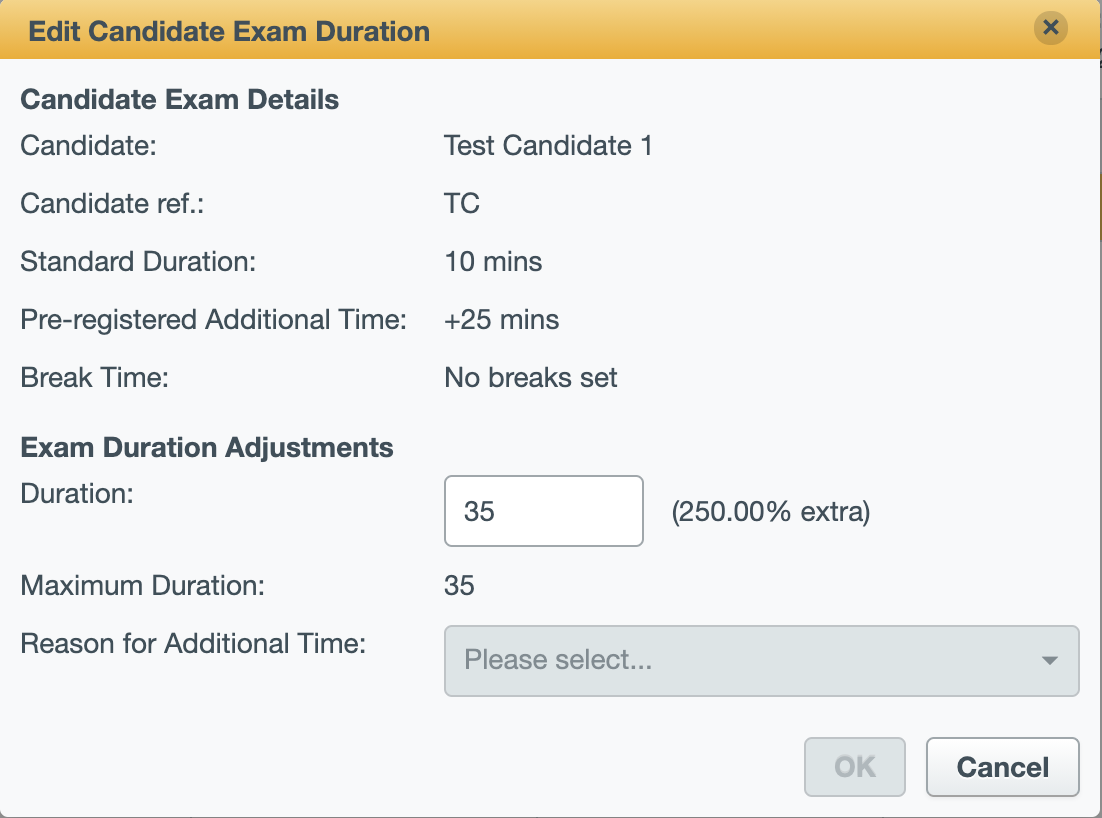
Enter a Duration to add additional time to the candidate’s test. You must select a reason in the Reason for Additional Time menu.
| Information | Description |
|---|---|
| Candidate | Displays the name of the candidate. |
| Candidate ref. | Displays the candidate’s unique reference code. |
| Standard Duration | Displays the original test duration set for the candidate. |
| Pre-registered Additional Time |
If the candidate has reasonable adjustments applied, displays the additional time already assigned to the candidate.
NOTE: The default extra duration value is defined in the test form’s settings, unless a custom reasonable adjustments value has been applied to the candidate in Setup. The maximum amount of time that can be given is also defined in the test form’s settings. For more information on reasonable adjustments, read Setting up reasonable adjustments for candidates.
|
| Break Time | Displays the time allowed for a break during the exam. |
| Duration |
Enter a length of time (in minutes) to give the candidate extra time. For candidates with reasonable adjustments, the default duration value is defined in the test form’s settings, unless a custom reasonable adjustments value has been applied to the candidate in Setup. |
| Maximum Duration |
Displays the maximum extra time the candidate now has, which is limited by the maximum value defined in the test form’s settings. |
| Reason for Additional Time | Select your reason for editing the candidate’s allotted time. |
Further reading
To learn more about working in Schedule (Standard), read the following articles: