Creating test profiles
Test profiles allow you to customise the appearance of the Surpass test driver. This includes adding custom logos, defining colour schemes, and choosing what information and functionality is available to candidates during a test. You can create test profiles in the Test Profiles screen.
This article explains how to create a test profile, including how to configure your test profile settings.
In This Article
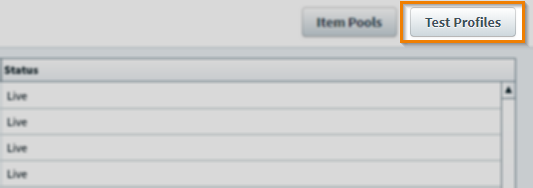
1. Go to the Test Profiles screen
To view the Test Profiles screen, go to Test Creation > Test Profiles.
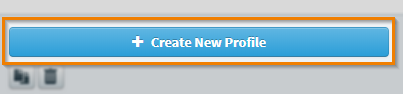
2. Select Create New Profile
Select Create New Profile in the Test Profiles screen.
3. Configure test profile settings
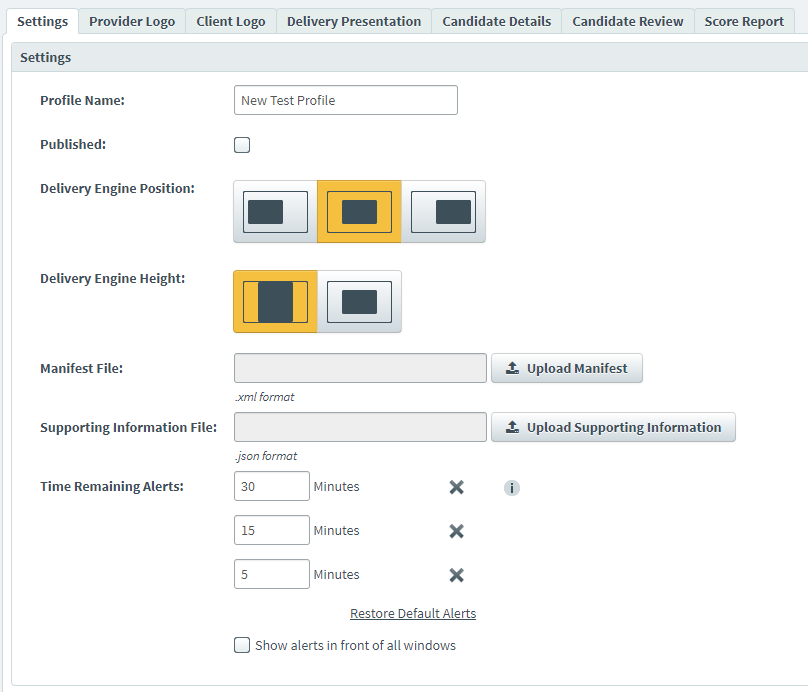
You can apply a variety of settings to a test profile to customise the way a test appears to candidates. This includes button colours, branding, and score reports. You can also define time remaining alerts, enter candidate details, and upload client and provider logos. For full instructions on how to customise a test profile, read About test profile settings.
4. Publish your test profile
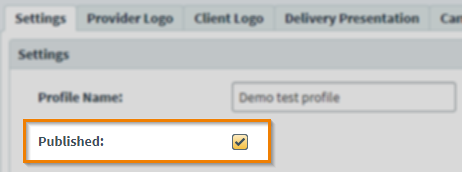
Select Published to publish your test profile. When your test profile is published, you can apply it to a test in Test Creation. For more information, read Applying a test profile to a test.
Further reading
Now you know how to create a test profile, read the following articles to learn more: