Using the formatting toolbar
The formatting toolbar lets you control the appearance of selected text when creating items or source material. The formatting toolbar also allows you to change the content type on certain entry fields from text to equation, image, or table.

This article explains how to use the formatting toolbar in Mixed and HTML subject items and source material.
In this article
Finding the formatting toolbar
The formatting toolbar is available in the following locations:
- Item question stems
- Answer options for the following question types:
- Multiple Choice
- Multiple Response
- Either/Or
- Advanced Short Answer (HTML subjects only)
- Advanced Numerical Entry (HTML subjects only)
- Introduction Page, Information Page, and Finish Page text fields
- HTML source material text fields
To reveal the formatting toolbar, select the text field.

Standard formatting toolbar options
To create and edit text, select Text Editor ![]() .
.
The following options are visible by default. Highlight a selection of text before choosing an option to apply changes only to that content.
| Icon | Setting | Description | HTML subjects only |
|---|---|---|---|
| Bold (Control+B) | Makes text darker. | ||
| Italics (Control+I) | Makes text slant to the right. | ||
| Underline (Control+U) | Adds a horizontal line below the text. | ||
| Align Left | Aligns text along the left margin. | ||
| Centre | Aligns text in the middle of the content area. | ||
| Align Right | Aligns text along the right margin. | ||
| Strikethrough | Adds a horizontal line through the middle of the text. | ||
| Insert Horizontal Line | Adds a horizontal line between paragraph blocks. | ||
| Bulleted List | Starts a bulletpoint list at the cursor’s position. | ||
| Font Name | Choose your typeface. See ‘Available fonts’ below for more information. | ||
| Font Size | Choose the size of your text. | ||
| Insert Special Character | Opens the Select Special Character dialog. Select a special character to add it to the text. For more information, read About special characters. | ||
| Text Colour | Changes the colour of your text. | ||
| Table Editor | Adds a table. See Creating tables in items for more information. | ||
| Resize | Makes all content in stem visible without a scrollbar. |
Available fonts
The following table displays which fonts are available in Surpass on different operating systems:
| Font Type | Windows | MacOS | iOS | iPadOS |
|---|---|---|---|---|
|
Arial/Arial, Helvetica (Sans-serif) |
||||
|
Arial |
|
|
|
|
|
Helvetica |
|
|
|
|
|
Comic Sans MS/Comic Sans MS, Comic Sans, Chalkboard, Chalkboard SE (Sans-serif) |
||||
|
Comic Sans MS |
|
|
|
|
|
Comic Sans |
|
|
|
|
|
Chalkboard |
|
|
|
|
|
Chalkboard SE |
|
|
|
|
|
Courier New/Courier New, Courier (Monospace) |
||||
|
Courier New |
|
|
|
|
|
Impact/Impact, Charcoal (Sans-serif) |
||||
|
Impact |
|
|
|
|
|
Charcoal |
|
|
|
|
|
Georgia/Georgia (Serif) |
||||
|
Georgia |
|
|
|
|
|
Lucida Console/Lucida Console, Monaco (Monospace) |
||||
|
Lucida Console |
|
|
|
|
|
Monaco |
|
|
|
|
|
Lucida Sans Unicode/Lucida Sans Unicode, Lucida Grande (Sans-serif) |
||||
|
‘Lucida Sans Unicode |
|
|
|
|
|
‘Lucida Grande |
|
|
|
|
|
Tahoma/Tahoma, Geneva (Sans-serif) |
||||
|
Tahoma |
|
|
|
|
|
Geneva |
|
|
|
|
|
Palatino Linotype/Palatino Linotype, Palatino (Serif) |
||||
|
Palatino Linotype |
|
|
|
|
|
Palatino |
|
|
|
|
|
Times New Roman/Times New Roman, Times (Serif) |
||||
|
Times New Roman |
|
|
|
|
|
Times |
|
|
|
|
|
Trebuchet MS/Trebuchet MS, Helvetica (Sans-serif) |
||||
|
Trebuchet MS |
|
|
|
|
|
Helvetica |
|
|
|
|
|
Verdana/Verdana, Geneva (Sans-serif) |
||||
|
Verdana |
|
|
|
|
|
Geneva |
|
|
|
|
|
MS Gothic/MS Gothic (Sans-serif) |
||||
|
MS Gothic |
|
|
|
|
Advanced formatting toolbar options

Select Advanced on the formatting toolbar to reveal additional options.
| Icon | Setting | Description | HTML subjects only |
|---|---|---|---|
| Subscript |
Sets the character(s) below the line of type. |
||
| Superscript |
Sets the character(s) above the line of type. |
||
| Text direction from left to right |
Text travels from the left side of the content area to the right. |
||
| Text direction from right to left |
Text travels from the right side of the content area to the left. |
||
| Source |
Allows you to edit the current content area’s HTML source code.
WARNING: Editing the content area’s HTML source code may cause issues in test delivery, so it is vital you test and quality check how any edited HTML displays in delivery before scheduling a live test. For information on how to quality review a test in Surpass, read About the Quality Review panel.
IMPORTANT: Do not edit the source code of Mixed subject items.
|
||
| Templates |
Lets you insert a component template. |
||
| Insert Comment |
Adds an inline comment. Read Leaving comments on items for more information. |
||
| Insert image |
Inserts an image inline with text content. |
||
| Styles |
Applies a pre-formatted style to the selected text. |
||
| Remove Format |
Strips selected text of all formatting. See ‘Available styles (HTML subjects only)’ below for more information. |
||
| Em Space |
Adds a space the width of a capital letter M. |
||
| En Space |
Adds a space the width of a capital letter N. |
||
| WIRIS EDITOR math |
Opens the WIRIS EDITOR math dialogue in HTML subjects for the entry of inline equation content. See ‘Creating equations’ below for more information. |
Available styles (HTML subjects only)
Use Styles to apply formatting presets to your text.
| Style | Description |
|---|---|
| Border | Places a blue frame around the selected text. |
| Emphasis | Increases the selected text’s size to the maximum value (24 px). |
| Symbol Padding | Inserts a transparent 10 px border either side of the selected text. |
| Capitals | Renders lowercase characters as small capitals. |
| No Wrapping | Removes line breaks, rendering the selected string on one line. |
| Strong Emphasis | Changes the selected text’s size to the maximum value (24 px), its colour to red, and the font to Times New Roman. |
Creating equations
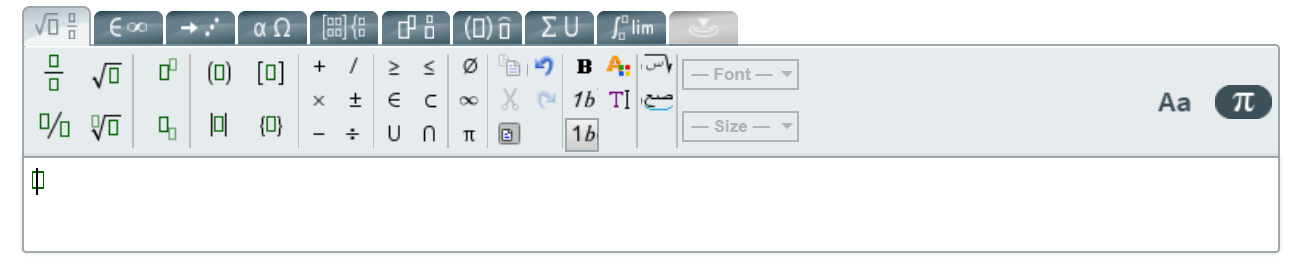
To create and edit equations, select Equation Editor ![]() (Mixed subjects) or WIRIS EDITOR math
(Mixed subjects) or WIRIS EDITOR math ![]() (HTML subjects).
(HTML subjects).
Selecting Equation Editor ![]() in a Mixed subject changes the stem block’s content type. To add more text, images, or tables, you must add another stem.
in a Mixed subject changes the stem block’s content type. To add more text, images, or tables, you must add another stem.
Selecting WIRIS EDITOR math ![]() in an HTML subject opens a dialog where you can input equation content to be inserted inline with text. Select OK to add the equation content and close the dialog.
in an HTML subject opens a dialog where you can input equation content to be inserted inline with text. Select OK to add the equation content and close the dialog.
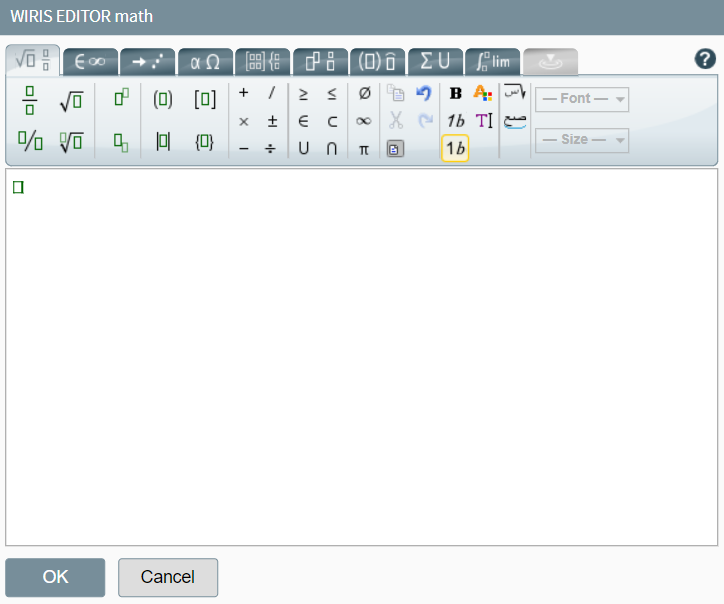
For more information on the equation plugin, refer to the MathType Web documentation.
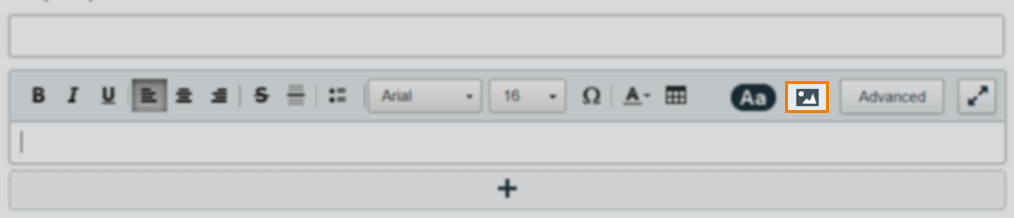
Adding images
To add an image, select Image Editor ![]() . This changes the stem block’s content type. To add more text, equations, or tables, you must add another stem.
. This changes the stem block’s content type. To add more text, equations, or tables, you must add another stem.
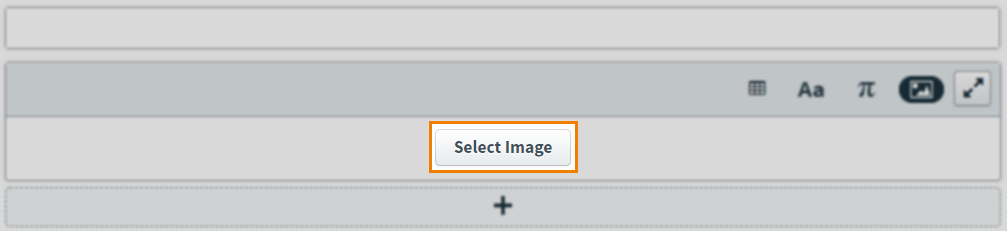
Press Select Image to open the Media Library. Find or upload an image and select Add media to item. For information on uploading images to Surpass, read Importing files to the media library.
When an image has been added, select one of the following alignment options:
| Icon | Description |
|---|---|
| Aligns image along the left margin. | |
| Aligns image to the middle of the content area. | |
| Aligns image along the right margin. |
If you want to change your image, select it to return to the Media Library.
To delete an image, select Remove image from this text area .
Creating tables
To create and edit tables, select Table Editor ![]() .
.
In Mixed subjects, you can add tables to question stem blocks 2-5.
In HTML subjects, you can create tables inline with question stem content in all question stems. You can also create tabular answer options for Multiple Choice, Multiple Response, Multiple Choice survey, and Multiple Response survey items.
For full instructions on how to add tables to Mixed and HTML subject items, read Creating tables in items.
Further reading
Now you know the basic functionality of the formatting toolbar, read the following articles to learn more: