Viewing marking reports in SecureMarker
You can view a report of your marked candidate responses in the Marking screen. This report includes details on the number of candidate responses you have marked for an item or item group.
This article explains how to view marking reports in the Marking screen of SecureMarker.
In This Article
1. Go to the Marking screen
To view the Marking screen, select Marking on the navigation bar.

2. Select View Marking Report
Select View Marking Report to open the Marking Report screen.

3. View your report in the Marking Report screen
The Marked Items grid lists all of your marked responses.
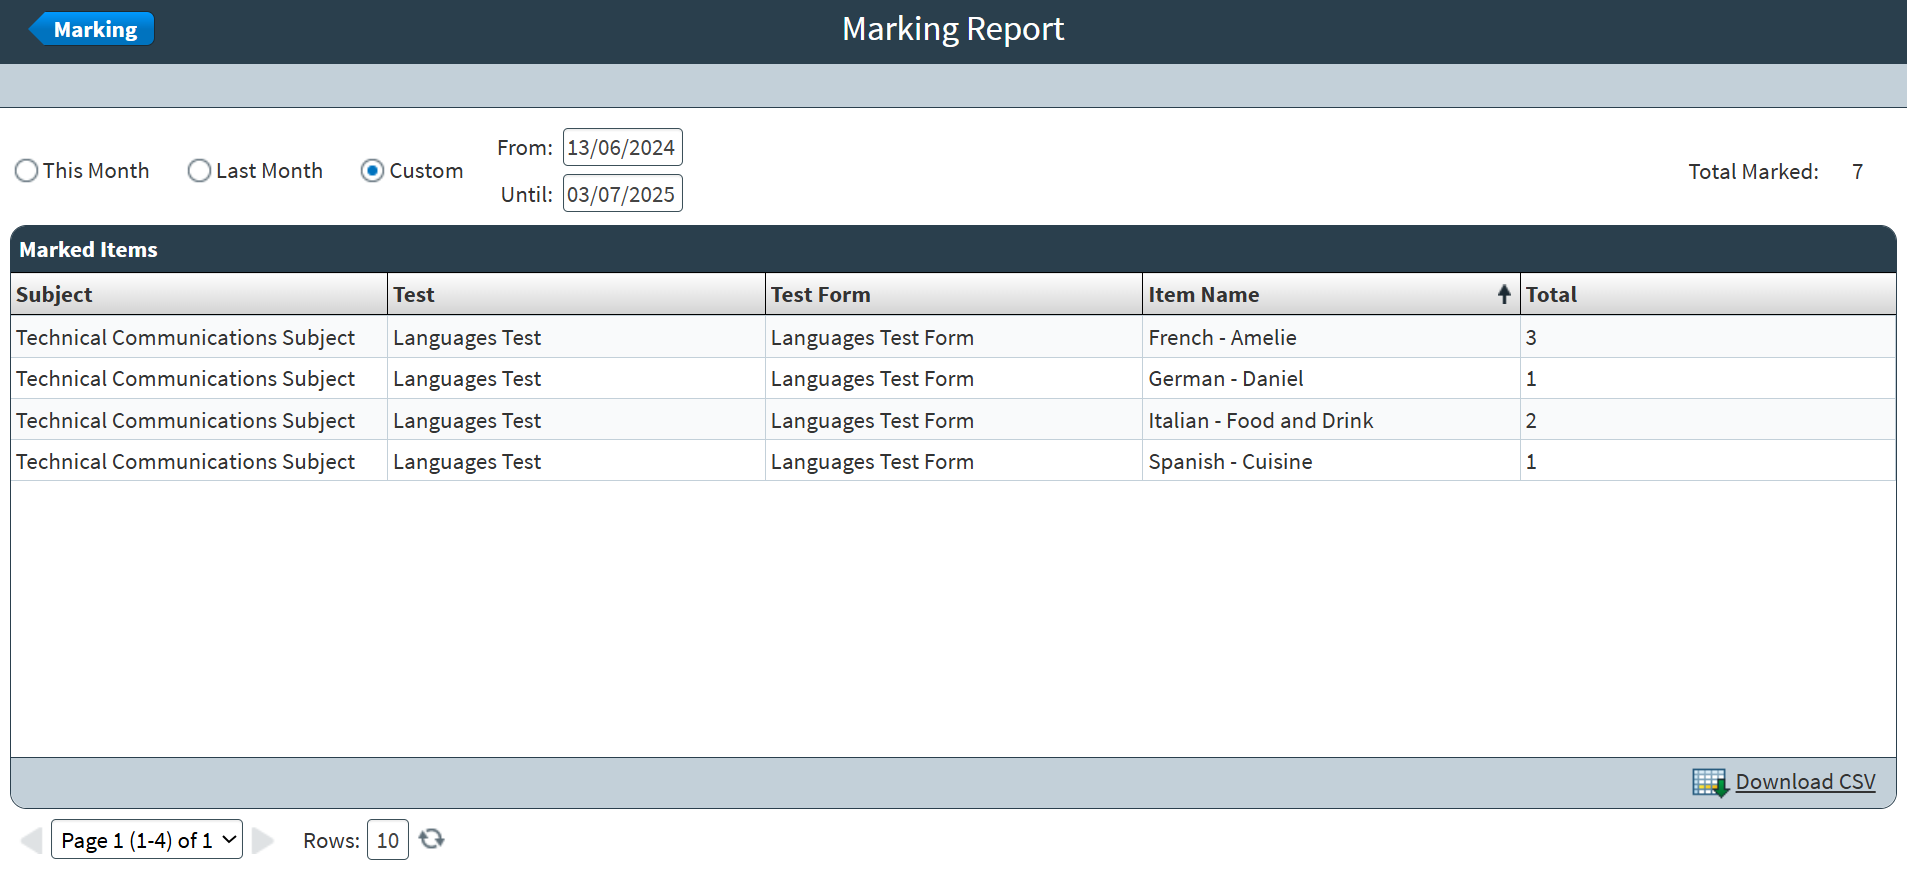
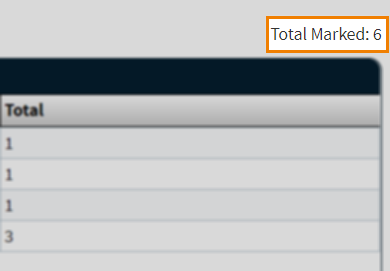
The Total Marked field displays the total number of responses you have marked.
You can navigate through pages of data using the Page menu. Use the Rows entry field to define how many rows are displayed in the Marked Items grid. Select Refresh to update the number of rows.

About the Marked Items grid
Refer to the following table for information on each column in the Marked Items grid.
| Column | Description |
|---|---|
| Subject | Displays the name of the subject. |
| Test | Displays the name of the test. |
| Test Form | Displays the name of the test form. |
| Item Name | Displays the name of the item or item group. |
| Total | Displays the number of marked responses for the item or item group. |
Filtering marked responses
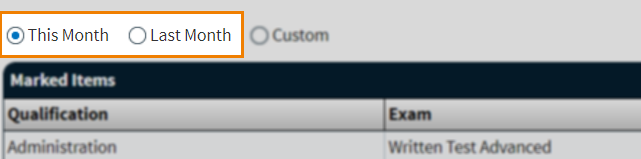
Select This Month to only display marked responses that match the current month. Select Last Month to only display responses that you marked in the previous month.
Select Custom to only display marked responses in a specific date range. Use the From and Until date pickers to choose a date range.

Sorting marked responses
Select a column header to sort the cell data alphabetically or numerically.
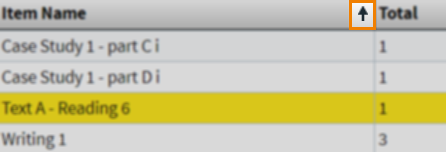
The arrow icon on the column header represents whether the information in the column is sorted in ascending () or descending () order. You can toggle between ascending or descending order by selecting the column header.
Exporting data to a spreadsheet
Select Download CSV to download the Marked Items grid data to a spreadsheet.
Further reading
To learn more about working in Marking, read the following articles:
- About the Marking screen in SecureMarker
- Marking responses in SecureMarker
- Submitting a response as a control item in the Marking screen of SecureMarker
- Escalating a response in the Marking screen of SecureMarker
- Viewing unmarked item reports in SecureMarker
- Viewing marking managers reports in SecureMarker