About the Escalations screen in SecureMarker
In SecureMarker, you can escalate candidate responses that require further attention or investigation. A response might be escalated if a candidate is suspected of malpractice. You can review and manage escalated responses in the Escalations screen.
This article explains how to navigate the Escalations screen in SecureMarker.
In This Article
Navigating to the Escalations screen
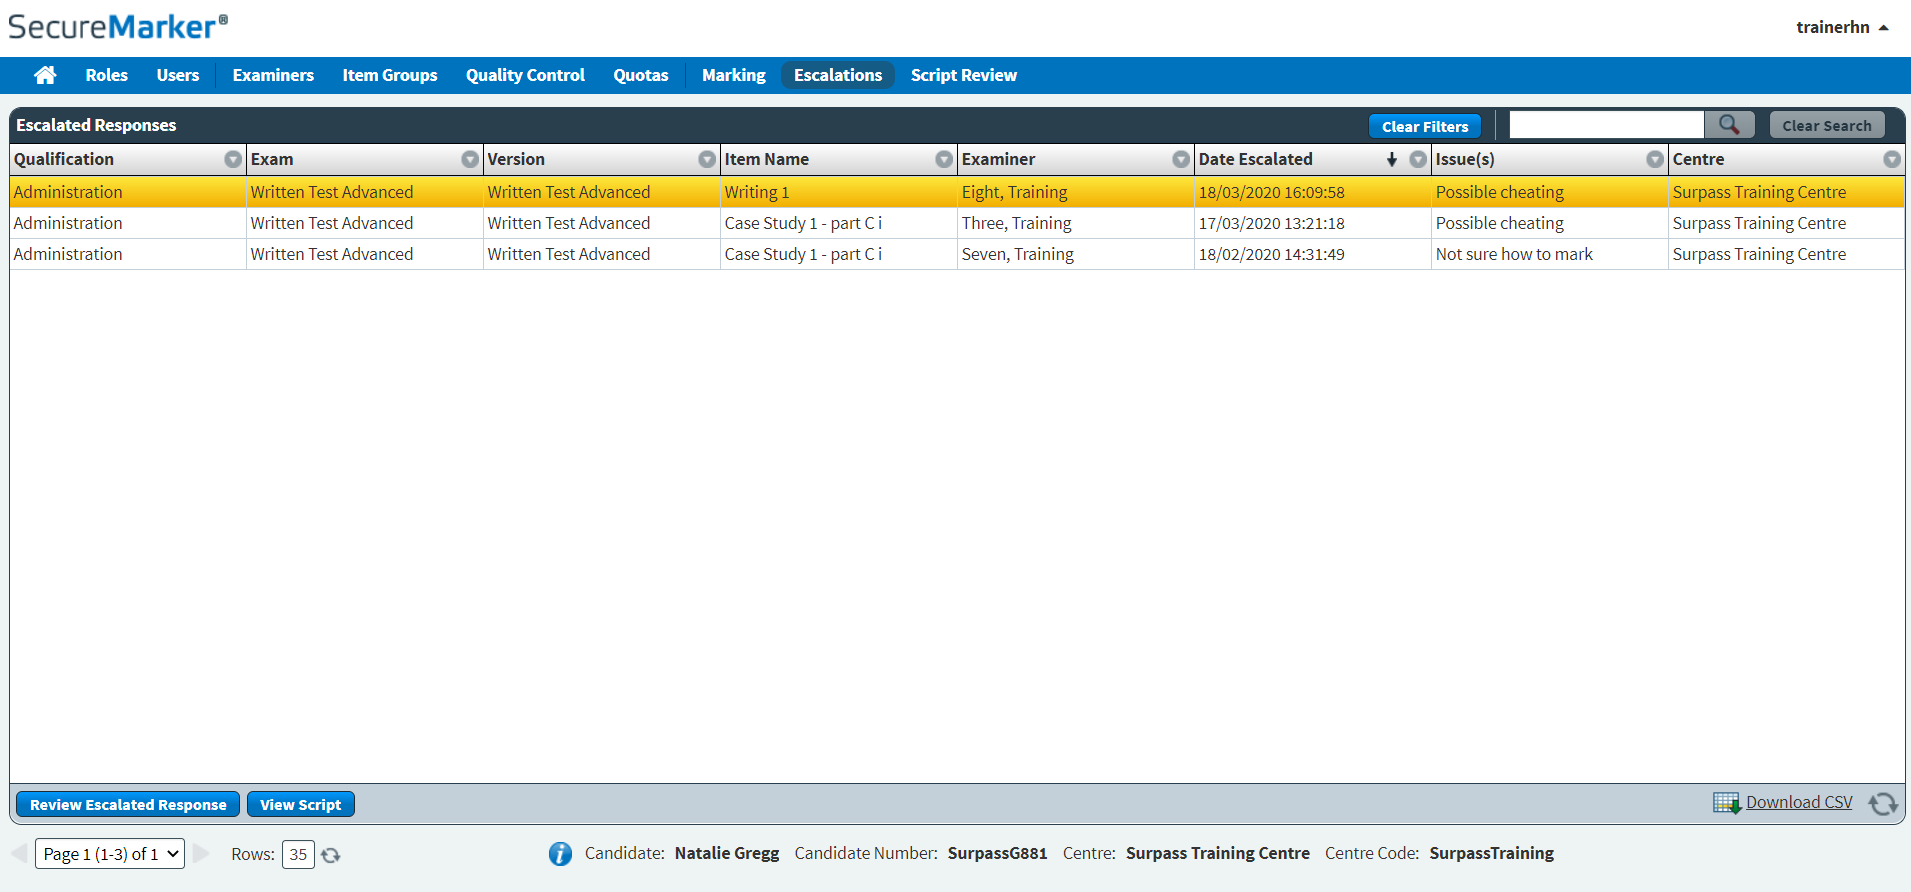
To view the Escalations screen, select Escalations on the navigation bar.

About the Escalated Responses grid
The Escalated Responses grid lists escalated responses across all exams in your SecureMarker instance.
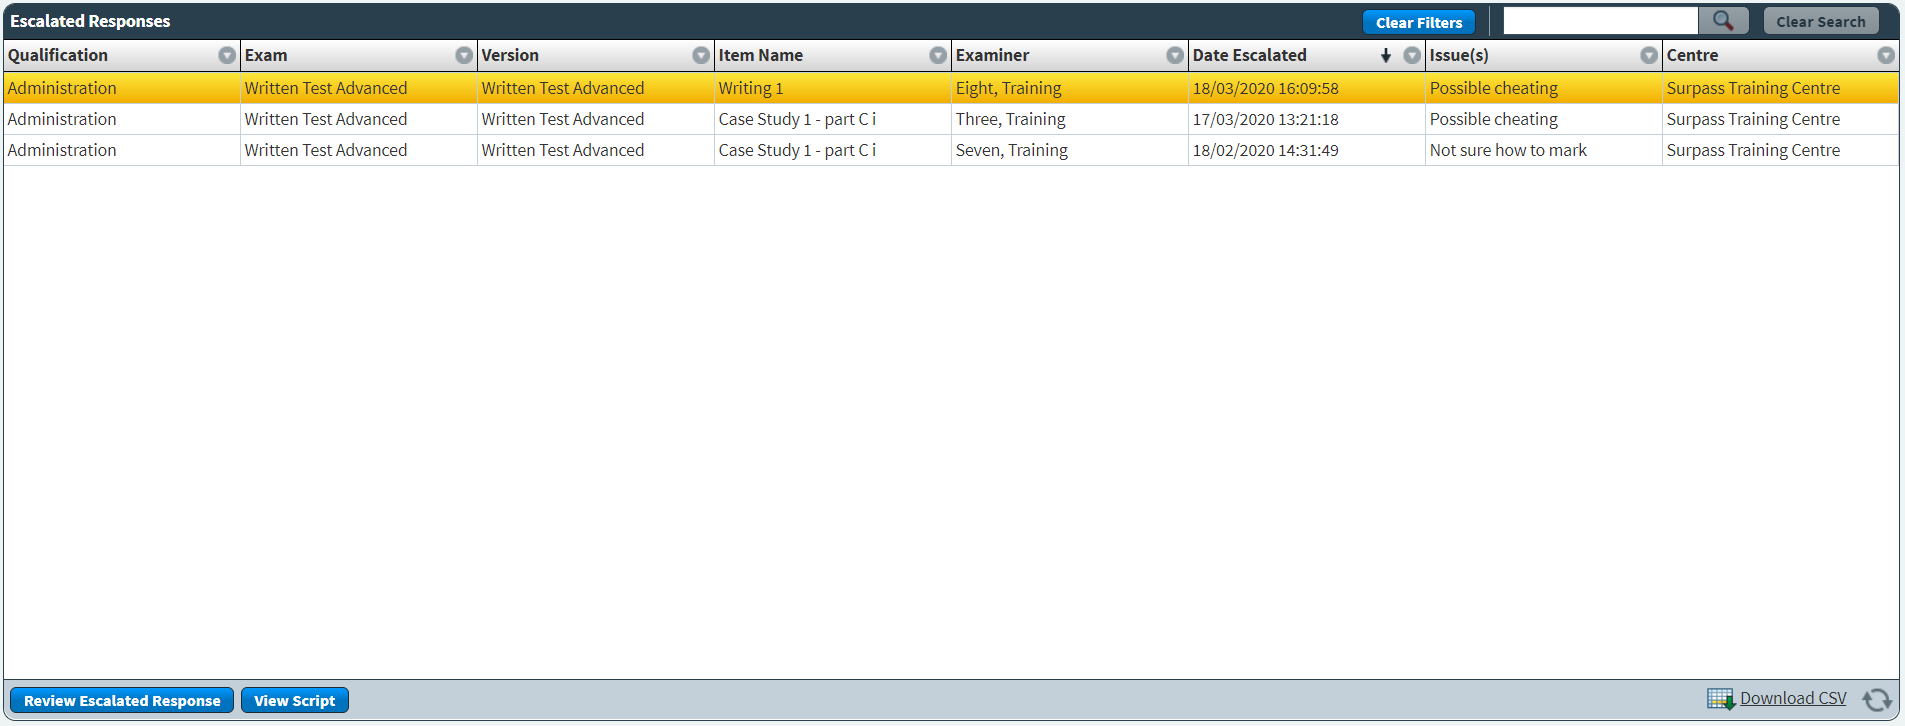
Refer to the following table for information on each column. Each row represents one candidate.
| Column | Description |
|---|---|
| Qualification | Displays the name of the qualification. |
| Exam | Displays the name of the exam. |
| Version | Displays the name of the exam version. |
| Item Name | Displays the name of the item or item group. |
| Examiner | Displays the user name of the examiner who escalated the response. |
| Date Escalated | Displays the date and time on which the response was escalated. |
| Issue(s) | Displays the reason for the escalation. |
| Centre | Displays the centre at which the exam was taken. |
Choose an escalated response in the Escalated Responses grid to view details about the centre and candidate. Details include:
- Candidate – Displays the name of the candidate.
- Candidate Number – Displays the candidate’s unique reference code in Surpass.
- Centre – Displays the name of the centre at which the test was taken.
- Centre Code – Displays the centre’s unique reference code.

You can navigate through pages of data using the Page menu. Use the Rows entry field to define how many rows are displayed in the Escalated Responses grid. Select Refresh to update the number of rows.

Finding escalated responses
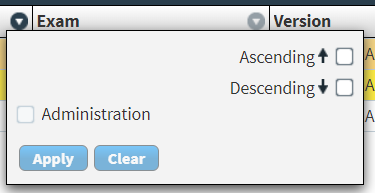
By default, the Escalated Responses grid is ordered by the most recently escalated responses. Select the expander () on a column header to open a filter menu. Columns with filters applied are indicated by the filter icon: .
For Qualification, Exam, Item Name, and Examiner, select Ascending to filter the column content in ascending order (A-Z). Select Descending to filter the column content in descending order (Z-A). Choose which option you want to view. Select Apply to save the filter. Select Clear to reset the filter.
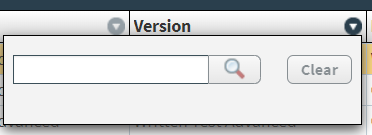
For Version, use the text field to filter column contents based on version name. Select Clear to reset the filter.
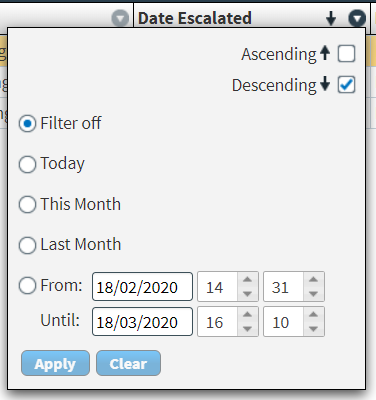
For Date Escalated, you can either select Today, This Month, or Last Month to only show escalated responses that match the required dates or use the date picker to choose a date range. Select Ascending to filter the column content in ascending order (A-Z). Select Descending to filter the column content in descending order (Z-A). Select Apply to save the filter. Select Clear to reset the filter.
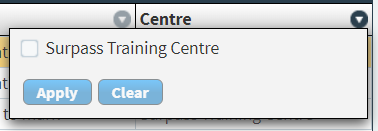
For Issue(s) and Centre, choose which issue or centre you want to view. Select Apply to save the filter. Select Clear to reset the filter.
Select Clear Filters to reset all filters.
Actions on the Escalations screen
You can review escalated responses, de-escalate responses, and assign new marks in the Escalations screen.
Reviewing an escalated response
You can review escalated responses in the Escalations screen. This includes reading issues about the response and assigning marks. To review an escalated response, select Review Escalated Response. For more information, read Reviewing an escalated response in the Escalations screen.

Viewing scripts
You can view scripts containing escalated responses from the Escalations screen. This includes annotating responses, downloading mark schemes, and assigning marks. For full instructions on how to mark responses and navigate the Marking interface, read Marking responses in SecureMarker.
Select View Script to view the candidate’s script.

In the View Script screen, you can award marks to and interact with responses, download mark schemes, and de-escalate responses. For more information about de-escalating a response, read ‘De-escalating a response’ in Reviewing escalated responses in the Escalations screen.

Select an item in the grid to review the candidate’s response. In the grid, you can view the response’s unique ID code, the name of the item or item group, and the mark awarded to the response.
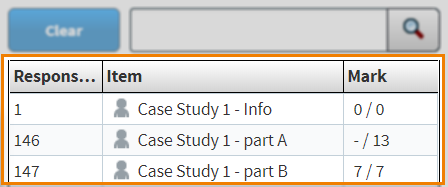
You can search for a response by typing the response’s unique ID code in the text entry field. Select Clear to remove your search.

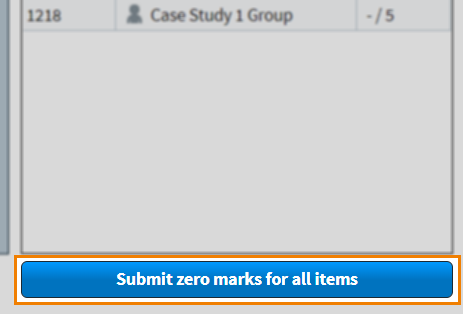
Submitting zero marks
Select Submit zero marks for all items to award zero marks to all responses in a candidate’s script.
In the Submit zero marks for all items dialog, you must confirm the issue and enter a comment, if necessary. You can select multiple options from the Select Issue(s) list.
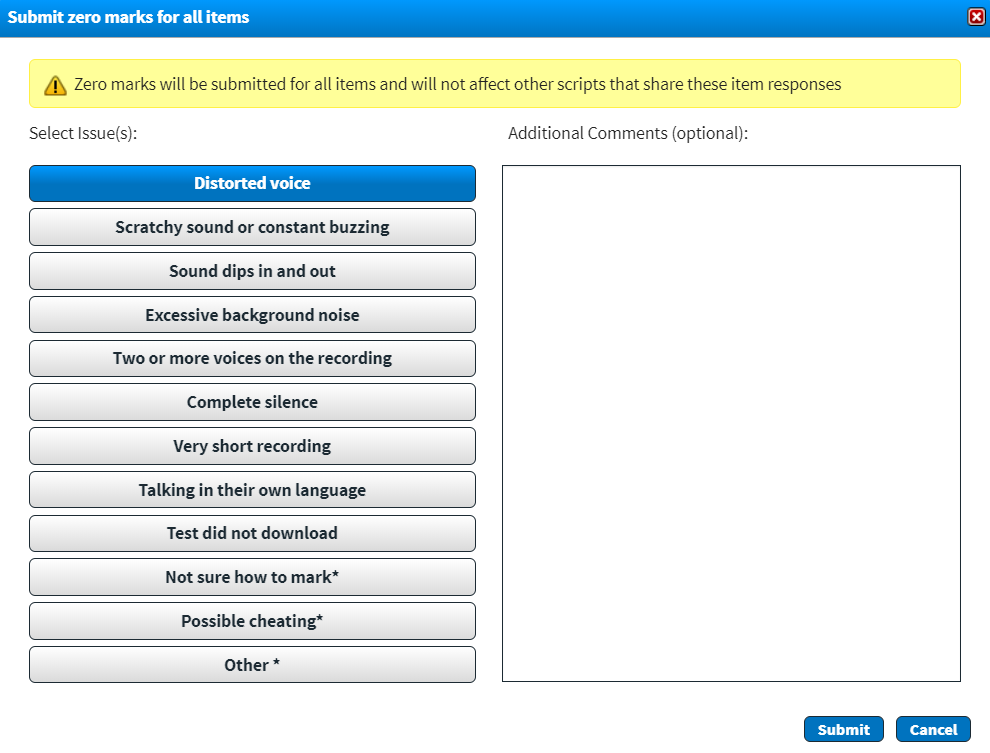
Select Submit to confirm your changes.

Exporting data to a spreadsheet
Select Download CSV to export the Escalated Responses data to a spreadsheet.
Further reading
Now you know how to navigate Escalations, read the following articles to learn more: