Creating a Hotspot question
A Hotspot question asks candidates to find and select a specific part of an image. The correct area can be either rectangular or polygonal.
This article explains how to create a basic Hotspot question in Surpass and includes information on creating both rectangular and polygonal correct areas.
In This Article
1. Choose your item type
In your subject, select Create New Item to open the Question Types menu. Choose Hotspot to create a blank Hotspot item and go to the Edit screen.

2. Name your item
Enter the item’s name in the Name field.

3. Enter your question text
Enter your question text in the question stem. Select Add Text Area to add an additional question stem. You can have a maximum of five question stems per item.

Open Additional Options to add source material or assistive media to your question stem. In mixed subjects, you can also add a table to your question stem (in HTML subjects, tables can be added using the formatting toolbar).
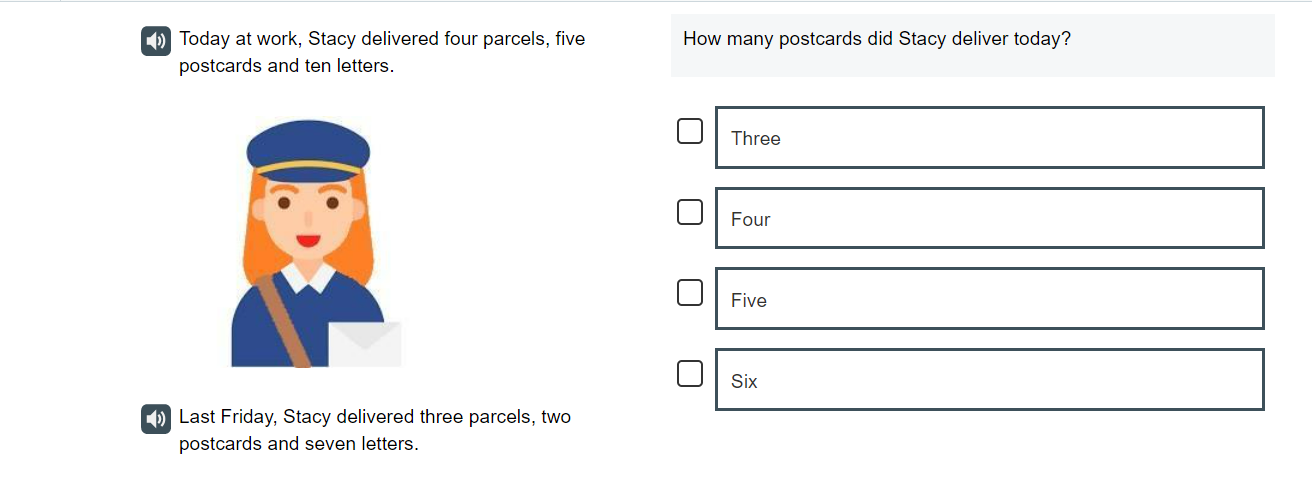
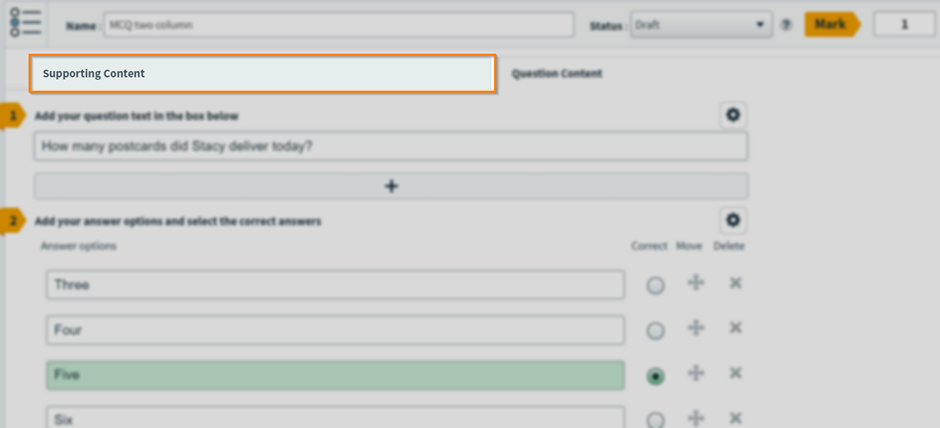
Two-column item layout
A two-column layout displays Supporting Content alongside the Question Content allowing the candidate to see all information provided without the need for scrolling.
Open the Item Settings panel.

Select Two Columns from the Layout Option.
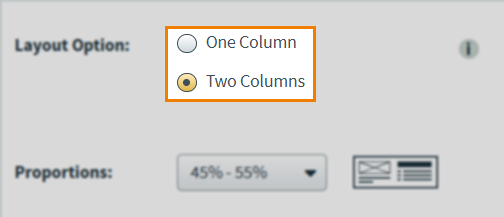
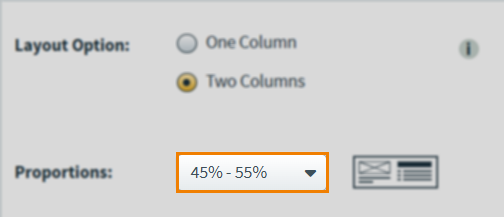
You can change the columns’ Proportions using the drop-down menu.
Select the Supporting Content tab to edit the second column. You can add up to 5 different supporting content stems, with a maximum of 1 piece of assistive media per stem.
4. Add image
Use Select Image to open the Media Library. Choose an image and select Add media to item. For more information about adding images to Surpass, read Importing files to the media library.
To delete your image, select Remove media from this item .
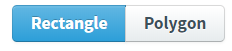
5. Add correct area
You can either add a rectangle or draw a shape as your correct area. Select Rectangle or Polygon to set the correct area type.
Expand the relevant section to find out more information about each area type. If you want to revert a hotspot to its default state, select Reset Hotspot.
Using rectangles
A rectangle hotspot has four equal sides.
Select Rectangle to add a rectangular hotspot to your item.
Drag the rectangle to relevant area and use the sizing handles to change its dimensions.
Using polygons
A polygon hotspot can have an indefinite number of sides and allows for more precision in defining a correct area.
Select Polygon and click the image to set your shape’s anchor point. This anchor point appears red until the shape is completed, when it turns white.
Make additional selections on the image to set the corners of your shape. The defined correct area is shaded green. Re-select the anchor point to complete the shape.
6. Set the question’s marks
Set the item’s total marks in the Mark field.

7. Select a workflow status
Set the item’s workflow status in the Status drop-down menu. Only items set to Live can be used in a test.

8. Preview your question
To see your item from a candidate’s perspective, select Preview .

In Mixed subjects, you can preview your item in the HTML test driver. Use the Preview arrow to open the Preview Options menu and select Preview in HTML . Any custom CSS is applied in the Preview screen. For more information on custom CSS, see Creating a subject in Setup.

You can check your item’s marking behaviour in the Preview screen. Make selections to update the Mark field.
If you need to continue working on the item, select Edit to return to the Edit screen.

9. Saving and closing your item
Select Save to save your item to your subject.

To see additional saving options, use the Save arrow to open the Save Options menu. Select Save & Close to save the item and return to the Subjects screen. Select Save & New to save the item and create another Hotspot item.

Select Close to leave the Edit screen. If you have unsaved changes, you are prompted to either save or discard them.

Further reading
You can do much more with Hotspot items in Surpass. For more information, read the following articles: