About the Invigilate screen
In the Invigilate screen, you can view and manage current test sessions and control candidates’ access to them. This includes activities such as unlocking tests for candidates (either with a PIN or manually), pausing tests, or voiding tests.
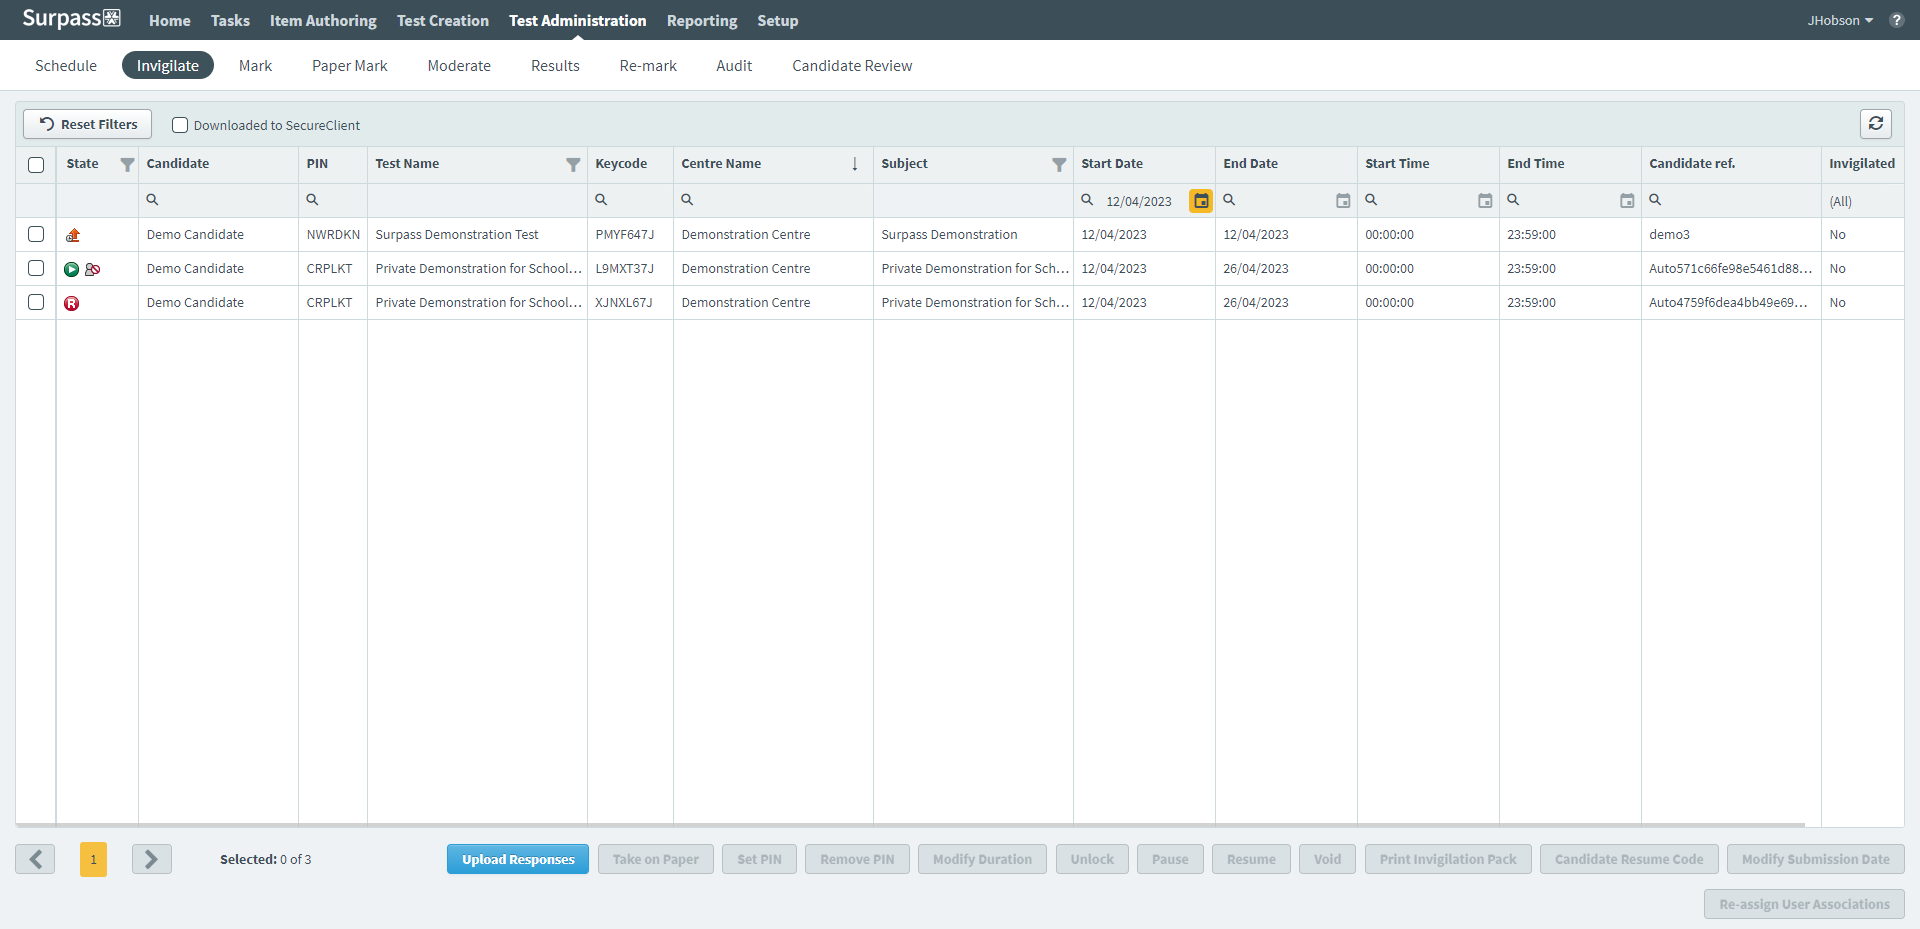
This article explains what the Invigilate screen is, how to navigate it, and how to use its features.
In this article
Navigating to the Invigilate screen
To view the Invigilate screen, go to Test Administration > Invigilate.

About the Invigilate grid

The Invigilate grid lists all live tests you have access to. Each row is dedicated to a single candidate’s test. Refer to the following table for information on each column.
Depending on your screen resolution, you may need to scroll horizontally to view the whole grid.
| Column | Description |
|---|---|
| State |
Displays the status of the candidate’s test.
|
| PIN |
Displays the test session’s PIN code. A PIN code is a string of characters that candidates must enter to unlock an invigilated test. PIN codes are unique to a test session and shared by all candidates sitting the test. PIN codes are only visible to users in the Invigilate screen. For more information, read Unlocking an invigilated test in the Invigilate screen.
NOTE: PIN codes might still be visible for tests that do not require invigilation.
|
| Test Name | Displays the name of the test being taken. |
| Keycode | Displays the candidate’s unique alphanumeric keycode. The candidate needs this keycode in order to enter the test. Keycodes are also printed in invigilation packs. |
| Centre Name | Displays the name of the centre the test is being sat at. |
| Tags |
Displays any tags that were assigned to the test when scheduling via the TestSchedule API.
TIP: This might include details on the amount of unscheduled break time allocated to each candidate.
|
| Subject | Displays the name of the subject that contains the test being sat. |
| Content Language |
Displays the content language of the test.
NOTE: This column is hidden by default.
|
| Start Date | Displays the test’s start date. This is the earliest date a candidate can start the test. |
| End Date | Displays the test’s end date. This is the latest date a candidate can start the test. |
| Start Time | Displays the test’s start time. This is the earliest time on a valid test day that a candidate can start the test. |
| End Time | Displays the test’s end time. This is the latest time on a valid test day that a candidate can start the test. |
| Candidate ref. | Displays the candidate’s name. |
| ULN | Displays the candidate’s unique learner number. |
| Invigilated | Indicates whether the test has been scheduled for invigilation. Tests scheduled for invigilation have a secondary lock that requires manual intervention from invigilators before being accessed by candidates. |
| Duration | Displays the test’s time limit in minutes (for computer-based tests) or days (for computer-based projects). |
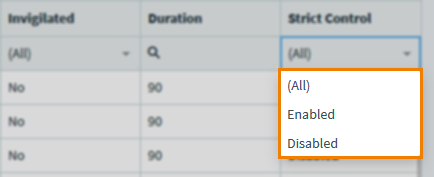
| Strict Control | Displays whether Strict Control for Reasonable Adjustments is enabled in test settings. |
Finding a test session
By default, the Invigilate grid displays all currently scheduled tests you have access to, ordered by start date. You can filter and sort to reorganise the Invigilate grid.
Filtering test sessions
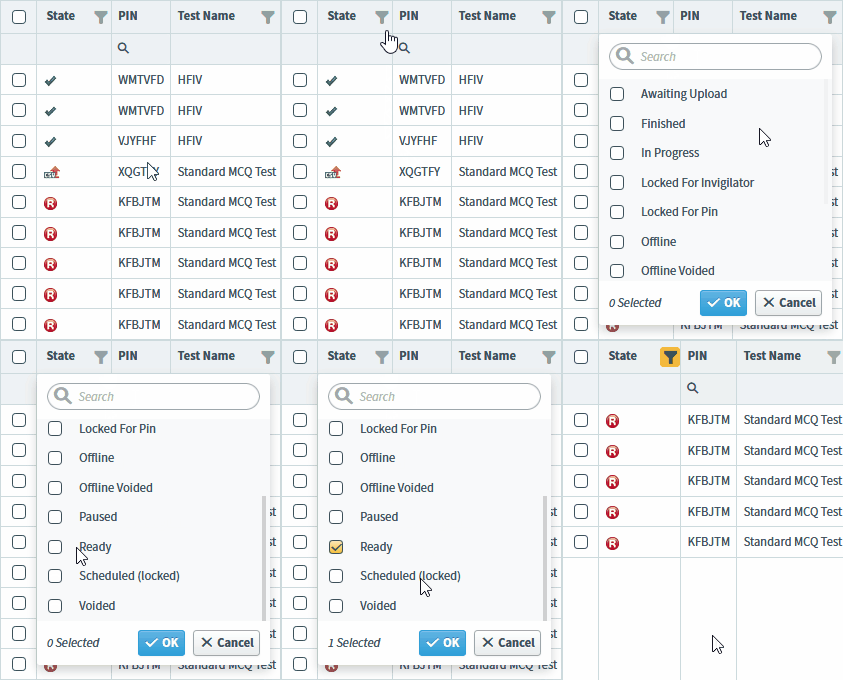
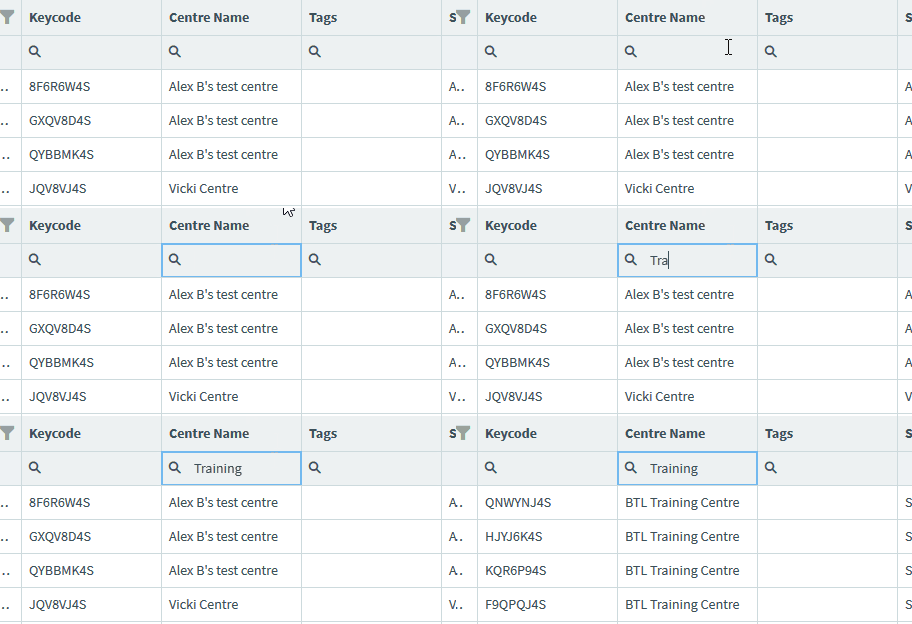
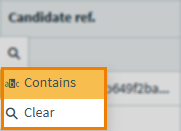
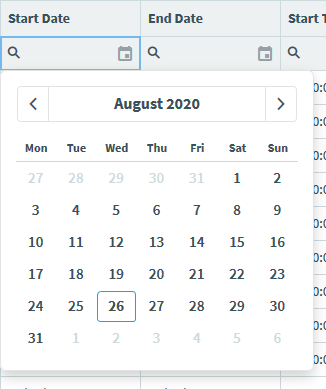
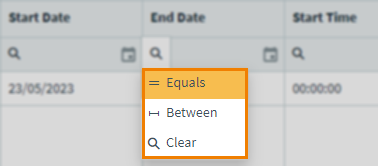
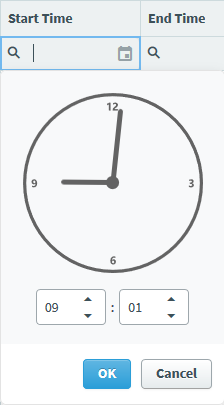
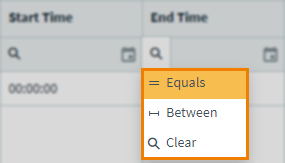
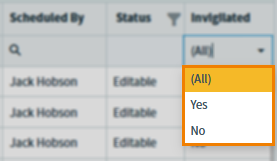
Some columns in the Invigilate screen can be filtered. You can identify these columns by the Search icon , Filter icon , or the expander . The different icons correspond to the different types of available filters.
You can combine filters across multiple columns.
Sorting test sessions
Select a column header to sort the cell data alphabetically or numerically in ascending () or descending () order. Select the column header to toggle between ascending and descending order.
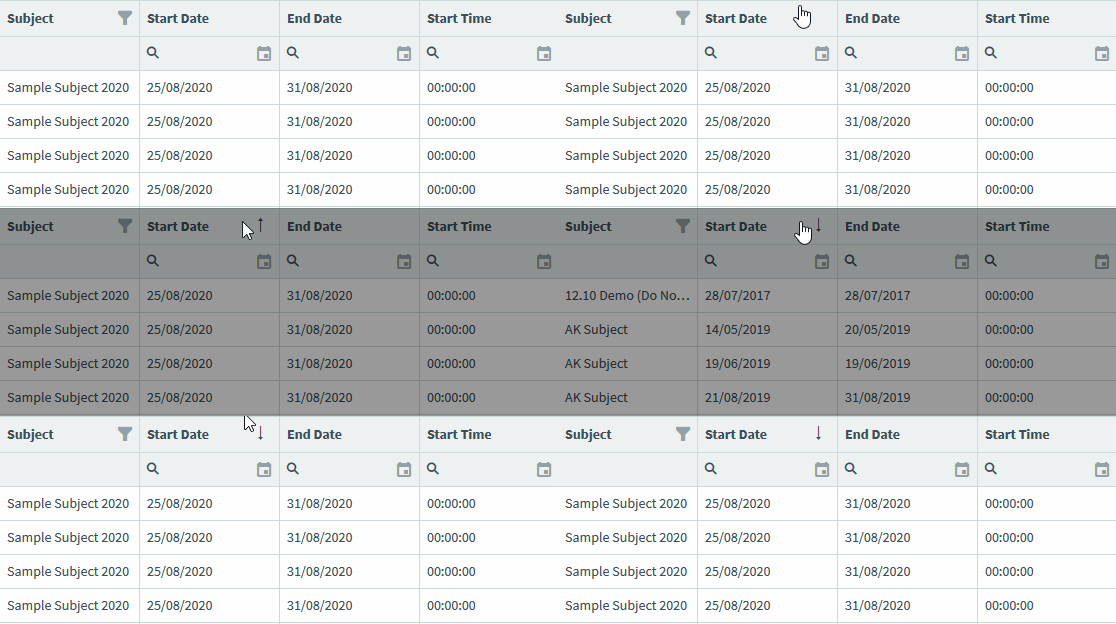
Alternatively, you can right-click on a column header to Sort Ascending or Sort Descending.
Fixing columns
To fix columns in place in in the grid, right-click on a column header and select Fix To the left or Fix To the right.
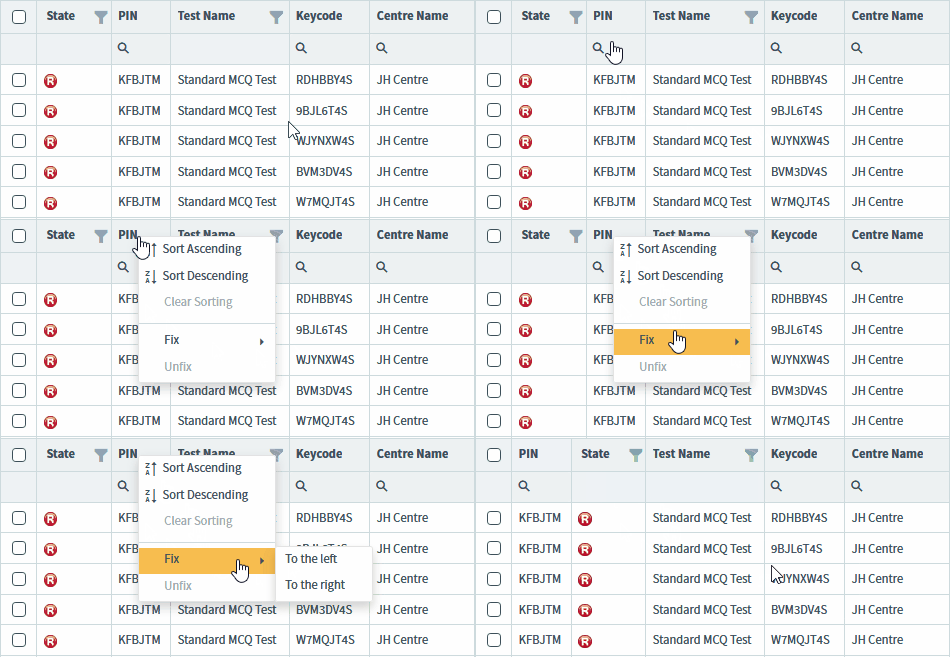
Select Unfix to return columns to their original place in the grid.
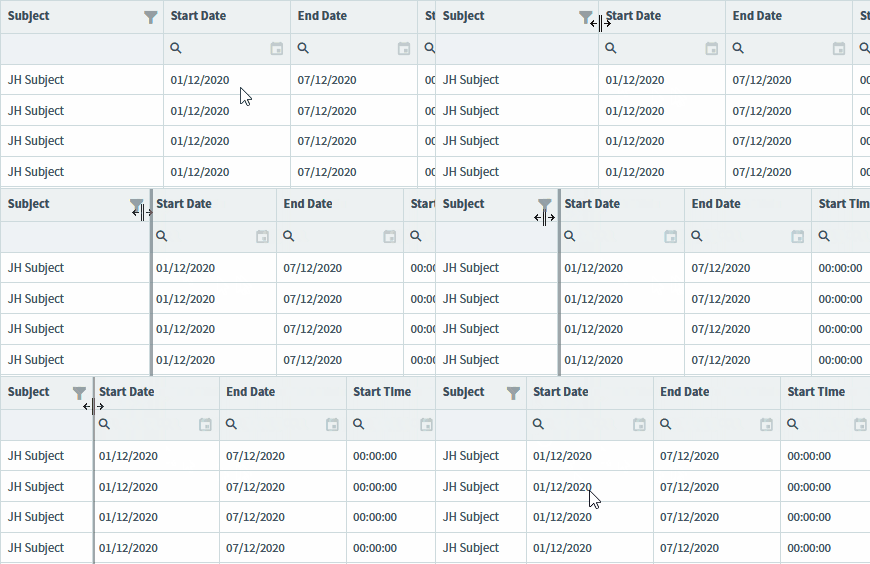
Resizing columns
Click and drag between column headers to resize columns.
Changing pages
Tests are organised into pages. Choose between displaying 50, 100, 150, or 200 tests per page using the drop-down menu.

Use Next and Previous to navigate between pages, or input a page number to navigate to that page.

Actions on the Invigilate screen

There are many actions you can take on the Invigilate screen. Not all options are available for all tests.
To perform an action, select a test on the Invigilate grid and choose an action.
Refer to the following table for more information on each action.
| Action | Description |
|---|---|
| Set PIN |
Sets a PIN for tests scheduled for invigilation. Candidates must enter this PIN after their keycode to enter a test. You cannot set a PIN for a test that has already been downloaded.
NOTE: Setting a PIN for tests not scheduled for invigilation has no effect.
|
| Remove PIN |
Removes a PIN from tests scheduled for invigilation. Candidates must be manually unlocked by an invigilator after entering their keycode to enter the test. You cannot remove a PIN from a test that has already been downloaded in SecureClient.
WARNING: If a test has been downloaded in SecureClient for iPad/Mac and the option to remove the PIN is still there before the Invigilate screen has had chance to refresh, do not remove the PIN or the candidate may not be able to sit the test.
NOTE: Removing a PIN for tests not scheduled for invigilation has no effect.
|
| Unlock | Unlocks a test that is currently locked for invigilator. For more information, read Unlocking an invigilated test in the Invigilate screen. |
| Pause |
Pauses the selected test. This freezes the candidate’s test timer and prevents them from interacting with test content. |
| Resume | Resumes a paused test. |
| Void | Cancels the selected test. For more information, read Voiding a test in the Invigilate screen. |
| Print Invigilation Pack | Prints a pack of documents for invigilators, including an attendance register, invigilation report, and candidate keycode slips. For more information, read Printing an invigilation pack in the Invigilate screen. |
| Reassign User Associations |
Changes the marker and moderator that were assigned to the test during scheduling. If marker/moderator associations were set up to be required in Test Creation, you cannot select No Marker or No Moderator. If Enable User Associations was cleared in Test Creation, you cannot set up a marker or moderator for the test at this point. For more information, read Re-assigning user associations in the Invigilate screen. |
| Upload Responses |
Uploads a CSV of responses for tests taken on paper. This allows paper scripts to go through the administrative workflow along with computer test scripts. For a test containing only Multiple Choice items, you can upload each response (for example, A, B, C, or D). For a test containing other question types, you can upload the mark awarded for each response. For more information, read Invigilating a paper test in the Invigilate screen. |
| Take on Paper / Take on Screen |
Controls whether the test is to be taken on paper or on screen. If a test is set to be taken on paper, you must upload candidates’ responses or marks using Upload Responses.
NOTE: For information about printing paper tests, read Downloading printable tests with the Test Wizard or Printing test forms in Test Creation.
|
| Modify Submission Date |
Changes the submission date for a particular candidate’s computer based project. You can only modify the submission date of projects at the In Progress, Paused, or Ready states. For more information, read Modifying the submission date of a computer-based project in the Invigilate screen.
IMPORTANT: Any candidates with reasonable adjustments will not be given their extra time in addition to the modified date. You must take this into account when changing the submission date.
|
| Modify Duration |
Changes a particular candidate’s test duration. You can only modify the duration of tests at the Locked or Ready state, unless the test setting Allow Time Extension While In Progress is enabled. For more information, read Modifying the duration of a test in the Invigilate screen.
NOTE: If modifying the duration of an In Progress test with timed sections, the additional time given is evenly distributed across each section, including any sections the candidate may have already completed.
|
| Candidate Resume Code |
Displays the resume code for tests in Bring Your Own Device (BYOD) mode. This allows candidates taking tests in BYOD SecureClient to re-enter if they close their test without submitting. For more information on BYOD SecureClient, read ‘Delivering tests using BYOD SecureClient’ in About Surpass test delivery options. |
| Refresh |
Updates the data in the Invigilate grid. |
Further reading
To learn more about working in Invigilate, read the following articles:
- Unlocking an invigilated test in the Invigilate screen
- Voiding a test in the Invigilate screen
- Modifying the duration of a test in the Invigilate screen
- Printing an invigilation pack from the Invigilate screen
- Invigilating a paper test in the Invigilate screen
- Modifying the submission date of a computer-based project in the Invigilate screen
- Re-assigning user associations in the Invigilate screen

