About the Audit screen
The Audit screen contains records for all tests delivered in your Surpass instance. From the Audit screen, you can view detailed reports about the test’s history and flag scripts for re-marking if necessary.
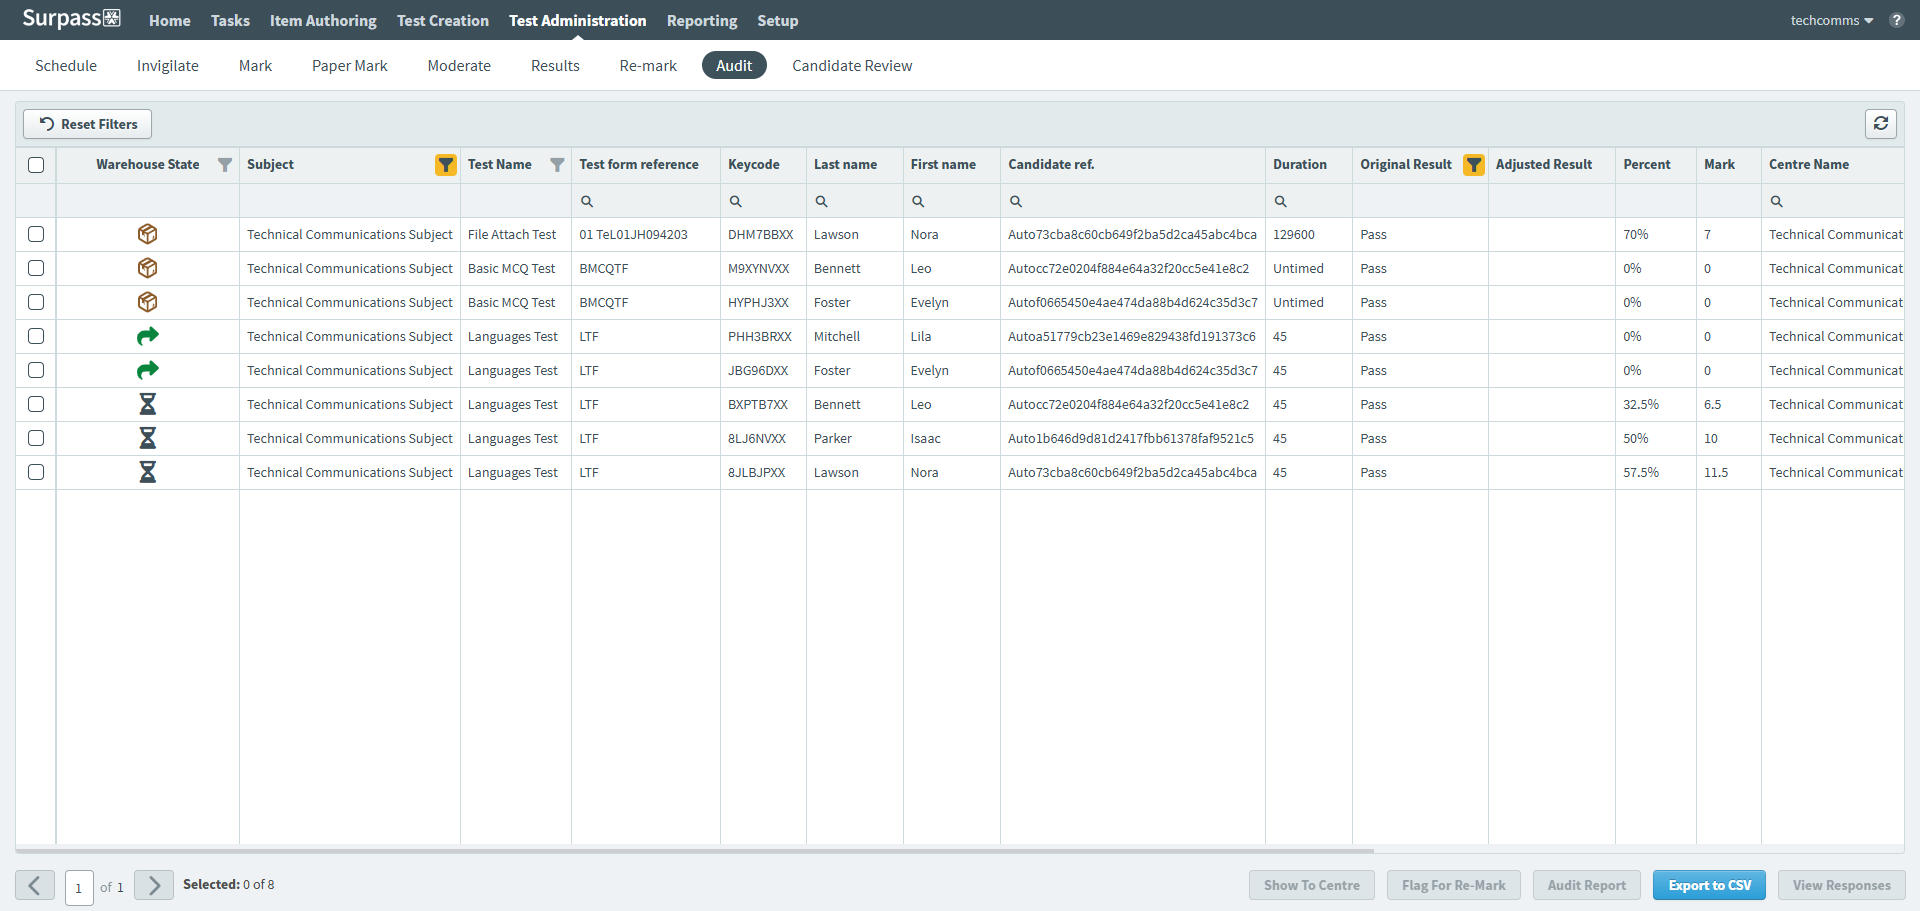
This article explains what the Audit screen is, how to navigate it, and how to use its features.
In this article
Navigating to the Audit screen
To view the Audit screen, go to Test Administration > Audit.

About the Audit grid

The Audit grid lists all historical scripts you have access to. Each row is dedicated to a single candidate script. Refer to the following table for information on each column.
| Column | Description |
|---|---|
| Warehouse State |
Displays the current state of the script. When a script is submitted by the candidate and fully marked and moderated, it is stored in the Surpass warehouse. The available warehouse states are:
|
| Subject | Displays the name of the test’s parent subject. |
| Test Name | Displays the name of the test. |
| Test Form Reference | Displays the test form’s unique reference code. |
| Keycode | Displays the keycode the candidate used to access the test. |
| Last Name | Displays the candidate’s surname. |
| First Name | Displays the candidate’s forename. |
| Candidate Ref. | Displays the candidate’s unique reference code. |
| ULN | Displays the candidate’s unique learner number. ULNs are enabled in Site Settings. |
| Duration | Displays the test’s duration. |
| Original Result |
Displays the result the candidate originally achieved on the test. This is presented as a grade (for example, “Pass”), rather than a raw mark.
NOTE: Voided is unselected in the Original Result column filter by default. To view voided tests in the grid, read 'Filtering scripts' below and enable Voided in the Original Result column.
|
| Adjusted Result | Displays the result the candidate received after any grade boundaries were changed. |
| Percent | Displays the percentage score achieved by the candidate. |
| Mark | Displays the raw score achieved by the candidate. |
| Centre Name | Displays the name of the centre the test was sat at. |
| Centre Code | Displays the unique reference of the centre the test was sat at. |
| Completed | Displays the date on which the candidate submitted their script. |
| Shown to Centre |
Indicates whether users can view responses in the Results screen. For more information, read. For more information, read Allowing users to view responses in Results from the Audit screen. |
| Re-mark Status |
Indicates where in the re-marking process the script is. The following states are available:
For more information, read Flagging a script for re-marking in the Audit screen. |
| Exported | Indicates whether the result has been retrieved via the Result API. |
| Test Driver Language | Displays the language the test was taken in. |
| Content Language |
Displays the content language of the test.
NOTE: This column is hidden by default.
IMPORTANT: Item language variants are not available by default. If you would like item language variants enabled on your Surpass instance, contact your Surpass Customer Success Manager.
|
Finding a script
By default, the Audit grid displays all historical scripts you have access to, ordered by most recently submitted. You can filter and sort to reorganise the Audit grid.
Filtering scripts
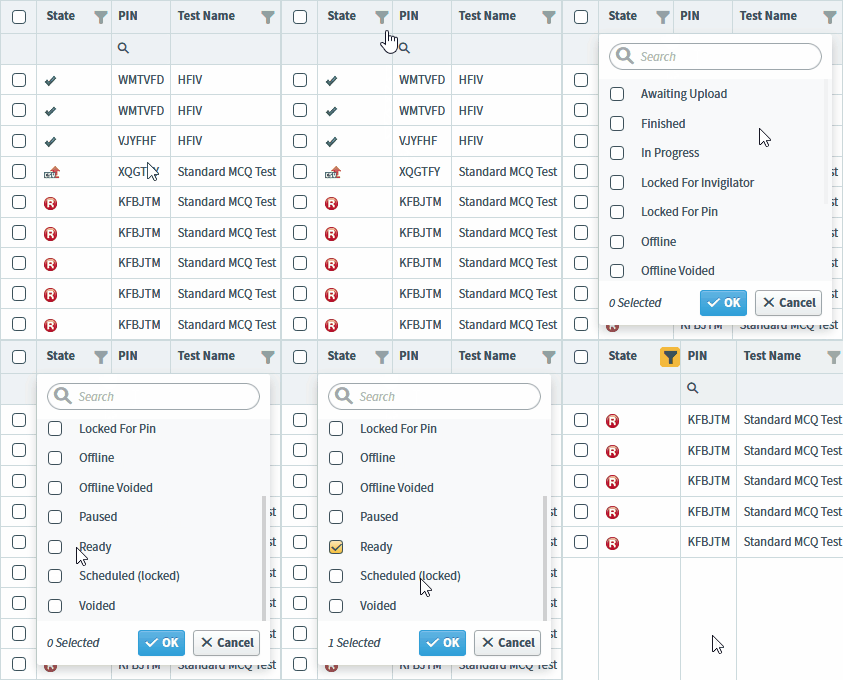
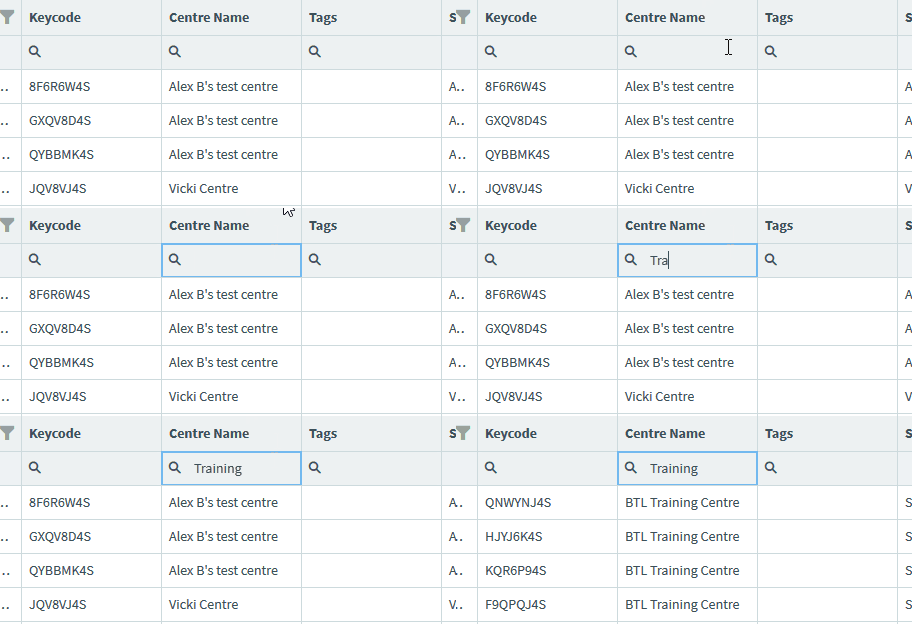
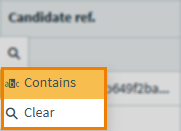
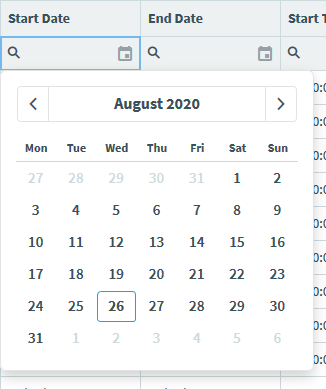
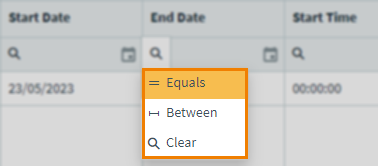
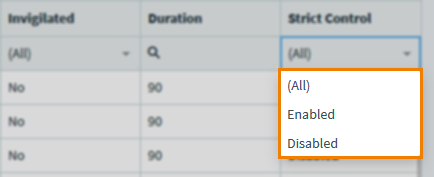
Some columns in the Audit screen can be filtered. You can identify these columns by the Search icon , Filter icon , or the expander . The different icons correspond to the different types of available filters.
You can combine filters across multiple columns.
Sorting scripts
Select a column header to sort the cell data alphabetically or numerically in ascending () or descending () order. Select the column header to toggle between ascending and descending order.
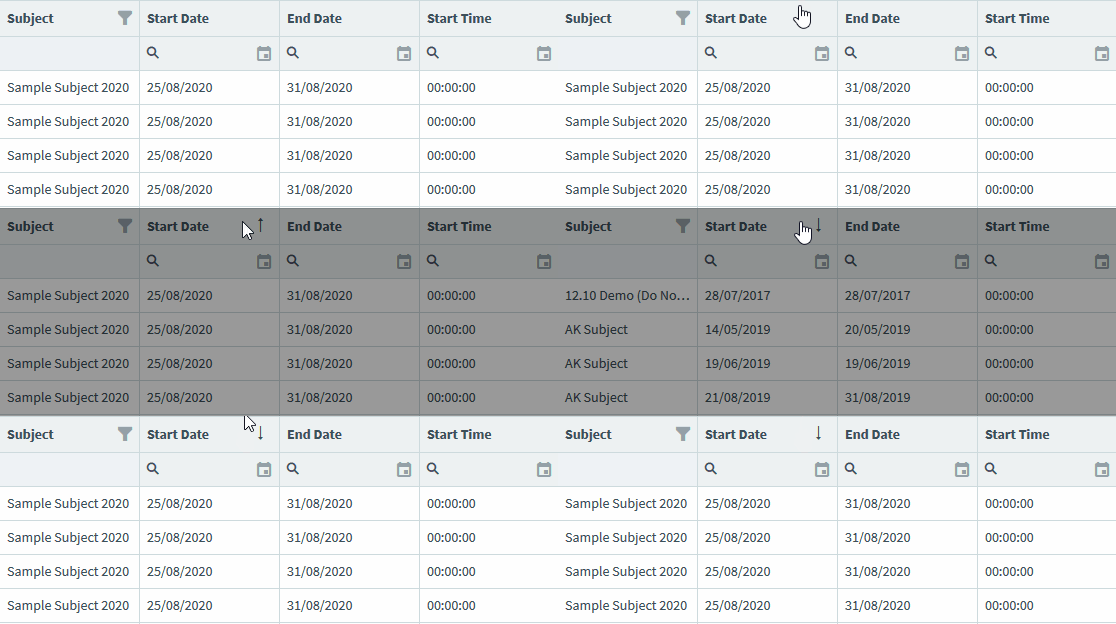
Alternatively, you can right-click on a column header to Sort Ascending or Sort Descending.
Fixing columns
To fix columns in place in in the grid, right-click on a column header and select Fix To the left or Fix To the right.
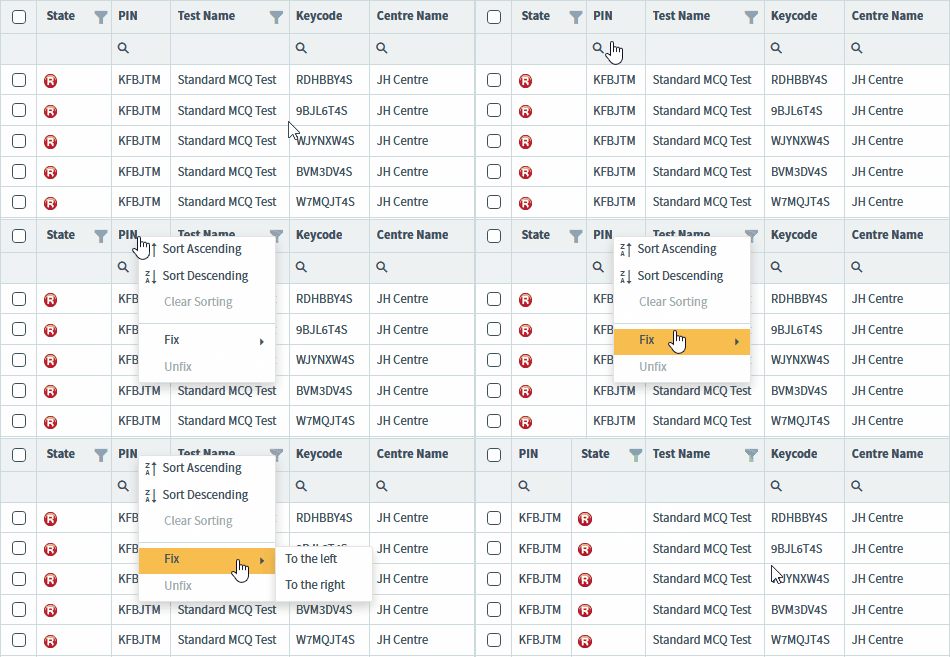
Select Unfix to return columns to their original place in the grid.
Resizing columns
Click and drag between column headers to resize columns.
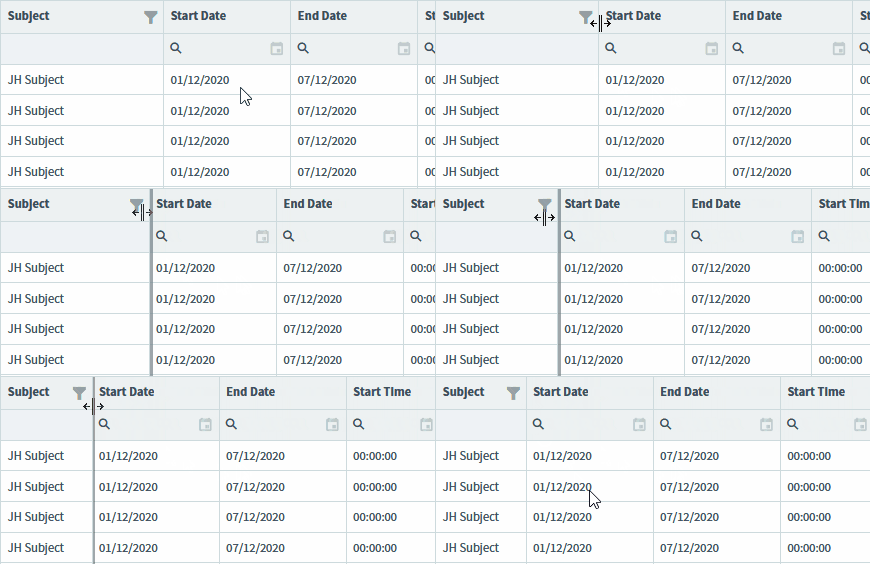
Changing pages
Scripts are organised into pages. Choose between displaying 50, 100, 150, or 200 scripts per page using the drop-down menu.

Use Next and Previous to navigate between pages, or input a page number to navigate to that page.

Actions on the Audit screen
There are many actions you can take on the Audit screen. Refer to the following table for more information on each option.
| Setting | Description |
|---|---|
| Show to Centre/Hide From Centre |
Allows users in the Results screen to view candidate responses. For more information, read Allowing users to view responses in Results from the Audit screen. |
| Flag for Re-Mark |
Sends the selected script to the Re-mark screen, where it will be marked again. For more information, read Flagging a script for re-marking in the Audit screen. |
| Audit Report | Open the script’s audit report. For more information, read Viewing an audit report in the Audit screen. |
| Export to CSV |
Exports candidate results data to a spreadsheet. For more information, read Exporting scripts from the Audit screen. |
| View Responses | Opens the candidate’s script, allowing to view their responses to each item in the test. |
Further reading
To learn more about working in Audit, read the following articles:

