About test profile settings
Test profiles allow you to customise the appearance of the Surpass test driver. This includes adding custom logos, defining colour schemes, and choosing what information and functionality is available to candidates during a test.
The Test Profiles screen is divided into seven areas:
- Settings allows you to configure the basic settings of your test profile like name, test driver position, and test driver height.
- Provider Logo allows you to upload a colour and a monochrome image of your chosen provider logo.
- Client Logo allows you to upload a colour and a monochrome image of your organisation’s logo.
- Delivery Presentation covers colour schemes including header and footer colours and additional standard (HTML) test driver options.
- Candidate Details lets you configure what candidate details are displayed in the test driver, like name and date of birth.
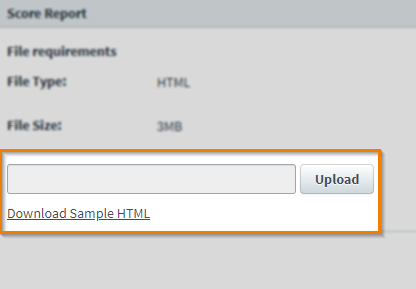
- Score Report lets you upload a score report which can be viewed by candidates after a test.
This article explains the available settings in the Test Profiles screen.
In this article
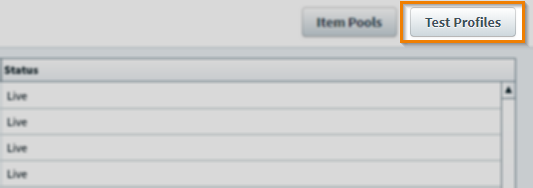
Finding the Test Profiles screen
To view the Test Profiles screen and configure test profile settings, navigate to Test Creation > Test Profiles.
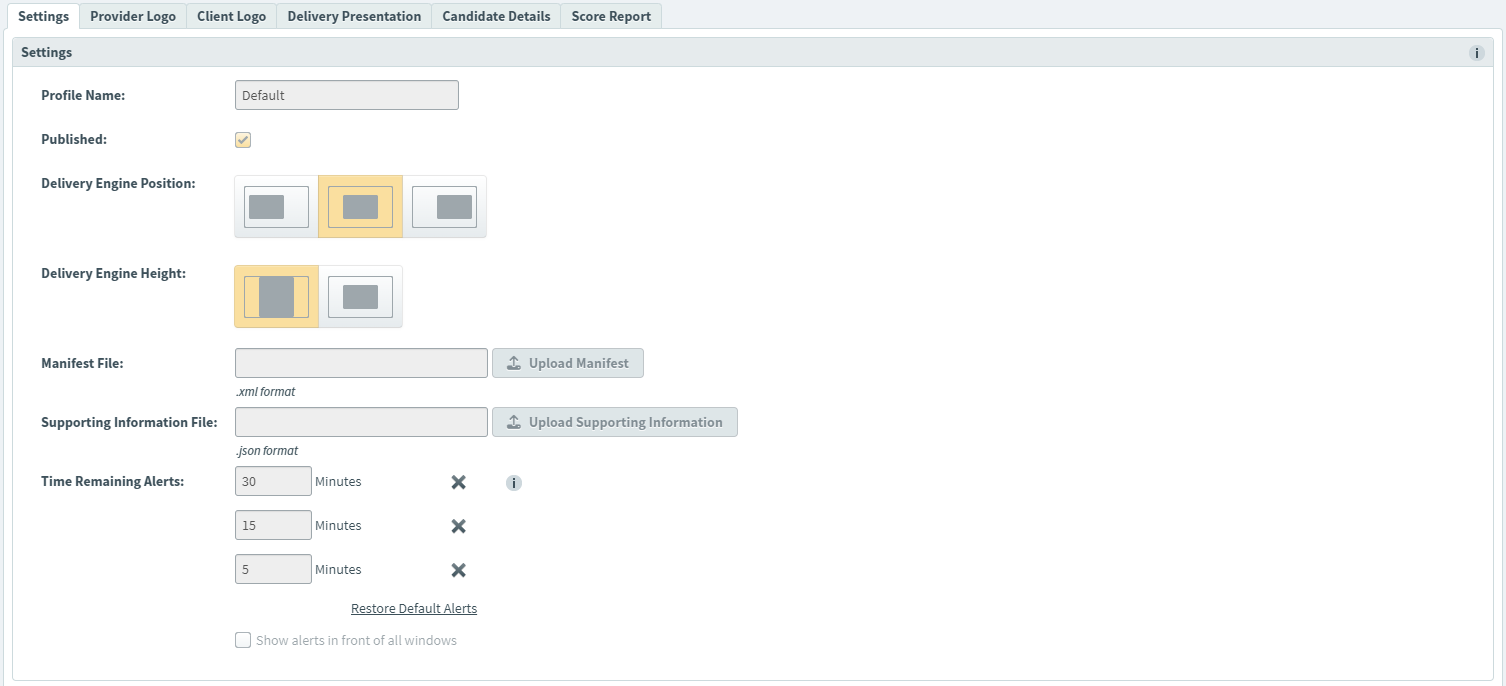
Settings

| Setting | Description |
|---|---|
| Profile Name | The test profile’s name. |
| Published | Determines whether the test profile is available to be added to a test. For more information, read Applying a test profile to a test. |
| Delivery Engine Position |
Determines the position of test content on candidates’ screens. The test driver’s position can be Left, Central, or Right.
TIP: It is recommended you set the delivery position to Left or Right if your test contains source material.
|
| Delivery Engine Height |
Allows you to set the height of test content on candidates’ screens. You can set the test driver’s height to fit the height of each candidate’s screen (Fit Height) or to only occupy a fixed position in the middle of the screen (Centre).
NOTE: This option only applies to legacy tests. Standard (HTML) tests make use of all available height in the test driver, regardless.
|
| Manifest File |
Allows you to upload a custom XML file to your test profile.
NOTE: For more information about manifest files, contact your Surpass Customer Success Manager.
|
| Supporting Information File |
Allows you to upload a JSON file that can be retrieved from the TestProfile API resource.
EXAMPLE: If you are extracting information about a test session using the TestSession API, you might want to upload a file containing candidate check-in steps.
|
| Time Remaining Alerts (HTML only) |
Choose when to alert candidates of their remaining time in a standard (HTML) test. The default values are 30, 15, and 5 minutes. Enter new values into the Minutes fields to change the warning times. You can also select to Show alerts in front of all windows, such as when a candidate is viewing source material.
IMPORTANT: Time remaining alerts always display at 30, 15, and 5 minutes in legacy tests.
|
Provider Logo

Provider logos must meet the following requirements:
- Resolution: 180 x 60px
- File Type: PNG, JPEG, GIF (colour version), Transparent GIF (monochrome version)
- File Size: 100 kb
Choose Select Image to upload a provider logo.
You can also add alt text for your provider logo in the Alt Text field, which provides a text alternative to images for screen readers. For more information on accessibility, read Creating an accessible test profile and the rest of the Accessibility documentation in the Resources section of the Surpass Help Site.

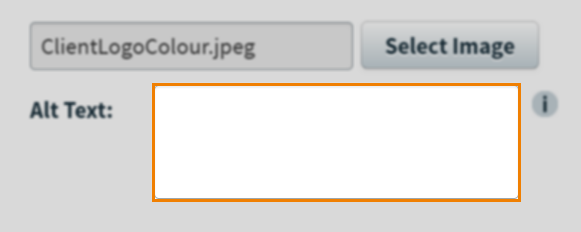
Client Logo

Client logos must meet the following requirements:
- Resolution: 180 x 60px
- File Type: PNG, JPEG, GIF (colour version), Transparent GIF (monochrome version)
- File Size: 100 kb
Choose Select Image to upload a client logo.
You can also add alt text for your client logo in the Alt Text field, which provides a text alternative to images for screen readers. For more information on accessibility, read Creating an accessible test profile and the rest of the Accessibility documentation in the Resources section of the Surpass Help Site.
Delivery Presentation

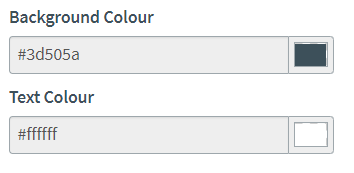
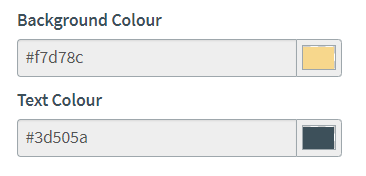
Header/Footer Colours
| Setting | Description |
|---|---|
| Background Colour | Sets the colour of the areas at the top and bottom of the test driver. Use the colour picker to change the colour. |
| Text Colour | Sets the text colour in the top and bottom areas of the test driver. Use the colour picker to change the colour. |
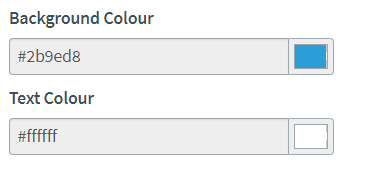
Finish Button Colours
| Setting | Description |
|---|---|
| Background Colour | Sets the colour of the Start Test and Finish Test buttons. Use the colour picker to change the colour. |
| Text Colour | Sets the text colour in the Start Test and Finish Test buttons. This also changes the colour of the Agree to Terms window before the test begins. Use the colour picker to change the colour. |
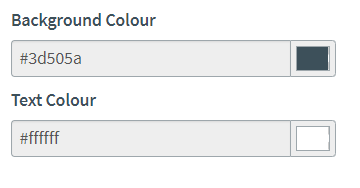
Primary Button Colours
| Setting | Description |
|---|---|
| Background Colour | Sets the colour of OK, Confirm, Next, Back, Flag, and Introduction buttons and breadcrumbs for unattempted items. Use the colour picker to change the colour. |
| Text Colour | Sets the text colour in OK, Confirm, Next, Back, Flag, and Introduction buttons and breadcrumbs for unattempted items. Use the colour picker to change the colour. |
Secondary Button Colours
| Setting | Description |
|---|---|
| Background Colour | Sets the colour of System Check and Preferences buttons on the keycode screen and breadcrumbs for attempted items. Use the colour picker to change the colour. |
| Text Colour | Sets the colour of text in System Check and Preferences buttons on the keycode screen and breadcrumbs for attempted items. Use the colour picker to change the colour. |
Header Options
| Setting | Description |
|---|---|
| Question Information | Show or Hide question information in the test header. |
| Question Information Options |
Toggle between item name (Name) and numerical question counter (Counter) in the test header.
NOTE: This setting requires Question Information to be set to Show.
|
| Section Information | Show or Hide section information in the test header. |
| Finish Test Button |
Show or Hide the Finish Test button. If hidden, candidates must wait until the test timer expires.
NOTE: In untimed tests delivered in a web browser, the Finish Test button is only available on the final item.
|
Multiple Choice, Multiple Response, Either/Or Options
| Setting | Description |
|---|---|
| Checkboxes | Show or Hide checkboxes in delivery for Multiple Choice, Multiple Response, and Either/Or items, and Multiple Choice and Multiple Response survey items. |
Tools Options
| Setting | Description |
|---|---|
|
Highlight |
Enable or Disable the highlighting tool in delivery. For more information on the highlighting tool, read Using the highlighting tool in the test driver. |
|
Strikethrough |
Enable or Disable the strikethrough tool in delivery. For more information on the strikethrough tool, read Using the strikethrough tool in the test driver. |
Source Material Options
| Setting | Description |
|---|---|
|
HTML Browser Navigation |
Show or Hide browser navigation for HTML source material.
NOTE: If shown, HTML source material has a home screen, forward and backward navigation, and refresh.
|
|
Close Docked Source Material |
Enable or Disable the Close button in the Surpass PDF viewer.
NOTE: The Close button is only available in tests delivered in HTML SecureClient. For more information, read About the Surpass PDF Viewer.
|
|
Auto-Dock HTML Source Material |
Enable or disable HTML and (shared) PDF source material being docked automatically. If enabled, HTML source material is always docked regardless of screen resolution.
NOTE: HTML source material only docks with a screen resolution of 1920x1080px or above if Auto-Dock HTML Source Material is disabled.
|
Test Navigation Options
| Setting | Description |
|---|---|
| Section Tabs |
Show or Hide section tabs.
NOTE: This only applies to tests with timed sections with standard navigation.
|
| Consecutive Numbering Across Sections |
Enable or Disable consecutive numbering across sections in the navigation breadcrumb. If enabled, items are numbered consecutively regardless of section. |
| Item Set Numbering | Enable or Disable item set grouping in navigation breadcrumbs. If enabled, items in an item set appear together in a decimal format. |
| Item Set Header |
Show or Hide the item set header. This appears at the top of each item set to help candidates identify items within the set. If set to Show, you can configure the visible Item Set Label (for example, ‘Case study’) and Item Label (for example, ‘Scenario’).
NOTE: This setting requires Item Set Numbering to be enabled.
|
| Grouped Items Numbering |
Enable or Disable grouped items numbering in the navigation breadcrumb. If enabled, items in an item group appear together in a decimal format. Read ‘Navigating item groups’ in Navigating a test in the Surpass test driver for more information on how this appears in the test driver. |
| Auto-Collapse Item Set and Grouped Items Navigation |
Enable or disable item sets and grouped items being collapsed by default in the navigation breadcrumb. If enabled, all item sets and grouped items are collapsed until the candidate navigates to the first item in the set or group, or manually expands it. |
Footer Options
| Setting | Description |
|---|---|
| Introduction Button | Show or Hide the Introduction button during a test. Introduction lets candidates return to the Introduction Page during a test. |
| Preferences Button |
Show or Hide the Preferences button during a test. Preferences lets candidates choose the text colour and colour scheme of the test. |
| Section Review Button | Show or Hide the Section Review button. Section Review lets candidates view detailed information on the status of items. |
| Flag Button |
Show or Hide the Flag button. Flag lets candidates highlight items that require further attention.
NOTE: The Flag button is unavailable in forward only tests.
|
| Next Button | Show or Hide the Next button on the last item in forward only tests. |
Test Profile CSS
You can upload a CSS file to customise the appearance of standard (HTML) items in delivery. If you have uploaded a custom CSS file in Site Settings, you can select the file in the CSS File menu. For more information, read About Site Settings options.
Candidate Details

You can choose to display the following candidate details:
- First Name
- Last Name
- Candidate Ref
- Gender
- Date of Birth
Use Select All to select all candidate details.
Score Report

Select Upload to upload an HTML template for your custom score report. Select Download Sample HTML to download a sample HTML template.
Further reading
To learn more about test profiles, see the following articles: