Creating an accessible test profile
Test profiles allow you to customise the appearance of the Surpass test driver. This includes adding custom logos, defining colour schemes, and choosing what information and functionality is available to candidates during a test. These settings can be customised to support candidates with accessibility requirements, such as colour blindness or other visual impairments.
This article explains how to create an accessible test profile in the Test Profiles screen.
Table of Contents
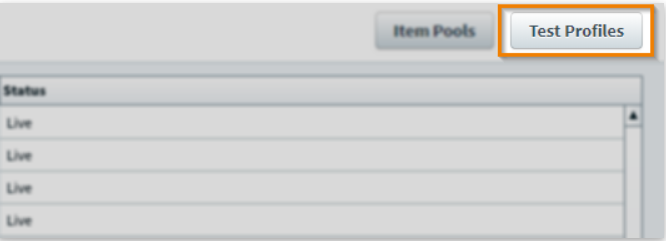
1. Go to the Test Profiles screen
To view the Test Profiles screen, go to Test Creation > Test Profiles.
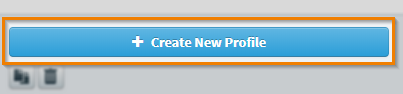
2. Select Create New Profile
Select Create New Profile in the Test Profiles screen.
3. Configure test profile settings
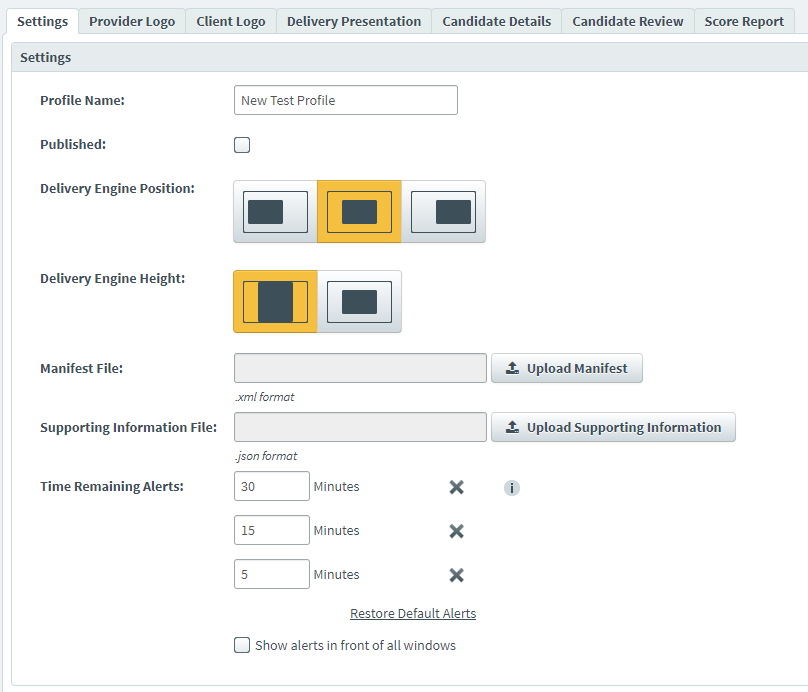
You can apply a variety of settings to a test profile to customise the appearance of a test. You can also define time remaining alerts, enter candidate details, and upload client and provider logos. For full instructions on how to customise a test profile, read About test profile settings.
Some settings in Test Profiles can be customised to support candidates with accessibility requirements. This includes defining colour schemes, setting the test content position, and adding checkboxes to support screen readers.
Adding alt text to test driver logos
Alt text can be added to your provider and client logos, which are presented to candidates before they start their test. You can add alt text to your logos in the Provider Logo and Client Logo tabs of the Test Profiles screen. For more information, read ‘Provider Logo’ and ‘Client Logo’ in About test profile settings.
Setting colour schemes
When creating a test profile, you must ensure that the text and background colours provide sufficient contrast to support candidates with visual impairments. You can customise these text and background colours in the Delivery Presentation tab of the Test Profiles screen. For more information, read ‘Delivery Presentation’ in About test profile settings.
Setting test content position
You can set the position of test content in the test driver in Settings. The test driver’s position can be Left, Central, or Right.
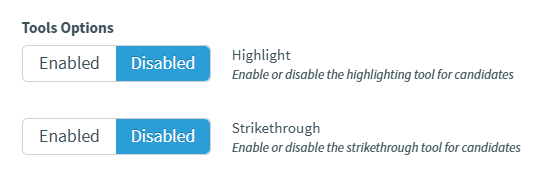
Setting tools options
For an accessible test, it is recommended to disable the Highlight and Strikethrough tools as they can give a disadvantage to some disabled users.
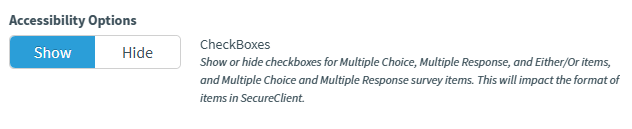
Adding checkboxes to Multiple Choice, Multiple Response, and Either/Or items
Ensure that checkboxes are shown in delivery for Multiple Choice, Multiple Response, and Either/Or items, and Multiple Choice and Multiple Response survey items. This allows for compatibility with various assistive technology.
To add checkboxes, select Show checkboxes in Test Profile settings.
4. Publish your test profile
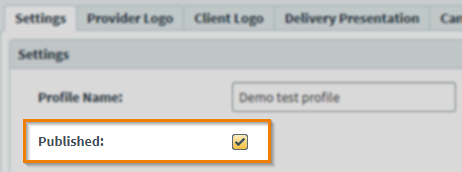
Select Published to publish your test profile. When your test profile is published, you can apply it to a test in Test Creation. For more information, read Applying a test profile to a test.