About the Test Form Rules tab
You can edit a test form’s content in the Test Form Rules tab of the Edit Test Form window. Here, you can add content and rules and define the test form’s duration.

This article explains the functionality on the Test Form Rules tab. This includes adding, editing and deleting content, pinning items in place, grouping items, validating content, applying branching XML, locking the test form, and saving.
In this article
Test Rules
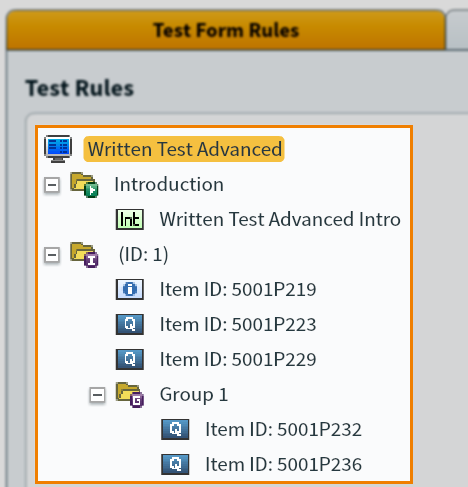
You can view the test form’s structure in the Test Rules area, including all sections, items, and tools.
About the content key
The content key indicates the types of items in the test form.
| Icon | Name | Description |
|---|---|---|
| Question | Represents items that are questions. | |
| Non-scored | Represents items that have been made non-scored. | |
| Finish | Represents items that are Finish Pages. | |
| Information | Represents items that are Information Pages. | |
| Introduction | Represents items that are Introduction Pages. | |
| Rubric | Represents items created as rubrics (ContentProducer only). | |
| Source | Represents items created as source pages (ContentProducer only). | |
| Tool | Represents tools such as source material and calculators. | |
| Survey | Represents items that are Survey questions. | |
| Not defined | Represents items whose purpose cannot be defined. | |
| Item set | Represents item sets. |
Adding, editing or deleting content
Use Add, Edit, and Delete to edit the content of a test form.

Add, Edit, and Delete behave in differently depending on what you have selected on the test form. Expand the following section to learn more about the contextual functions of these buttons.
You can also drag an item or rule to change its position in a test form. A red line indicates the new position of the item or rule.
Editing the Test Form Properties
You can add rules for pre-test items and edit the item P value ranges when you edit the Test Form Properties.
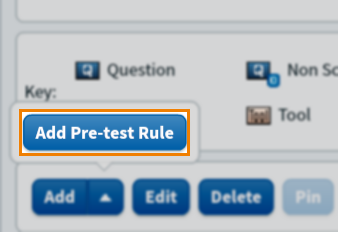
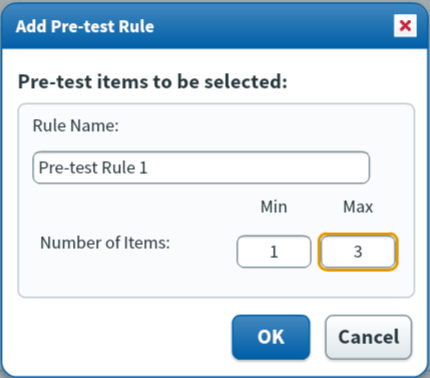
If you have selected pre-test folders, you can then select Add Pre-test Rule when adding items to a section.
Give your pre-test rule a name and define the minimum and maximum number of items that can be pulled from your selected pre-test folders to be given to candidates as non-scored items before they continue with the section.
For more information about other ways of adding non-scored items to your test form, read Adding non-scored items to a test form.
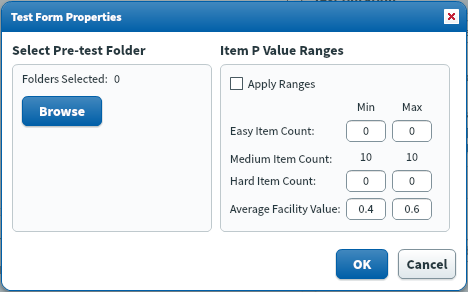
Select your test form name and then Edit to open the Test Form Properties dialog.
You can define the number of items in each P value range in the Item P Value Ranges section.
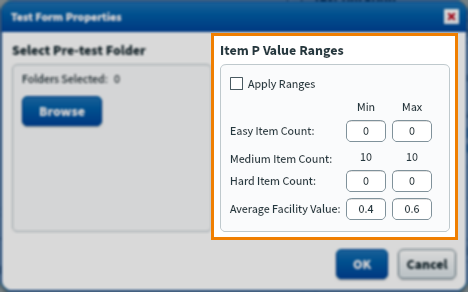
Add a minimum and maximum number of items you want to include for each difficulty level.
You can also define a range for the Average Facility Value (or P value) of the items in the test form.
Select Apply Ranges to apply these values to the test form.
Pinning items in place
You can pin items in a section to ensure they stay in a fixed position when the item order is randomised.
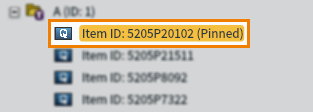
Select an item in a randomised section, then select Pin.

The item displays as Pinned.
Select Unpin to allow the item to be randomised.

Grouping items on one page
You can group items so they appear on a single scrollable page when delivered to candidates. You can do this in Test Form Rules using Create Group or Auto Group.

Validating the content
You can check your content is valid and can be generated. Test form content must be valid before you can schedule the test.
Select Validate to check if your test form is valid.

Use the validation message to identify any changes you need to make.
Applying branching XML
You can apply branching logic to specify a path for candidates to take through items in a section. The logic defines the item that appears based on the candidate’s response to the previous question.
Select Branching XML when editing your test form.

Select Download Sample Branching XML to download a template file.

You must confirm you understand the consequences of uploading branching XML before you can upload a file.
Select Upload Branching XML to upload your file to the test form.
Locking the content
You can lock test form content to ensure changes to items in Item Authoring do not affect the test form. The available options differ for fixed and dynamic content.
If your test form contains only fixed content, you can choose which item details you want to lock.
Select Lock to lock the item content of your test form. This includes visible item information such as the question stem and answer options.
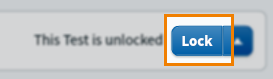
Use the Lock arrow to configure the locking options.
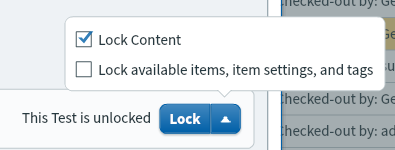
| Setting | Description |
|---|---|
| Lock Content |
Locks items’ question stems, answer options, and media.
NOTE: This is enabled by default.
|
| Lock available items, item settings, and tags |
Locks items’ additional options, tags, and workflow statuses.
IMPORTANT: This setting also locks source material. To lock items with source material, both Lock Content and Lock available items, item settings, and tags must be selected. If only one of the settings is enabled, and the source material is subsequently removed from the item in the test form, the test will not launch properly.
|
If your test form contains any dynamic content, you can only lock the available items, item settings and tags. This includes information such as tags, the total mark, and the workflow status.
Select Lock to lock the available item information.

Saving the content
You must save your test form to apply any changes you make to the content.
Select OK to save changes to your test form.
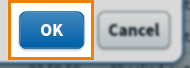
Select Cancel to exit without saving your changes.

Test Summary
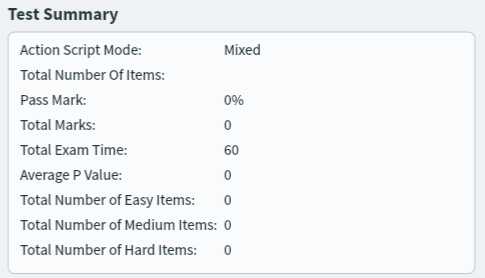
You can see an overview of the test form content in the Test Summary section.
| Field | Description |
|---|---|
| Action script mode | The action script mode of the content. ContentProducer content may be AS2 or AS3. All Surpass content is Mixed. |
| Total number of items | The total number of items in the test form. |
| Pass mark | The value of the lowest grade boundary. To learn how to apply grade boundaries, read Setting up grade boundaries. |
| Total marks | The total number of marks for the test form. |
| Total exam time | The total duration of the test form. |
| Average P value | The average P value of the items in the test form. |
| Total number of Easy items |
The number of items with a P value in the defined Easy range.
NOTE: This applies to fixed content only.
|
| Total number of Medium items |
The number of items with a P value in the defined Medium range.
NOTE: This applies to fixed content only.
|
| Total number of Hard items |
The number of items with a P value in the defined Hard range.
NOTE: This applies to fixed content only.
|
Test Form Duration
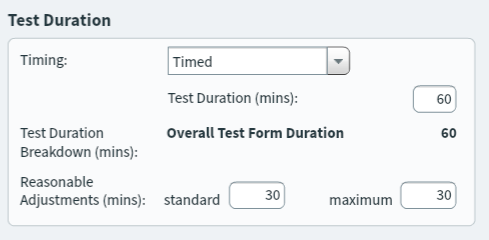
You can define the duration of a test form in the Test Duration section. You can make your test form timed, define the timings, and add breaks. For more information, read About test form duration.
Further reading
To find out more about editing test forms, read the following articles: