Moving items to another subject from the Item Lists screen
You can move items from one subject to another in the Item Lists screen.
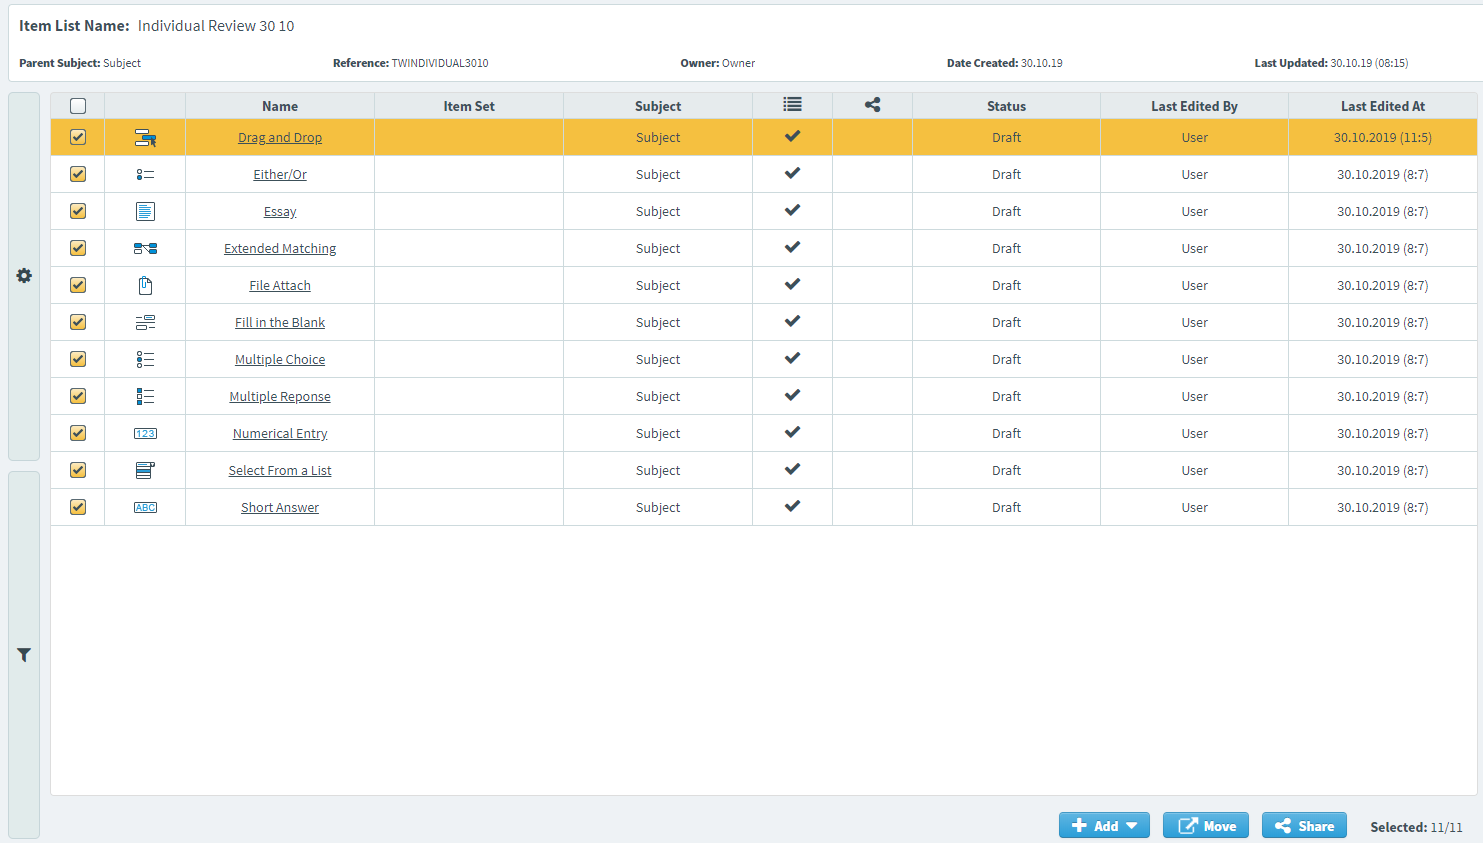
This article explains how to move items to a different subject from the Item Lists screen.
In this article
1. Open an item list
To view an item list, go to Item Authoring > Item Lists.

Select the item list containing the items you want in the Item Lists screen.

2. Choose your items
Select the items you want to move to another subject.

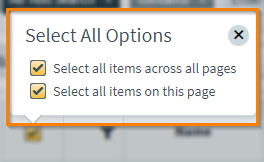
Select the checkbox in the header row to open the Select All Options menu. You can select all items on the current page (Select all items on this page) or select all items across all pages (Select all items across all pages).
3. Move your items
Select Move to move the selected items to another subject.

4. Select a subject
Select which subject you want to move your items to.
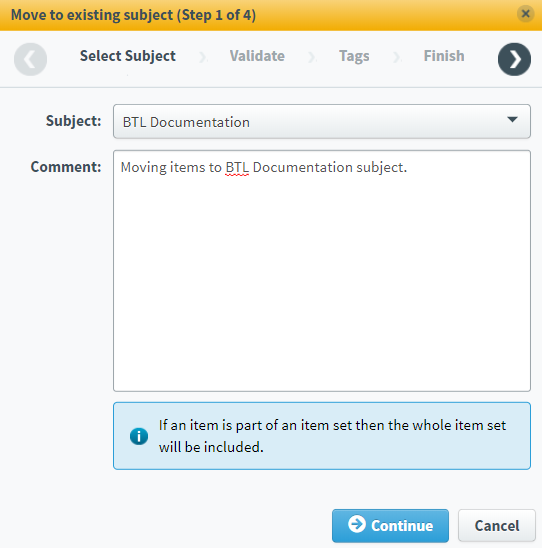
Select Continue to proceed to the next step of the wizard.
5. Validate your items
The validation summary displays how many items are available or unavailable to be moved to another subject.
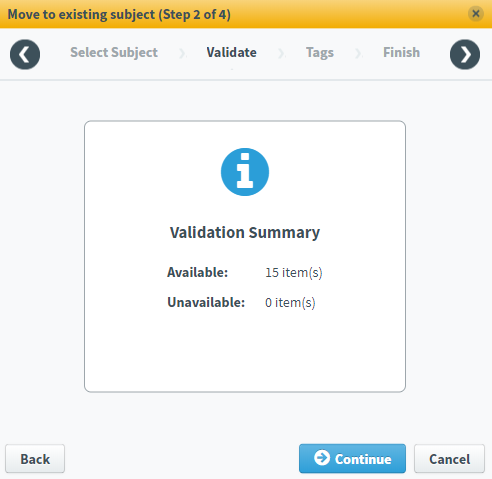
Select Continue to proceed to the next step of the wizard.
6. Select tags
If any of the items you are moving to another subject have tags, select which tag categories and tag groups you want to move to the new subject.
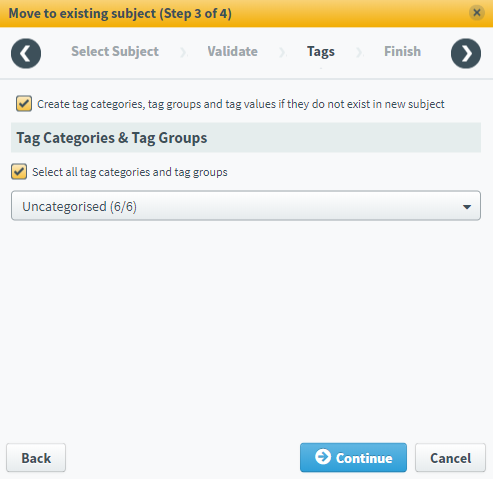
Select Continue to proceed to the final step of the wizard.
7. Complete the wizard
The Finish tab displays a summary of the items you are moving.
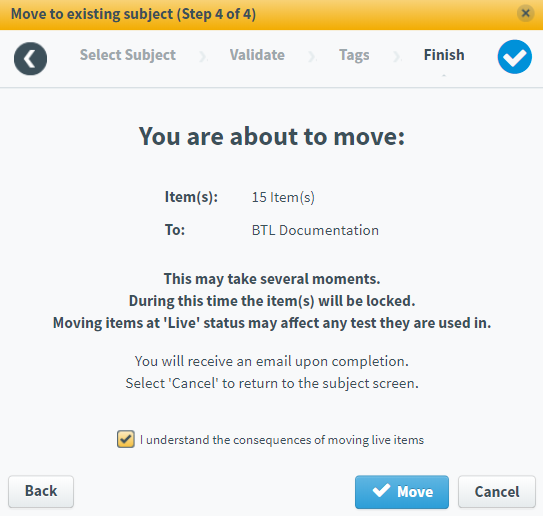
If any of the selected items are set to Live, you must select I understand the consequences of moving live items in order to confirm the move.
Select Move to move your items.
Select Cancel to exit the wizard process without moving any items or select Back to return to a previous step in the process.
Further reading
Now you know how to move items to another subject from the Item Lists screen, read the following articles to learn more:
