Creating a Hot Text custom question
The Hot Text question type lets you create a paragraph where one of the words is the correct answer.
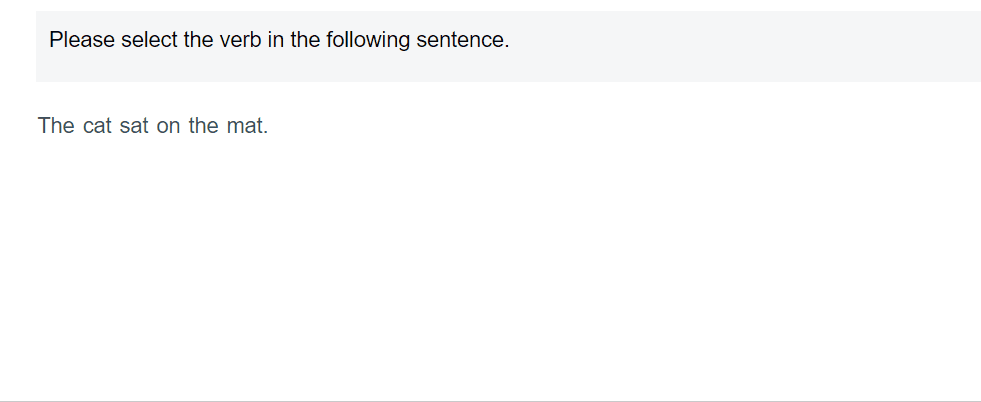
This article explains how to create a Hot Text question in Surpass.
In this article
1. Choose your item type
In your subject, select Create New Item to open the Question Types menu. Choose Custom Question to create a blank Custom Question item and go to the Edit screen.

2. Name your item
Enter the item’s name in the Name field.

3. Enter your question text
Enter your question text in the question stem. Select Add text Area to add an additional question stem. You can have a maximum of five question stems per item.

Open Additional Options to add source material or assistive media to your question stem.
4. Add your custom question type
Select Select Type to open the Select Type dialog.

Select the ZIP file you want to add to your item.
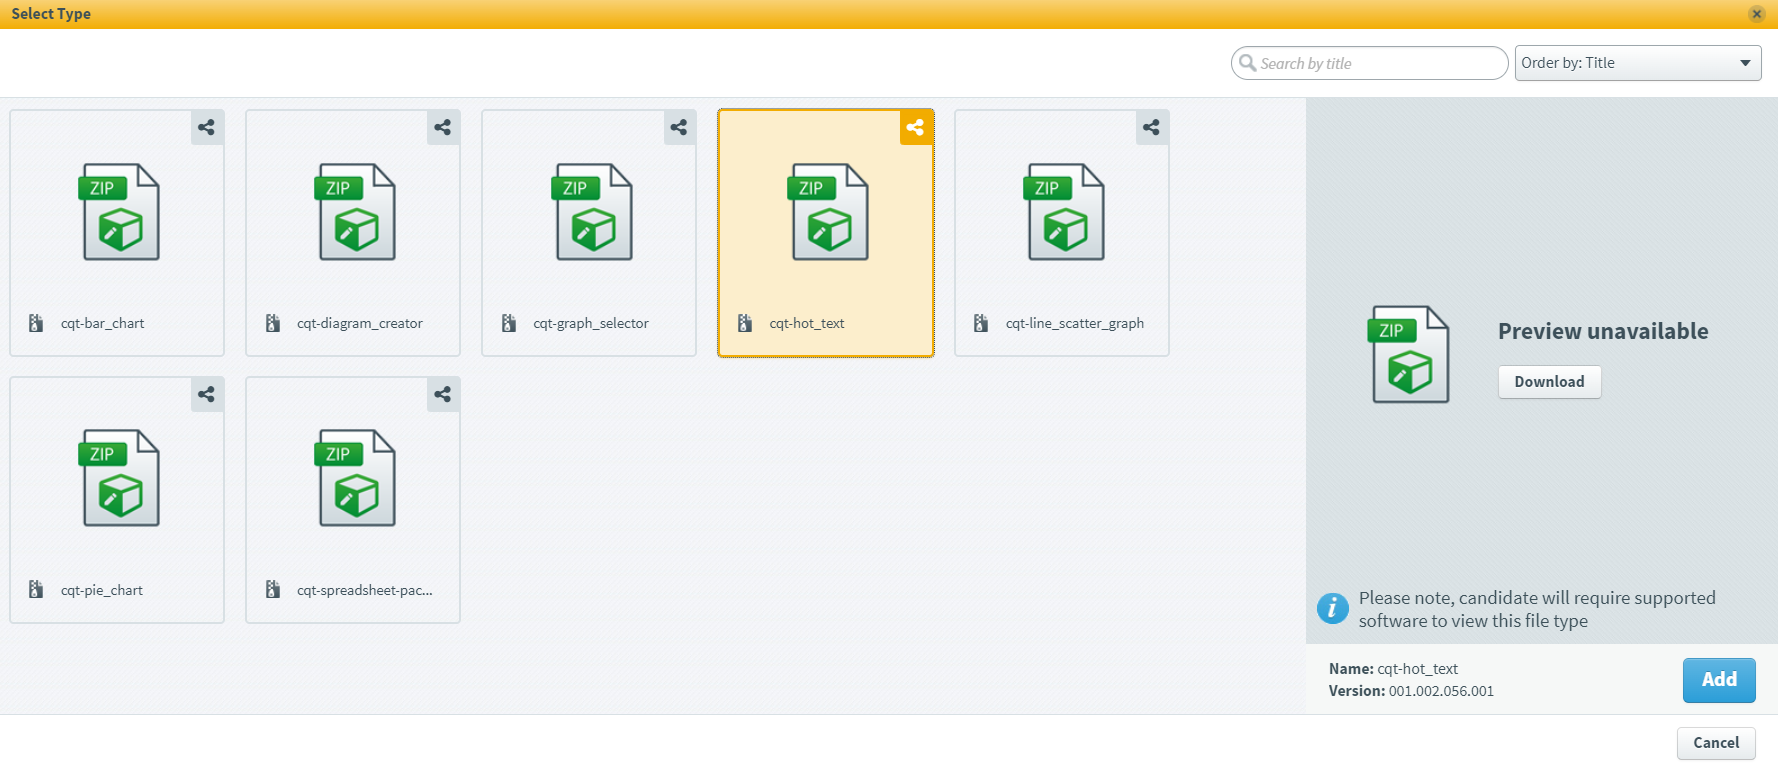
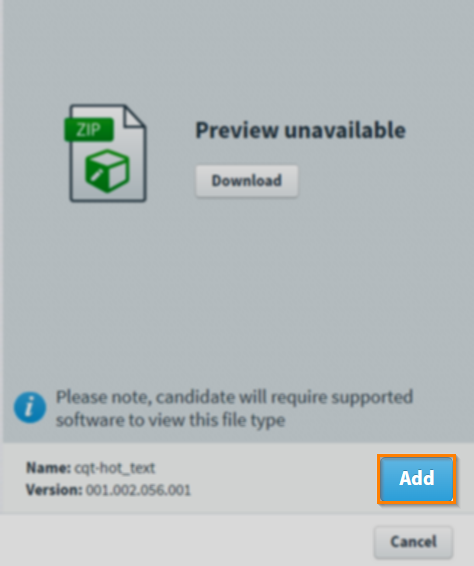
Select Add to add your Custom Question type to the item.
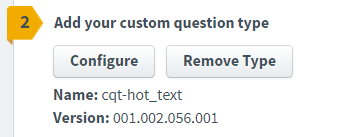
Once added, the name and version number of the Custom Question type are detailed in the item.
Uploading custom question ZIP files to the Media Library
Custom Question type ZIP files must be uploaded to the Media Library.
Go to Item Authoring and select your subject.
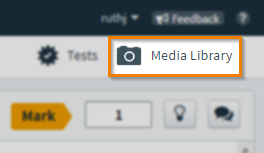
Select Media Library .
Select Import Shared Resource .

In your device’s file explorer, choose the file and select Open.
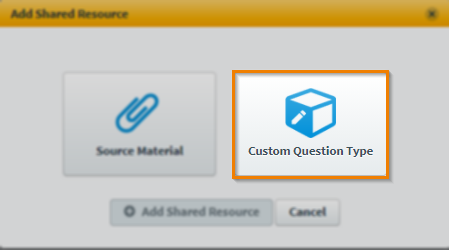
In the Add Shared Resource dialog, select Custom Question Type.
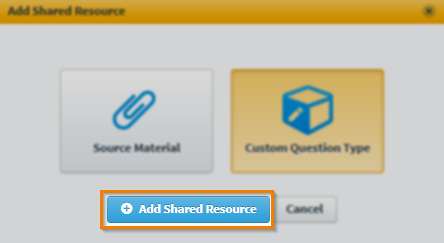
Select Add Shared Resource .
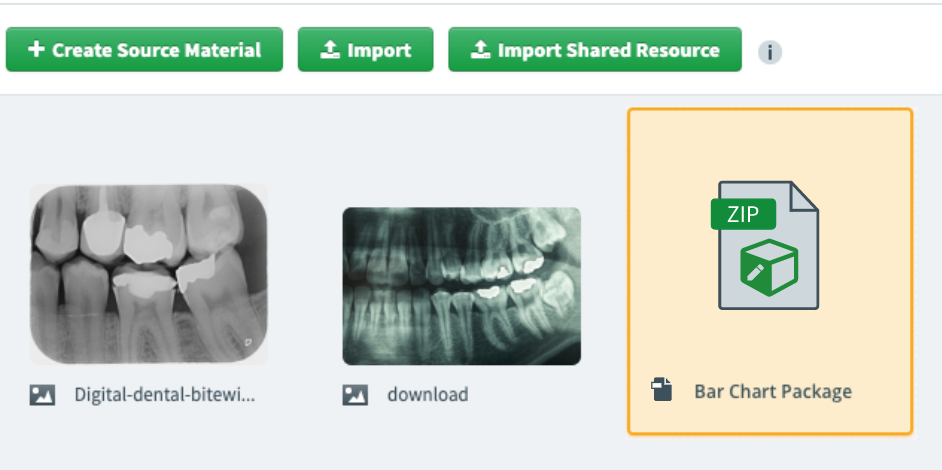
The ZIP file is now in your subject’s Media Library.
5. Configure your Hot Text custom question
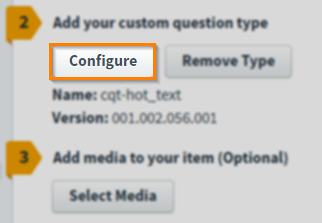
Select Configure to open the custom ZIP file. This allows you to change how the item displays in delivery.
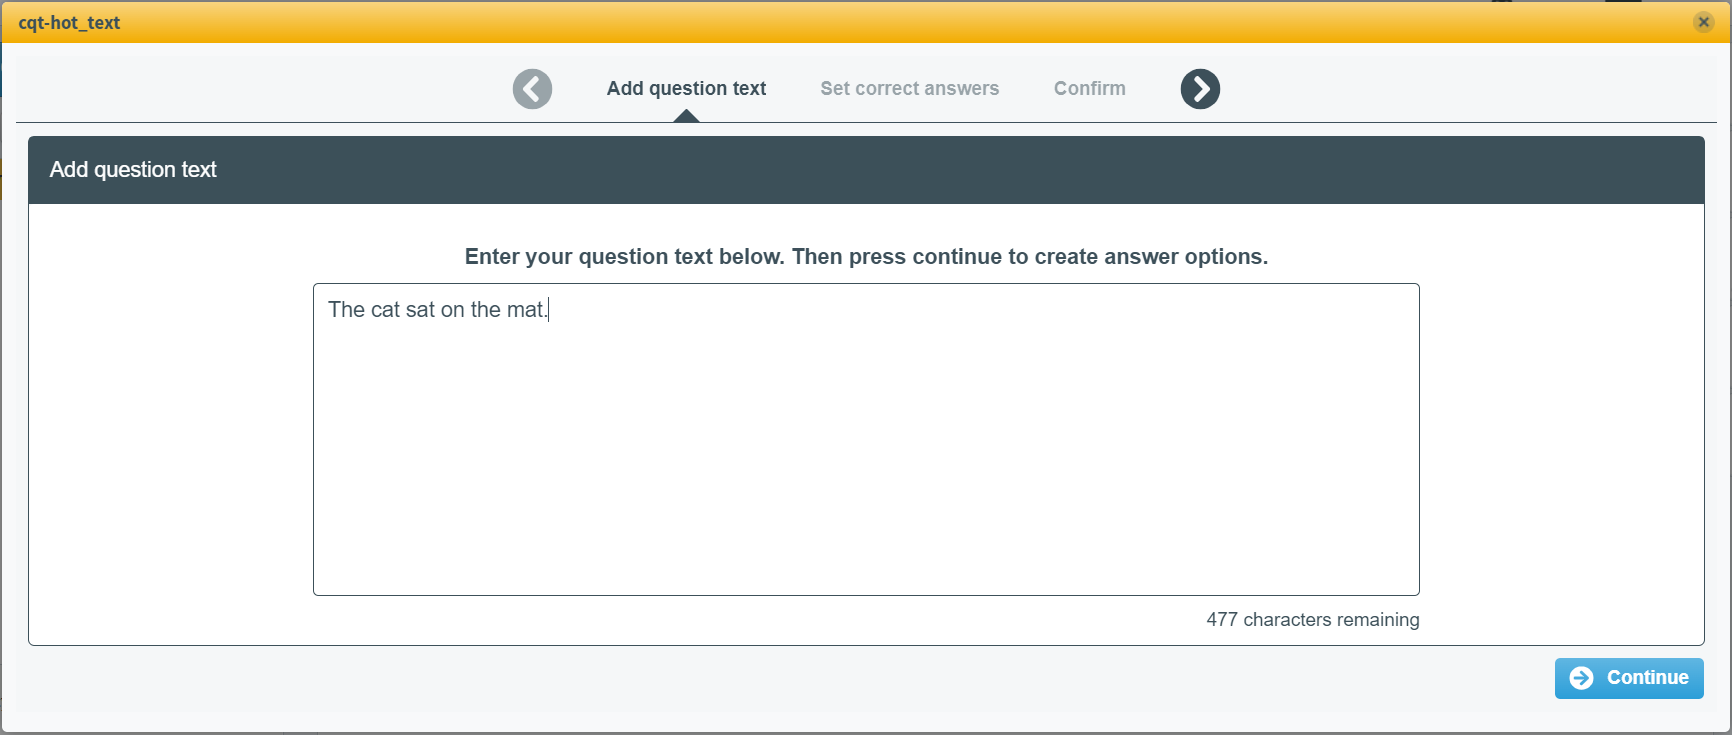
Add question text
Enter your hot text in the text entry field. There is a maximum of 500 characters.
Set correct answers
The text entered in the previous screen is now split into answer options. Each word is an individual answer. Select the checkboxes in the Correct column to assign the correct answer.
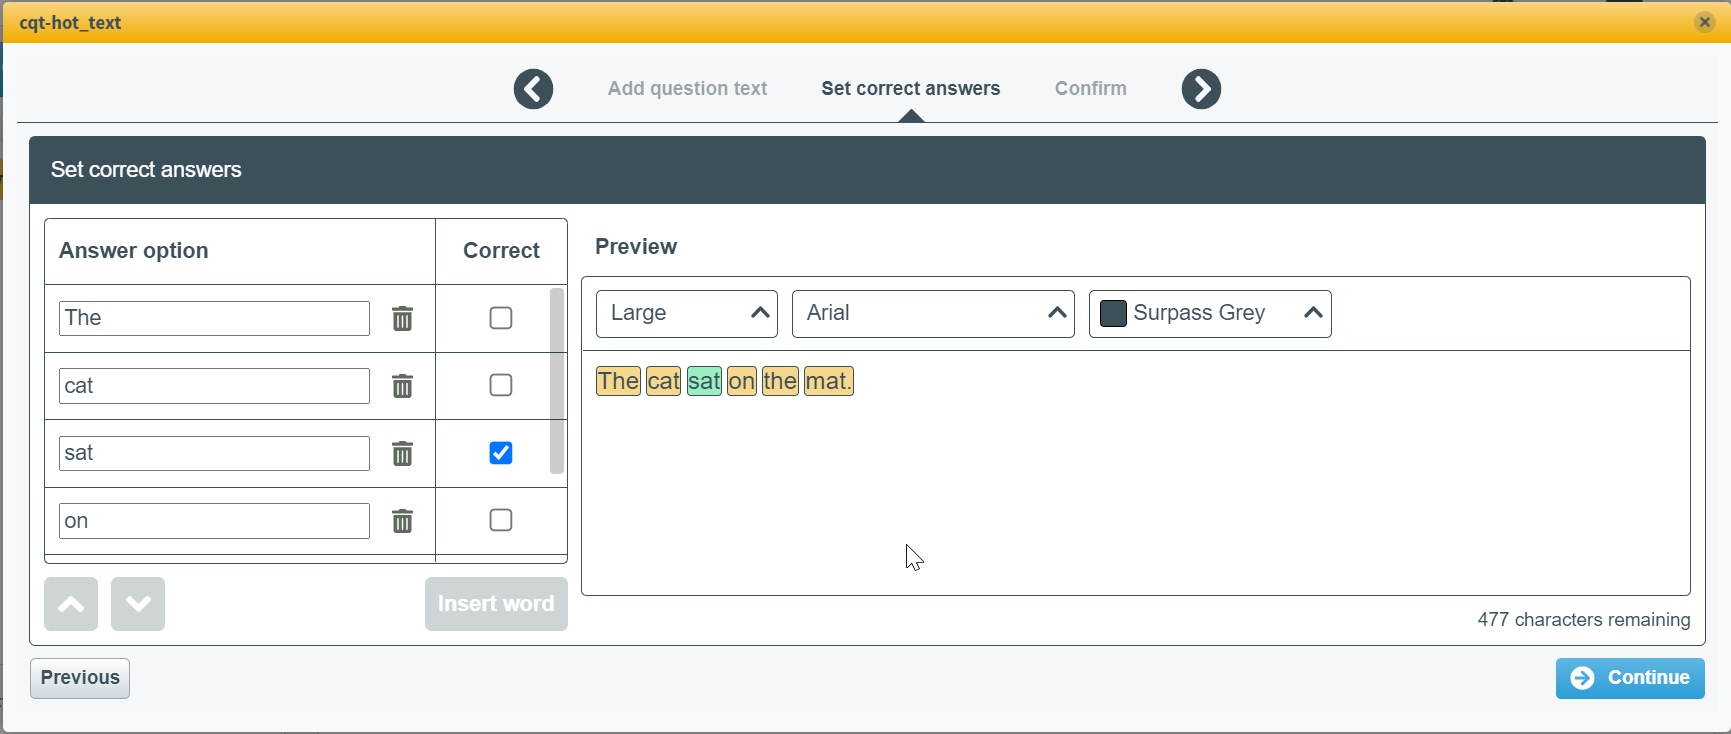
Select Insert word to enter a new word into the hot text paragraph. You can change the order of the words by using the arrow buttons .
You can edit the size, font and colour of the text using the drop-down menus.

Select Delete to delete an answer option.
Exit to save your changes.
6. Save your configuration
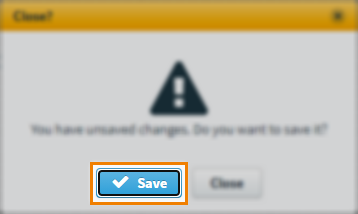
To save your configurations, select Close .

Select Save .
Removing custom question types
Once uploaded, Custom Question types can be removed from your item.
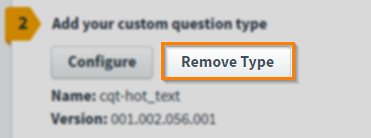
Select Remove Type to remove a Custom Question type.
7. Set the question’s marks
Set the item’s total marks in the Mark field.

8. Select a workflow status
Set the item’s workflow status in the Status drop-down menu. Only items set to Live can be used in a test.
9. Saving and closing your item
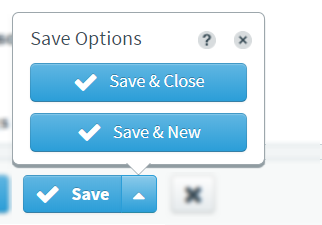
Select Save to save your item to your subject.

To see additional saving options, use the Save arrow to open the Save Options menu. Select Save & Close to save the item and return to the Subjects screen. Select Save & New to save the item and create another Custom Question item.
Select Close to leave the Edit screen. If you have unsaved changes, you are prompted to either save or discard them.

Further reading
For information on the other available Custom Question Types, read the following articles:
