About Assignment Groups options
The Assignment Groups section of Site Settings lets you create and retire assignment groups. Assignment groups are a way of ensuring candidate scripts are marked by a specified pool of markers in Surpass SecureMarker.
To learn how to allocate markers to created assignment groups in SecureMarker, read ‘Allocating assignment groups’ in Creating a user in SecureMarker in the SecureMarker documentation.
This article explains how to use the Assignment Groups options in Site Settings.
In this article
Navigating to the Assignment Groups screen
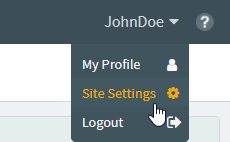
To view Site Settings, select your user name to open the User menu.

Select Site Settings in the User menu.
Select the Assignment Groups tab to view the Assignment Groups options.

About Assignment Groups
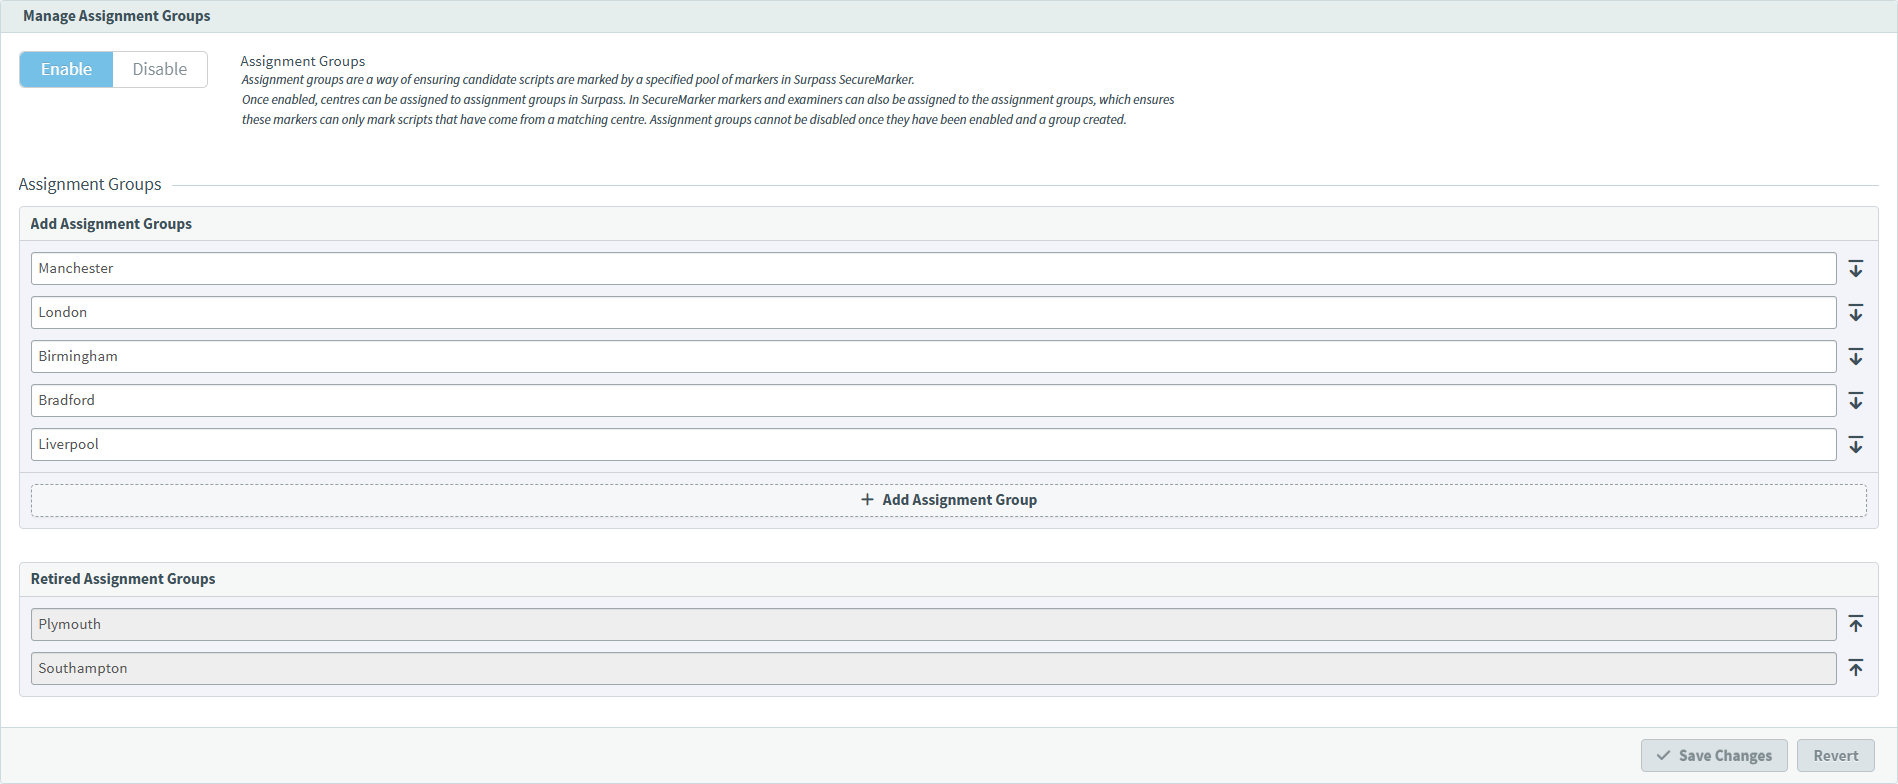
Enable assignment groups using the Enable/Disable toggle. Once enabled, select Add Assignment Group to create a new assignment group.
Centres can be assigned to these groups, for more information read ‘3. Fill out the Create Centre dialog’ in Creating a centre. In SecureMarker, markers and examiners can also be assigned to the assignment group, which ensures these markers can only mark scripts that have come from a matching centre.
Assignment groups can be retired by selecting Retire Assignment Group , and retired assignment groups restored by selecting Restore Assignment Group .
Select Save Changes to confirm your new, edited, or retired assignment group(s).
Further reading
To learn more about working in Site Settings, read the following articles: