Sharing a subject
In Surpass, a subject is where you create and manage items for use in tests. Subjects can hold folders and sub-folders of items, allowing for flexible organisation of your test content. Sharing a subject lets you edit and deliver content from one subject in numerous centres. You might want to share a subject if you need to deliver tests across a range of centres.
You can share a subject with multiple centres in the Subjects screen of Setup.

This article explains how to share a subject in the Subjects screen of Setup.
In this article
1. Go to the Subjects screen in Setup
To view the Subjects screen in Setup, go to Setup > Subjects.

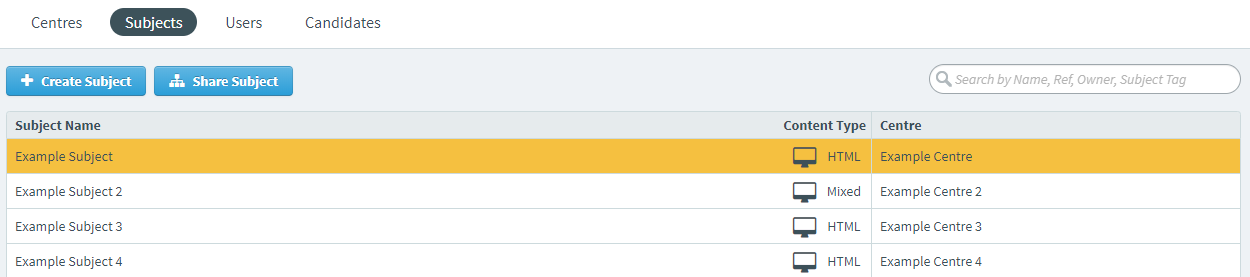
2. Choose a subject in the Subjects list
In the Subjects list, select the subject you want to share with other centres.
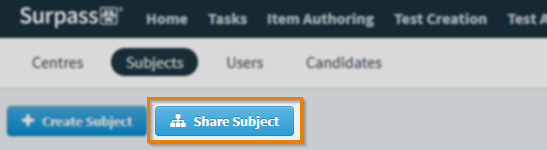
3. Select Share Subject
Select Share Subject to open the Share Subject dialog.
4. Choose a centre in the Available Centres list
The Share Subject dialog displays a list of centres that are available for your subject to be shared with.
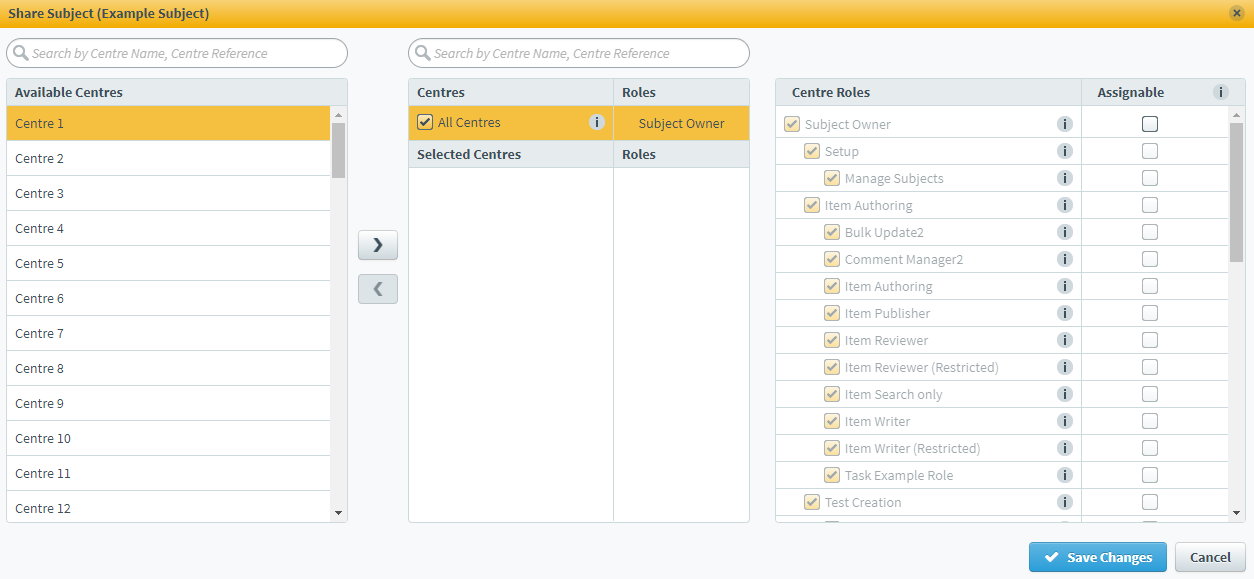
Choose a centre in the Available Centres list and use Add to move it to the Selected Centres list. Use Control Shift to select multiple centres.
5. Assign roles to selected centres
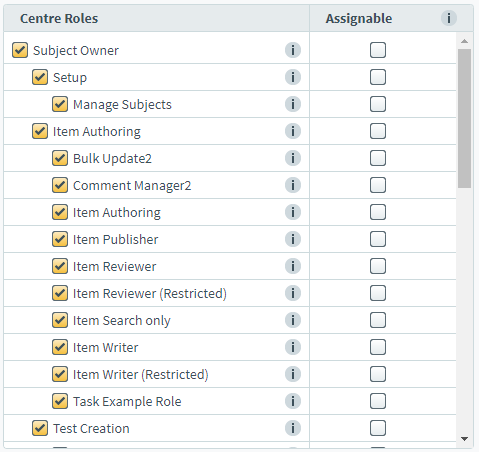
Choose the roles you want centre-level users to have for the shared subject in the Centre Roles column.
If you want the user to be able to assign a role to another user, select the corresponding checkbox in the Assignable column.
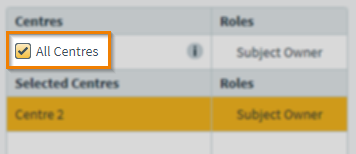
Select All Centres to make your subject available to all centres. If a new centre is created after the subject has been shared, that subject will automatically be shared with that centre.
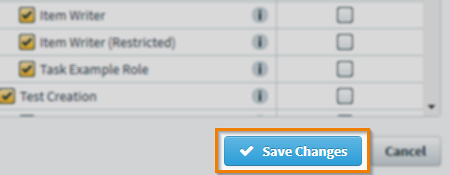
6. Save your changes
Select Save Changes to confirm you want to share your subject with the relevant centres.
Further reading
To learn more about working in the Subjects screen, read the following articles: