Creating HTML source material
You can create richly formatted source material using HTML markup directly in the Surpass media library. Using HTML source material removes the need for third-party applications (like PDF authoring tools) when creating source material for items.
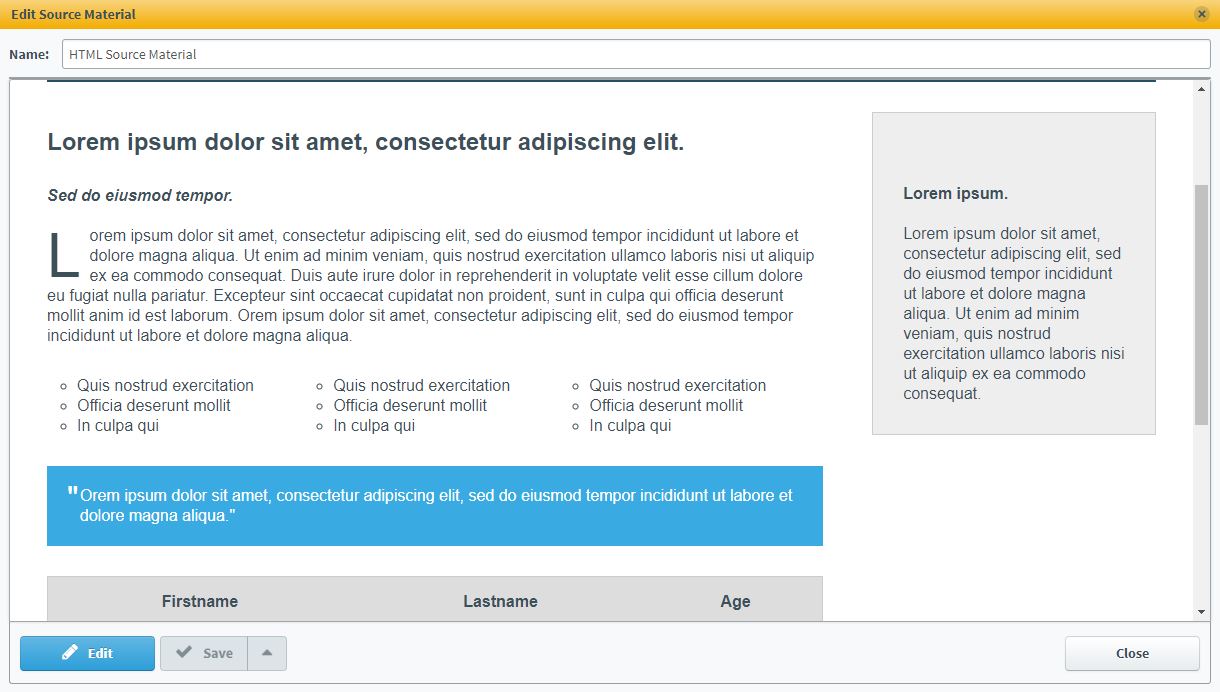
This article explains how to create HTML source material in the media library and includes details on how to format images and access the HTML source code.
In this article
1. Open the media library
In your subject, select Media Library to open the subject’s media library.

2. Open the source material editor
Select Create Source Material to open the Edit Source Material window.

3. Select source material mode
You can create two kinds of source material in the Edit Source Material window: HTML source material and URL source material.
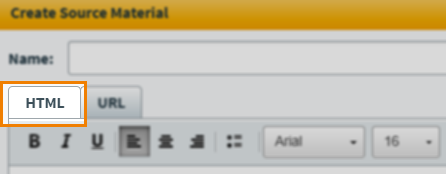
Select the HTML tab to create HTML source material. For more information on URL source material, read Creating URL source material.
4. Name your source material
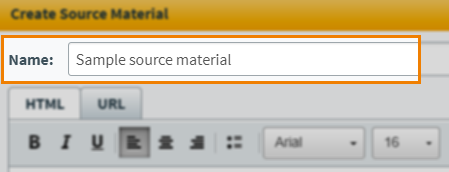
Enter the source material’s name in the Name field.
5. Enter your source material content
Enter your source material in the text area. Use the formatting toolbar to change the appearance of your text. For more information, read Using the formatting toolbar.
Adding images
HTML source material images are added directly to the source material.
Select Image to open the Image dialog.

In the General tab, select Choose file to open your device’s file explorer. Find your image file and open it to upload it to Surpass.
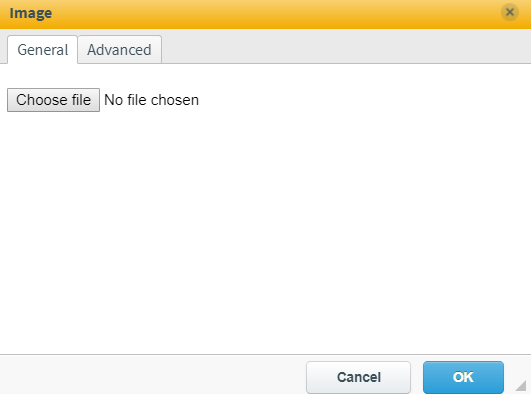
In the Advanced tab, you can define a number of settings for your image.
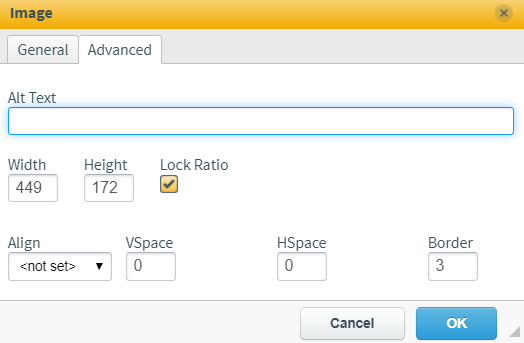
| Setting | Description |
|---|---|
| Alt Text | Alternative text that describes the image for those who cannot see it. Alt text is read by screen readers. |
| Width | Sets the horizontal size of the image in pixels. |
| Height | Sets the vertical size of the image in pixels. |
| Lock Ratio | Determines whether the aspect ratio of the image is retained when Width and/or Height are edited. |
| Align | Sets the position of the image on the page. Available options are <not set> (no alignment), Top, Bottom, Align Left, and Align Right. |
| VSpace | Sets the padding above and below the image. Set to 0 for no vertical padding. |
| HSpace | Sets the padding either side of the image. Set to 0 for no horizontal padding. |
| Border | Sets the thickness of the image’s border in pixels. Borders are solid black by default. Set this to 0 for no border. |
Editing HTML markup
Editing the HTML markup of your source material allows you greater control of document formatting.
Select Source to see and edit the text area’s HTML source code. Cancel Source to return to the rich-text editor and see the effect of your markup.
The validation of HTML source material has a whitelist of allowed tags and attributes. Allowed tags are as follows:
| Tags | Description |
|---|---|
|
a |
Creates a hyperlink. |
|
b |
Creates bold text. |
|
br |
Creates a single line break. |
|
caption |
Creates a table caption. |
|
div |
Defines a section in a document. |
|
h1 - h6 |
Defines HTML headings. |
|
hr |
Defines a thematic change in the content. |
|
i |
Defines a part of text in an alternate voice or mood. |
|
img |
Defines an image. |
|
li |
Creates a list item. |
|
ol |
Creates an ordered list. |
|
p |
Creates a paragraph. |
|
s |
Defines text that is no longer correct. |
|
span |
Defines a section in a document. |
|
strong |
Defines important text. |
|
sub |
Creates subscripted text. |
|
sup |
Creates superscripted text. |
|
table |
Creates a table. |
|
tbody |
Groups the body content into a table. |
|
td |
Creates a cell in a table. |
|
th |
Creates a header cell in a table. |
|
thead |
Groups the header content into a table. |
|
tr |
Creates a row in a table. |
|
u |
Defines text that is unarticulated and styled differently from normal text. |
|
ul |
Creates an unordered list. |
|
annotation |
Adds an annotation to a document. |
Allowed attributes are as follows:
| Attributes | Description |
|---|---|
|
href |
Specifies the URL of the page a link goes to. |
|
align |
Specifies the alignment according to surrounding elements. |
|
valign |
Defines the vertical alignment of the content of a table cell. |
|
alt |
Specifies an alternate text when the original element fails to display. |
|
border |
Specifies the width of the border of an element. |
|
cellpadding |
Used to specify the space between the cell content and cell wall. |
|
cellspacing |
Used to specify the space between the cell content and cell wall. |
|
class |
Specifies one or more classnames for an element. |
|
dir |
Specifies the text direction for the content in an element. |
|
height |
Specifies the height of the element |
|
hspace |
Specifies the number of whitespaces on the left and right side of an element. |
|
scope |
Specifies whether a header cell is a header for a column, row, or group of columns or rows. |
|
src |
Specifies the URL of a media file. |
|
style |
Specifies an inline CSS style for an element. |
|
summary |
Defines a visible heading for the details element. |
|
vspace |
Specifies the number of whitespaces on bottom and top side of an image. |
|
width |
Specifies the width of the element. |
|
data-annotation-id |
The |
|
data-annotation-seq |
The |
|
data-ant |
The |
|
id |
Specifies a unique id for an element. |
To learn about editing HTML, refer to the W3Schools HTML Tutorial series.
Uploading a URL Whitelist
You can upload a CSV file containing URLs to sites you want candidates to be able to access via hyperlinks. This lets you provide controlled access to the internet when candidates sit tests in locked down SecureClient.
Select Upload Whitelist to open the Upload Whitelist dialog.

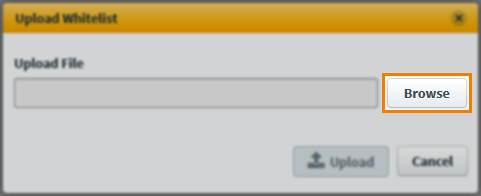
Select Browse to open your device’s file explorer. Find your CSV file and open it to upload it to Surpass.
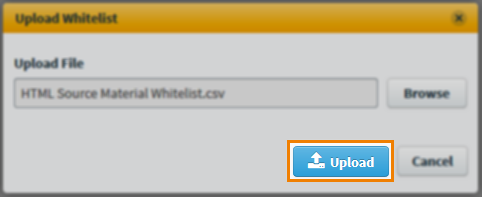
Select Upload to add your CSV whitelist to your source material.
You can download the uploaded whitelist by selecting the Download button. To remove the whitelist, select the Delete icon.
6. Preview your source material
Select Preview to see your source material from a candidate’s perspective.

7. Save your source material
Select Save to save your source material to your subject’s media library.

To see additional saving functionality, use the Save arrow to reveal the Save & Close button. Select Save & Close to save your progress and return to the media library.

Further reading
To learn more about source material in Surpass, read the following articles:
