Using tags in items
In Surpass, you can attach metadata (known as “tags”) to items and then use these tags to organise items when authoring content, creating tests, and viewing results.
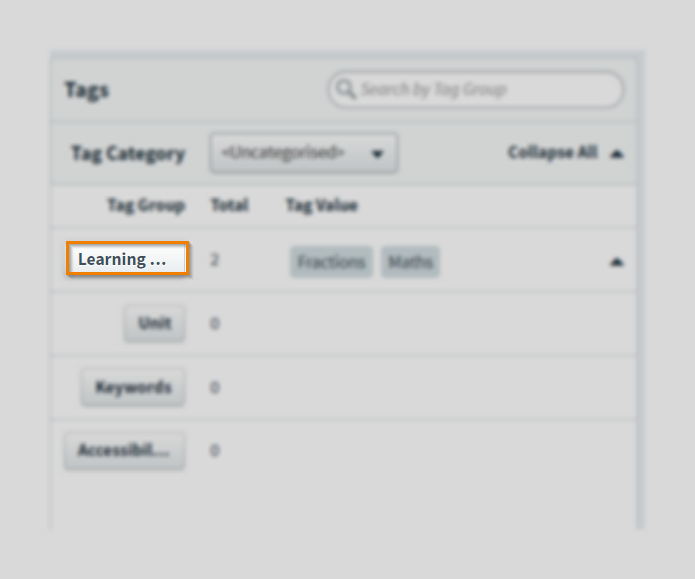
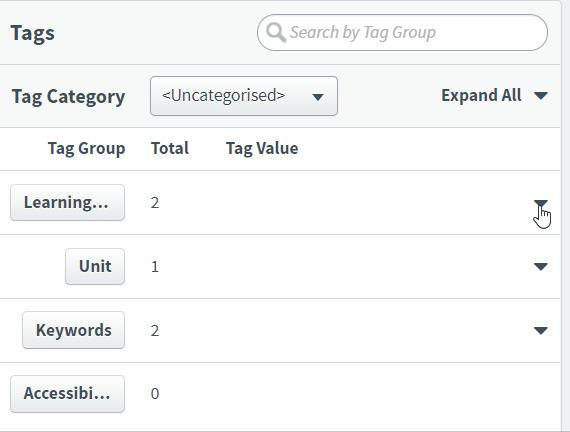
Metadata in Surpass is divided into tag groups and tag values. Tag values are the metadata labels that are attached to items. Tag groups are themed containers for tag values. There are three default tag groups: Learning Outcomes, Units, and Keywords. You can create custom tag groups in Setup > Subjects. Tags are subject specific.
This article explains how to assign tag values to an item and includes information on how to set up marked learning outcomes and selecting tag values from a tag hierarchy.
In this article
1. Go to your item’s Edit screen
Select an item in your subject to open it and go to the Edit screen.

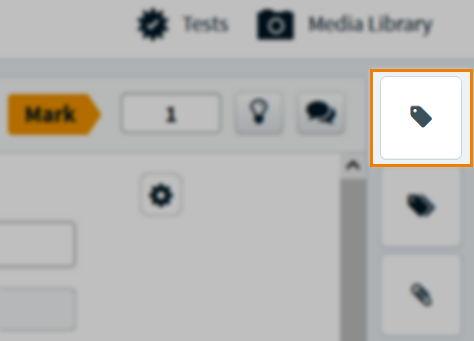
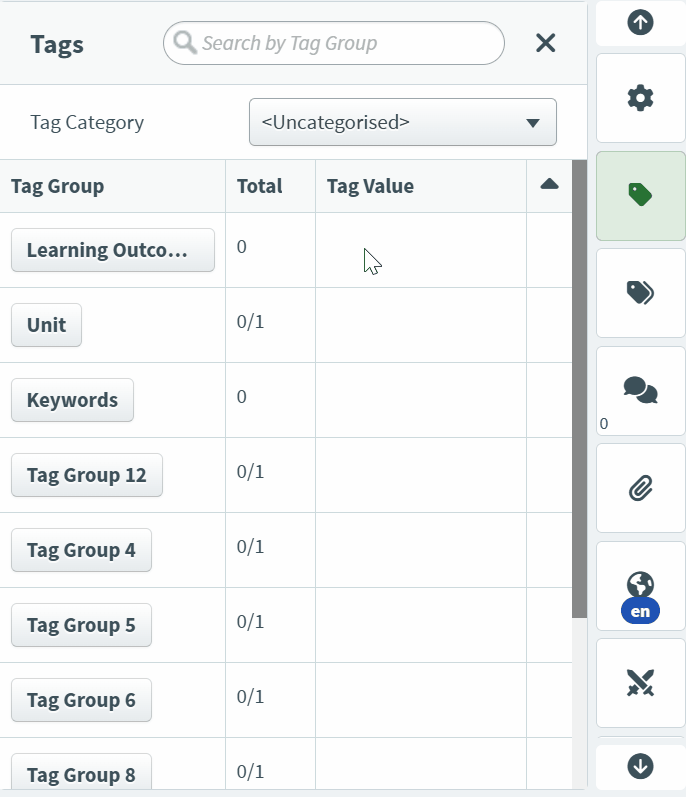
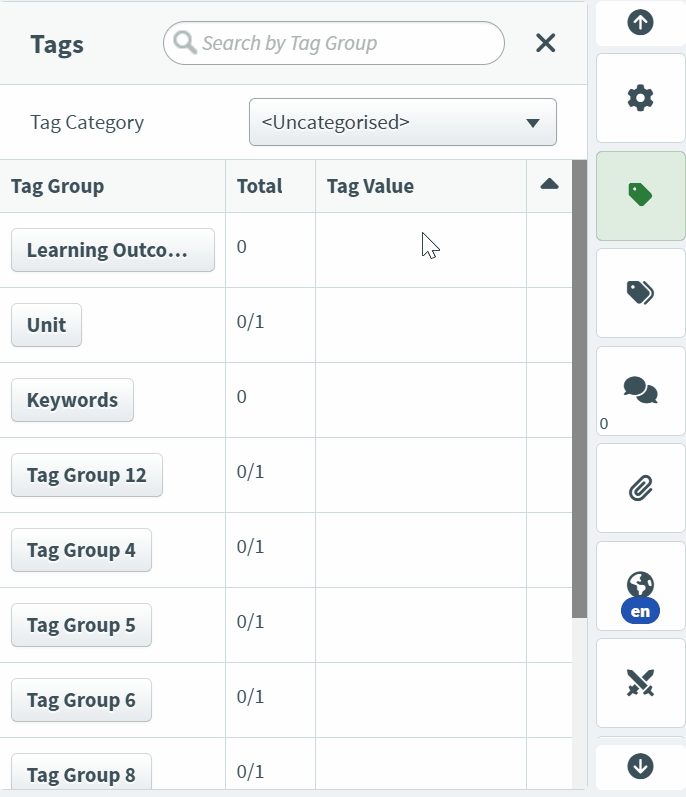
2. Open a tag group
Select Tags to open the Tags information panel. The item tree collapses when the Tags panel is open.
Select any of the Tag Group buttons to add a new tag to that group. This will reveal the Add Tag Value panel section.
Navigating between items
The Tags panel stays open for each item you navigate between, letting you manage and compare tags across items.
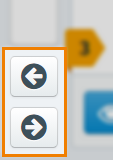
Use Previous item and Next item to navigate the item tree.
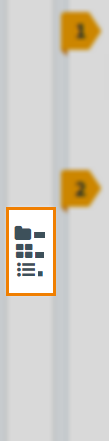
Select the Folder () icons to open the item tree. The Tags panel closes when the item tree is reopened.
Select Hide to close the Tags panel.

3. Add tag values
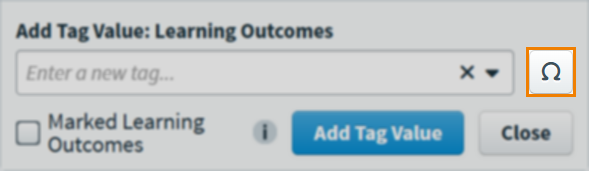
In the Add Tag Value panel section, use the Enter a new tag… field to find a tag value. You can use the text field to search for a tag value or the drop-down menu () to select a tag value from the list.
Select Add Tag Value – or press Enter – to add the tag value to the item.
If the tag did not exist and Allow authors to create their own tags is enabled at the subject level, a new tag value is created.
Select the Symbols (Ω) icon to add special characters to the text field. For more information on the available special characters, read About special characters.
Setting up marked learning outcomes
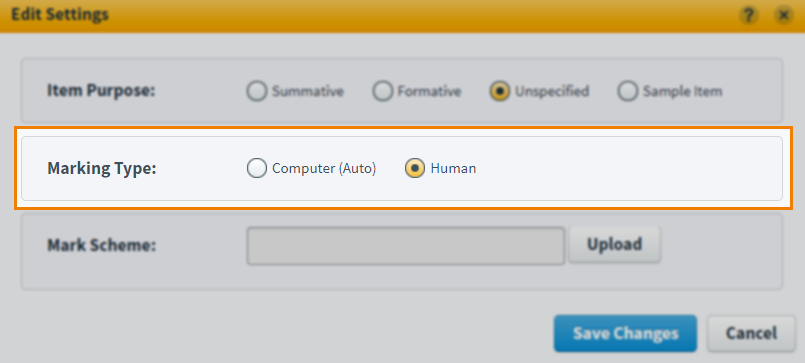
Marked learning outcomes lets markers give a numerical score to each tag value rather than the item as a whole. This allows for greater specificity in marking. Marked learning outcomes can be added to any human-marked item.
First, ensure the Marking Type is set to Human in Edit Settings.
Select the Learning Outcomes tag group. In the Add Tag Value panel section, select the Marked Learning Outcomes checkbox.
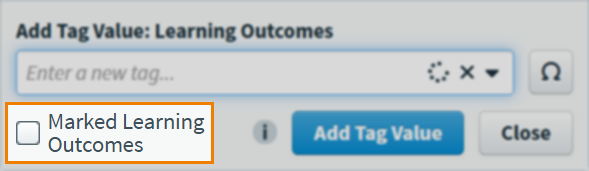
Use the Enter a new tag… field to find a tag value. You can use the text field to search for a tag value or the drop-down menu ()to select a tag value from the list.
Assign a mark to the tag value in the Mark field. Select Add Tag Value – or press Enter – to add the tag value to the item. You can add up to 10 marked learning outcomes.
If the tag did not exist and Allow authors to create their own tags is enabled at the subject level, a new tag value is created.
The item’s Mark field updates to the total of each marked learning outcome. This cannot edited on the item’s Edit screen. To change the item’s mark, you must edit the marked learning outcomes’ Mark values.

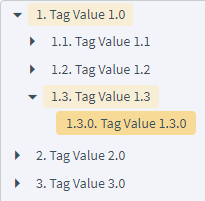
Using tag hierarchies
Tag values can be added to your item from a tag hierarchy if a tag hierarchy has been published for your subject. Read Setting up tag hierarchies to learn about how tag hierarchies are configured.
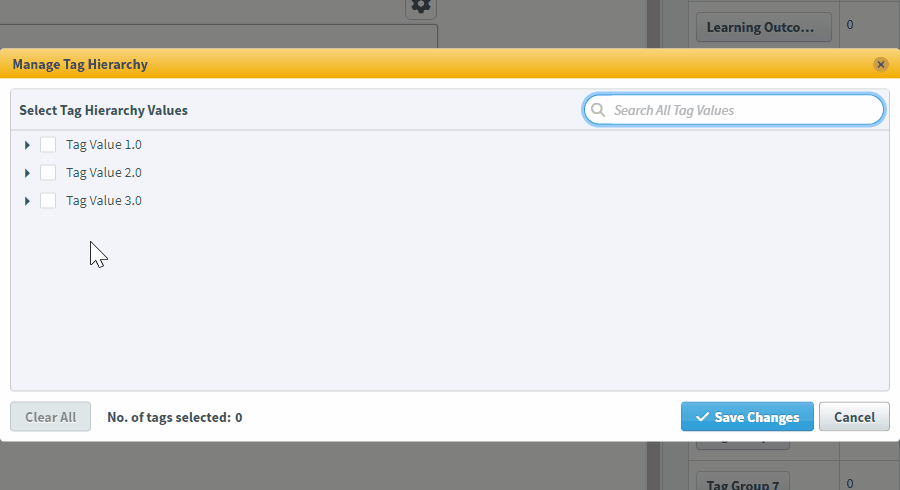
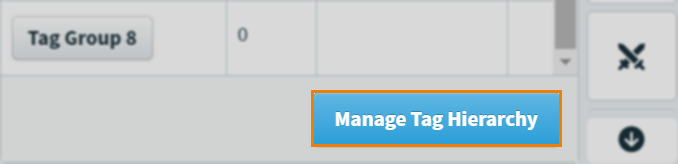
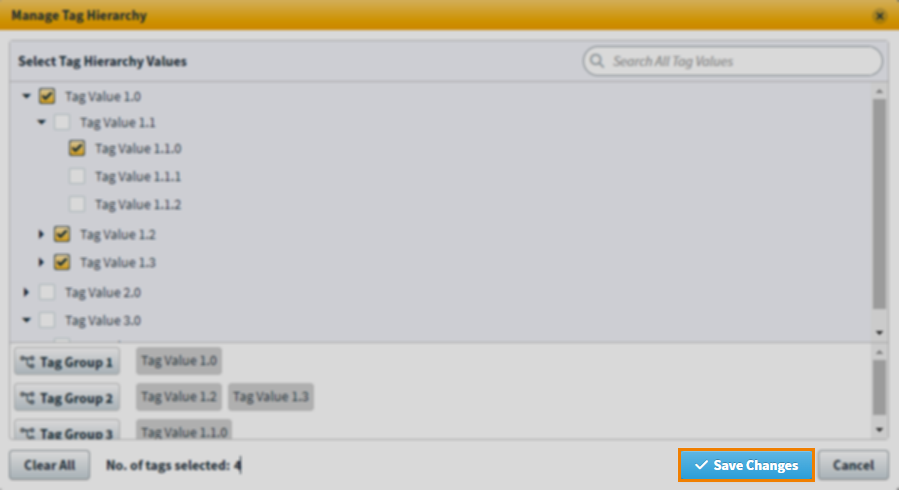
Select Manage Tag Hierarchy to open the Manage Tag Hierarchy dialog.
If your subject has more than one published tag hierarchy (subjects can have up to three tag hierarchies each), select a tag hierarchy from the Select Tag Hierarchy drop-down menu.
Select the expand icon to open the next level of the tag hierarchy for the corresponding tag group.
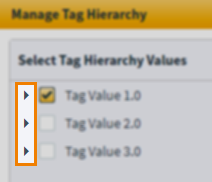
To collapse a level, select the collapse icon .
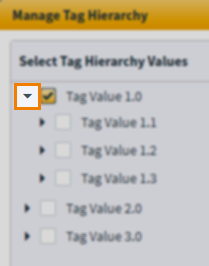
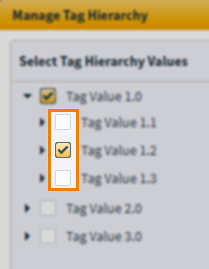
Select a checkbox to add the corresponding tag value to your item. Tag values are selected independently; selecting a tag value does not automatically select all of that tag value’s parent tags.
The tag groups and tag values selected from the hierarchy are displayed at the bottom of the dialog.
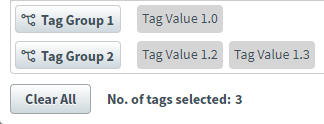
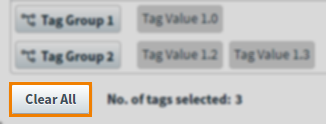
To clear all selected tag values, select Clear All.
Select Save Changes to add all selected tag values to your item.
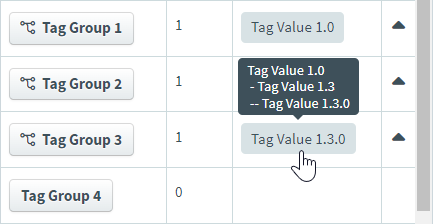
Once added to an item, you can hover over a tag value to see from where in the tag hierarchy it is derived.
4. Check tag values
Select a tag group’s expand icon to view associated tag values on the Edit screen.
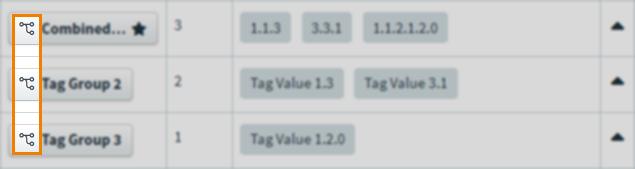
Any tag values added from a tag hierarchy are indicated by a hierarchy icon on the tag group button.
Selecting a tag value from a tag group in a tag hierarchy opens a dialog highlighting the tag’s position within the hierarchy.
Featured tag groups are indicated by a star icon.
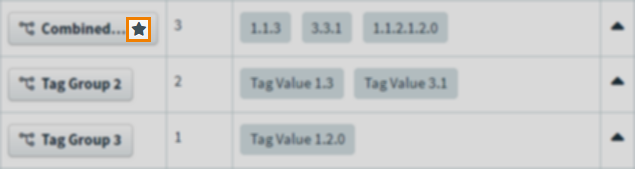
Assigned tag values from a featured tag group are displayed under the item’s name. These tag values are also displayed in the subject’s item tree, for more information read ‘Viewing featured tags’ in Managing items in a subject.

For information on setting up featured tag groups, read ‘Featuring tag groups’ in Setting up tag groups.
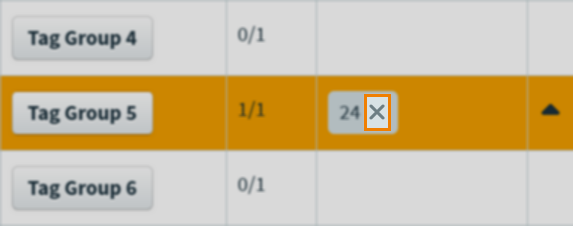
Removing tag values
You can remove tag values from within the Tags panel.
Select the corresponding Remove icon from a tag value to remove it from the item.
5. Save the item
Select Save to save your item to your subject.

Further reading
To learn more about tags, read the following articles: