Importing items from other sources
Surpass lets you import items into subjects. This is useful if you have pre-existing content on your database or are creating a large volume of items. Use the Import items from other sources functionality to import items into Surpass from either a QTI file or a spreadsheet. This lets you create a large quantity of items quickly.
This article explains how to import items into a subject from spreadsheets and QTI files.
In this article
1. Choose your import type
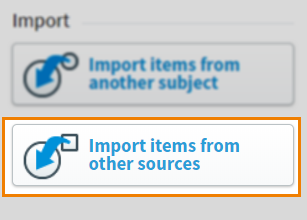
In your subject, select Create New Item to open the Import menu. Choose Import items from other sources.
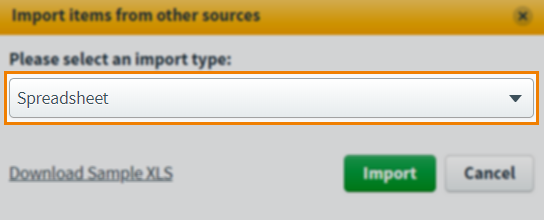
Select your import type (Spreadsheet, QTI 2.1, or QTI 1.2.1) in the Import items from other sources dialog menu.
Import type compatibilities
Each import type has different capabilities and compatibilities. Expand the following section to view a table comparing the import types.
| Content | Spreadsheet | QTI 2.1 | QTI 1.2.1 |
|---|---|---|---|
| Multiple Choice | |||
| Multiple Response | |||
| Either/Or | |||
| Numerical Entry | |||
| Fill in the Blank | |||
| Short Answer | |||
| Essay | |||
| Select from a list | |||
| Extended Matching | |||
| File Attach (Managed) | |||
| File Attach (Manual) | |||
| Drag and Drop | |||
| Equation Entry | |||
| Hotspot | |||
| Table | |||
| Spreadsheet | |||
| Audio Capture | |||
| Fraction Entry | |||
| Custom Question Types | |||
| Basic and survey pages | |||
| Item Sets | |||
| Images | |||
| Inline images | |||
| Audio and video | |||
| Audio as assistive media | |||
| Media | |||
| Source Material | |||
| Tags | |||
| Candidate Feedback | |||
| Item Settings, including Item Duration and Content Delay | |||
| Maximum candidate selections (Multiple Choice) | |||
| Standard marking (Multiple Choice) | |||
| Standard marking (Multiple Response) | |||
| Randomise answer options order (Multiple Choice and Multiple Response) | |||
| Single-column answer options (Multiple Choice and Multiple Response) | |||
| Answer options as a table (Multiple Choice and Multiple Response) | |||
| Number of lines for candidate response (Essay) | |||
| Secure File Attach (File Attach) | |||
| Answer Labels | |||
| Text Formatting | |||
|
Images in answer options
NOTE: Images as Drag and Drop drag options are not supported in QTI 2.1.
|
|||
| Total Mark | |||
| Multiple question blocks | |||
| Marking Type | |||
| Mark Schemes | |||
| Tools |
Creating a spreadsheet
Spreadsheets must adhere to a strict format if they are to be imported into Surpass successfully. Select Download Sample XLS to get a pre-formatted empty spreadsheet. Refer to the Help and Guidelines sheet for details on each column’s content requirements. Enter content in the Item List sheet.
Expand the following section for information on how to input data in an import spreadsheet.
| Column | Description | Default value |
|---|---|---|
| Item Name |
The name of the item. |
The first ten characters of Question Text. |
| Question Text |
Question text or instructions to candidates.
NOTE: This field is mandatory if Type is set to InformationPage, Essay, or left blank.
|
|
| Option A – Option H |
The answer options for the question.To create an Either/Or question, only enter values in Option A and Option B. To create a Multiple Choice or Multiple Response question, add three or more options. |
|
| Max Selections |
Set to 1 to create a Multiple Choice question. Enter a value higher than 1 to create a Multiple Response question. |
1 |
| Award Partial Marks |
Gives candidates a percentage of the Total Mark for each correct answer given in a Multiple Response question. |
Yes |
| Correct Option |
The question’s correct answer(s). Enter the letter of the relevant Option and separate multiple entries with a comma (for example, a for Option A and a,c for Option A and Option C). |
|
| Total Mark |
The total number of marks available for the question. |
1 |
| Image Path |
Give an image page including the file extension to include an image in the item (for example, images\image1.jpg).
IMPORTANT: If you are importing images, you must upload a ZIP file containing the import spreadsheet and an image folder called images.
|
|
| Unit |
Enter the Unit the item is associated with. |
|
| Learning Outcomes |
Enter the Learning Outcomes the item is associated with. Separate values with a pipe: ‘|‘ (for example, Learning Outcome 1 | Learning Outcome 2). |
|
| Keywords |
Enter the Keywords the item is associated with. Separate values with a pipe: ‘|‘ (for example, Keyword 1 | Keyword 2). |
|
| Folder |
The folder the item is to be contained in. |
|
| Item Purpose |
The purpose of the item. Acceptable values are Summative, Formative, and Unspecified. If left blank, items are set to Unspecified. |
Unspecified |
| Randomise Options |
Determines whether the answer options are randomised in delivery. |
No |
| Item Owner |
The owner of the item.
TIP: Item owners are used to allocate items to assignees in Authoring tasks. For more information, read Creating an Authoring task.
|
|
| Type |
The type of item that is created. Available values are ItemSet, InformationPage, and Essay. Leave blank to create either a Multiple Choice, Multiple Response, or Either/Or question based on the Option and Max Selections fields. |
|
| Item Set |
The name of the item set containing the item. |
|
| Show Rationale |
Determines whether rationale is displayed for Multiple Choice and Multiple Response questions. |
|
| tool_toolType |
To add a tool, edit the column header using the following format: tool_{toolType}, where {toolType} is one of basicCalculator, scientificCalculator, caliper, protractor, or notepad. Enter the tool’s label in the corresponding cell. To import a tool without a label, enter "". |
|
| customtag_ |
To add a custom tag group, edit the column header using the following format: customtag_{TagGroupName}, where {TagGroupName} is the name of the custom tag group. You can add a maximum of 40 custom tag group columns. Each cell has a limit of 50 tag values and each tag value must be separated by a pipe (‘|‘), for example: Tag 1 | Tag 2 |
Specify the tool type in the header for this column, using tool_ as a prefix, e.g. tool_protractor. Add a different column for each tool. Enter a name for your tool in the corresponding cell
Choosing text direction
If importing items from a spreadsheet, you can choose whether your imported items’ content uses Left-to-right or Right-to-left text direction.
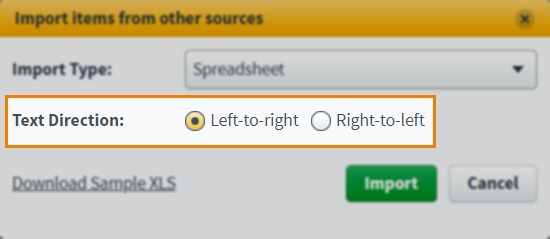
The text direction settings in the formatting toolbar of each item’s question text stem and answer option are configured according to the chosen text direction. For more information, read ‘Advanced formatting toolbar’ in Using the formatting toolbar.
Any Essay items that are imported are also configured to set the direction of candidates’ inputs to the chosen text direction. For more information on text direction in Essay items, read ‘Setting the answer input direction’ in Creating an Essay question.
2. Choose your import file
Select Import to open your device’s file explorer.
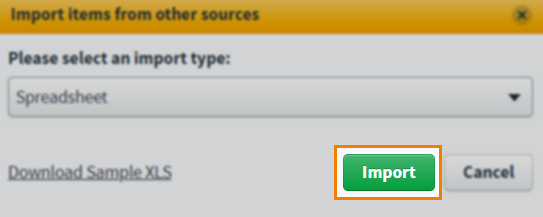
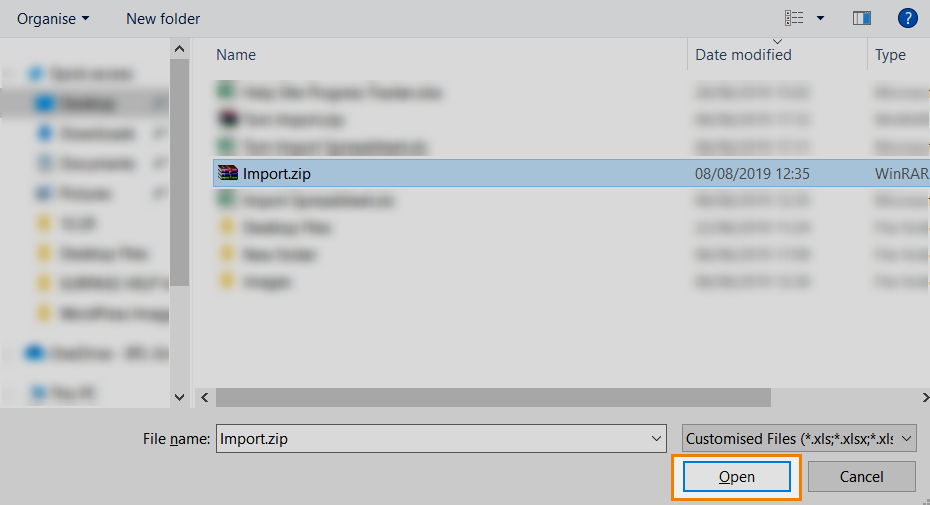
Choose the file you want to import and select Open to start the upload.
3. Import items
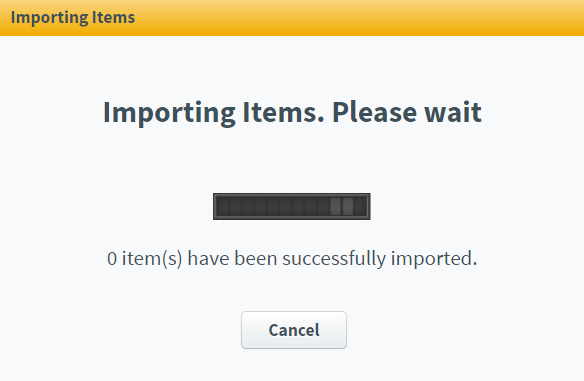
After you select Open, Surpass begins copying the items from the upload file to the destination subject. The Importing Items dialog gives you a real-time feed of how many items have been successfully imported and if there are any errors.
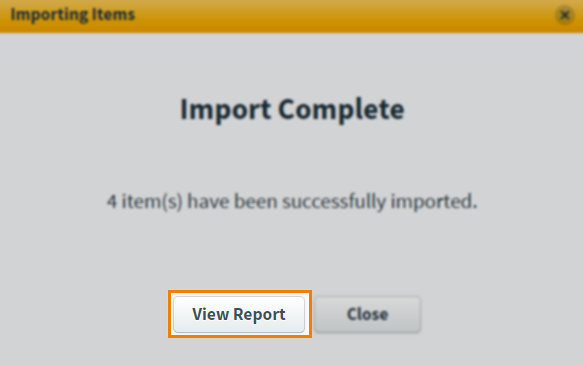
After the items have been imported, select View Report on the dialog to download a CSV detailing any issues with their respective error codes. For example, you might have errors if upload file tag values are not defined in the destination subject.
4. View imported items
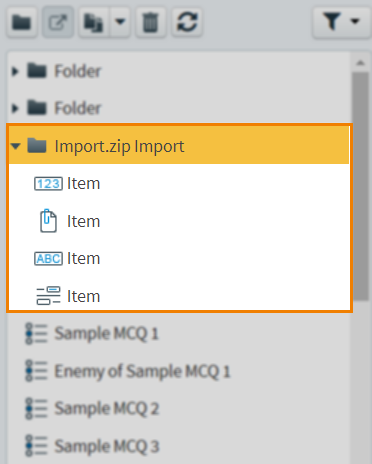
In your subject, the imported items are contained in a folder using the following naming convention: [upload file name] Import.
Further reading
For more information about creating and managing items, read the following articles:
