Creating an item list using Item Search
You can create item lists in the Item Search screen. Item lists contain lists of items across multiple subjects and can be used for LOFT/Adaptive tests and in Tasks.
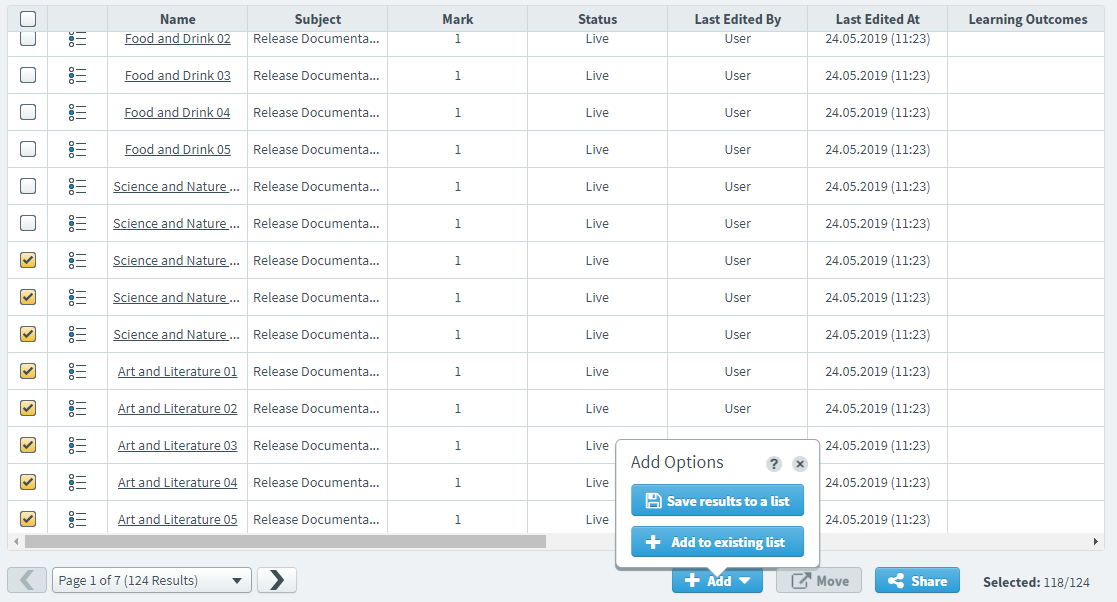
This article explains how to create item lists in the Item Search screen, including how to add items to existing item lists.
In this article
1. Search for your items
Search for your items in the Item Search screen. For more information, read Searching for items with Item Search.

2. Choose your items
Select the items you want to add to an item list.
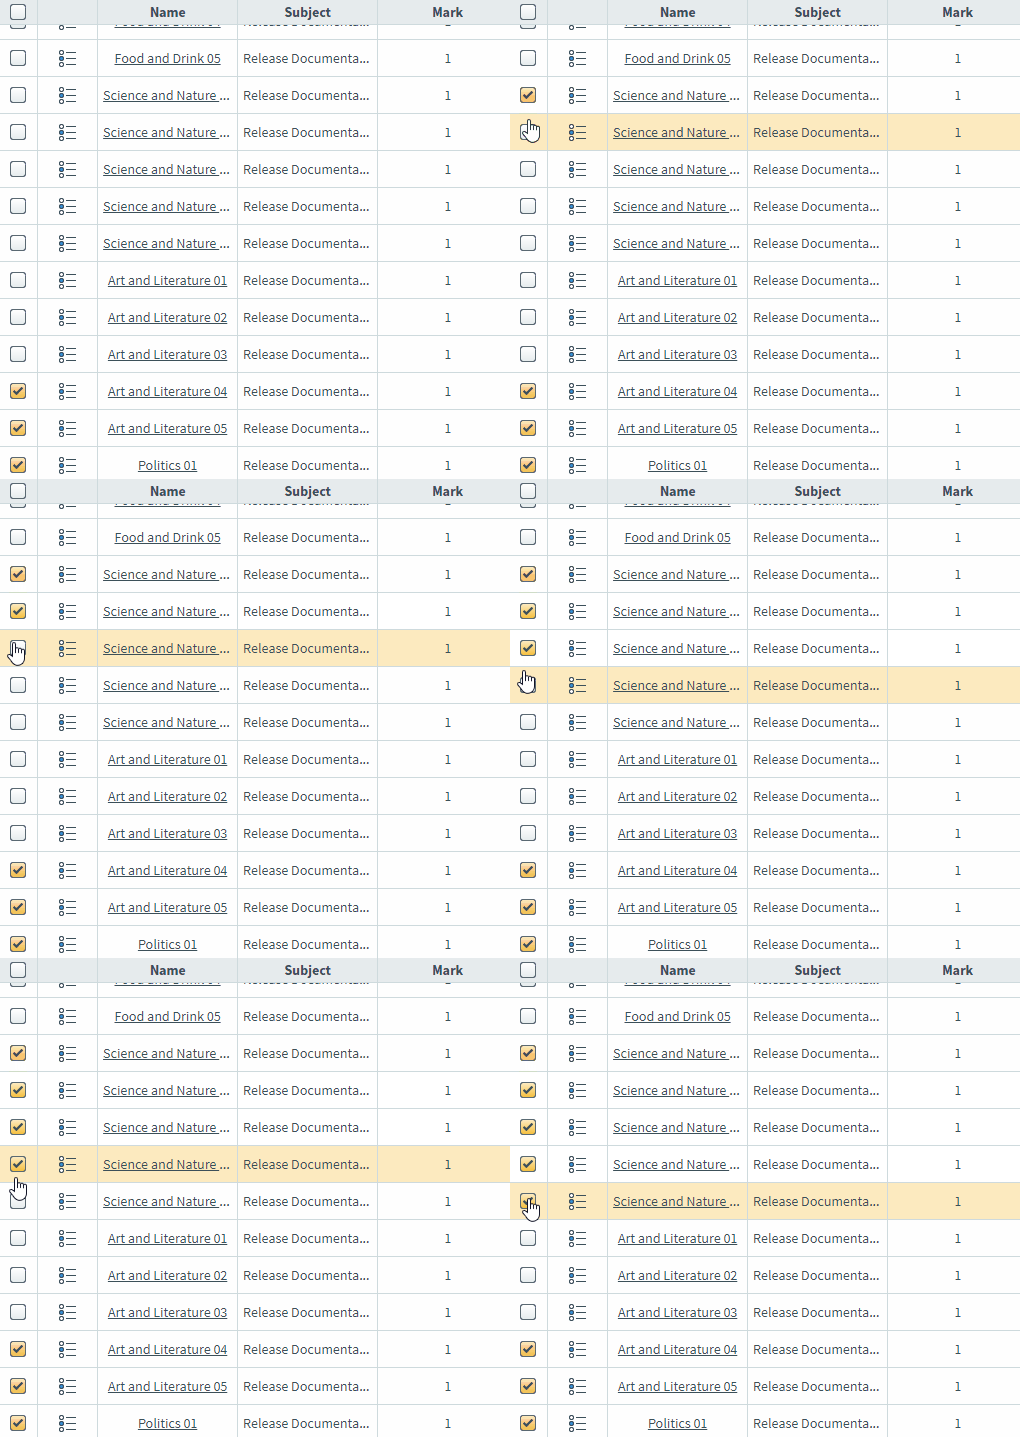
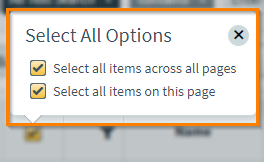
Select the checkbox in the header row to open the Select All Options menu. You can select all items on the current page (Select all items on this page) or select all items across all pages (Select all items across all pages).
3. Add your items to a list
Select Add to add your items to an item list.

Saving results to an item list
Select Save results to a list to add your search results to an item list.
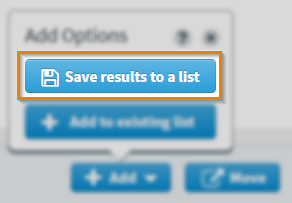
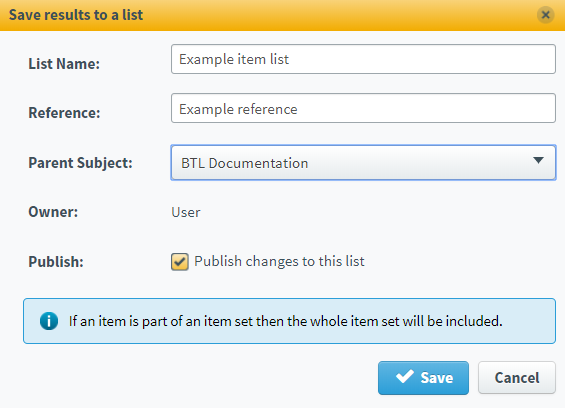
Fill in the following details in the Save results to a list dialog.
| Setting | Description |
|---|---|
| List Name* | The name of the item list. |
| Reference* | An alphanumeric reference code used to identify your item list. |
| Parent Subject* | The parent subject associated with the item list. |
| Owner* | The owner of the item list. |
| Publish |
Select the checkbox to allow the item list to be published to external systems.
NOTE: The Publish checkbox is only available if it has been enabled in Site Settings. For more information, read About Site Settings options.
|
Select Save to save your item list.
Adding results to an existing item list
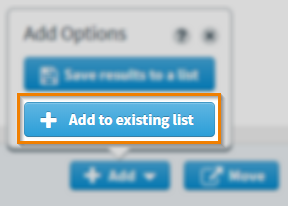
Select Add to existing list to add your search results to an existing item list.
Search for the item list you want to add your items to.
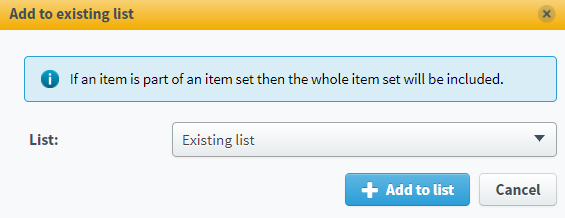
Select Add to list to add your results to that item list.
Further reading
Now you know how to create an item list in the Item Search screen, read the following articles to find out more:
