Setting up subject tags
In Surpass, a subject is where you create and manage items for use in tests. Subjects can hold folders and sub-folders of items, allowing for flexible organisation of your test content. You can also upload media to your subject’s media library for use in its items. A subject is associated with at least one centre. Any tests created in the subject can be scheduled at the associated centre(s).
You can assign tags to subjects that allow you to categorise and sort subjects. This can be used to filter a large amount of subjects when scheduling tests. You can create subject tags in the Subjects screen of Setup.
This article explains how to set up subject tags in the Subjects screen of Setup.
In this article
1. Go to the Subjects screen in Setup
To view the Subjects screen in Setup, go to Setup > Subjects.

2. Choose a subject in the Subjects list
Choose a subject in the Subjects list.

3. Select Edit in the Subject Details panel
Select Edit to open the Edit Subject Details dialog.

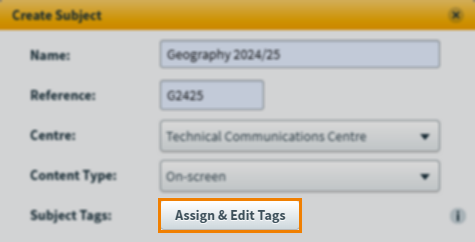
4. Select Assign & Edit Tags
Select Assign & Edit Tags.

5. Create your subject tag
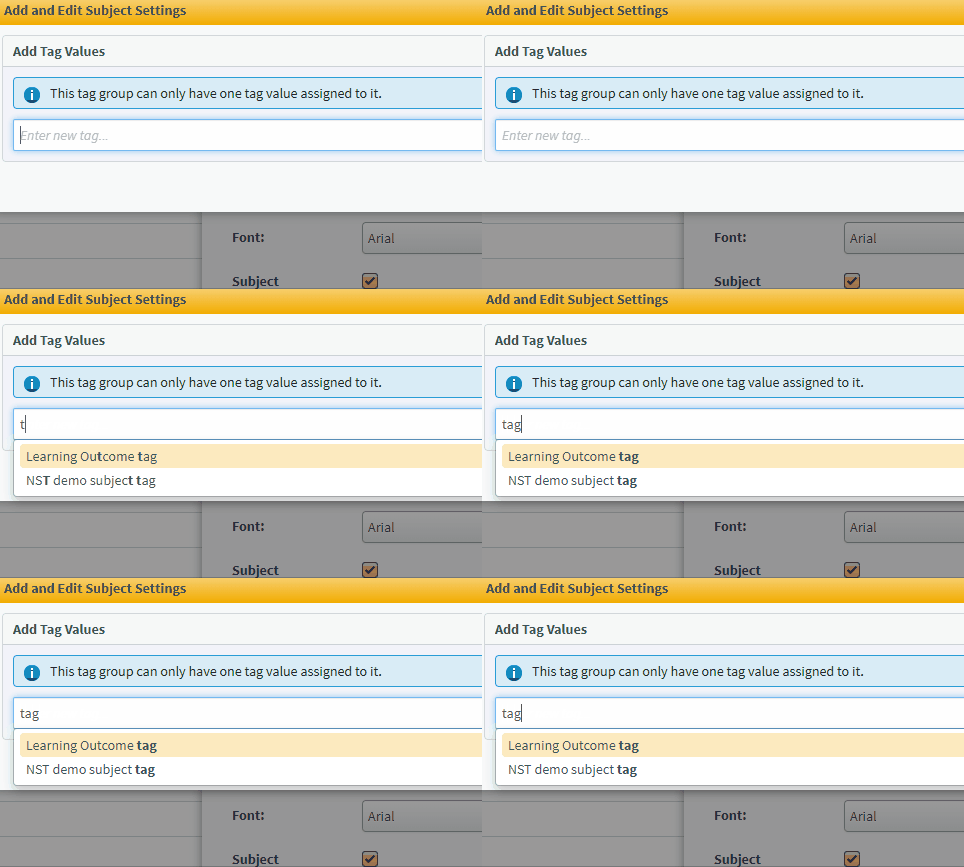
In the Add and Edit Subject Settings dialog, enter your new tag value into the entry field.

Type in the entry field to choose an existing tag value. You can see how many tag values are available to select in Total number of tags to choose from.

Select Remove to delete a tag value.

6. Save your subject tag
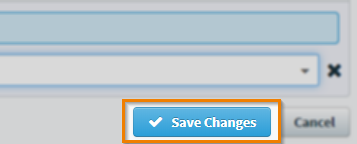
Select Save Changes to create your subject tag.

7. Save your changes
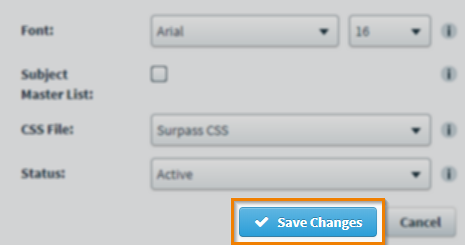
Select Save Changes in the Edit Subject Details dialog to update your subject.

Further reading
To learn more about working in the Subjects screen, read the following articles:
